Elizabeth Barnett
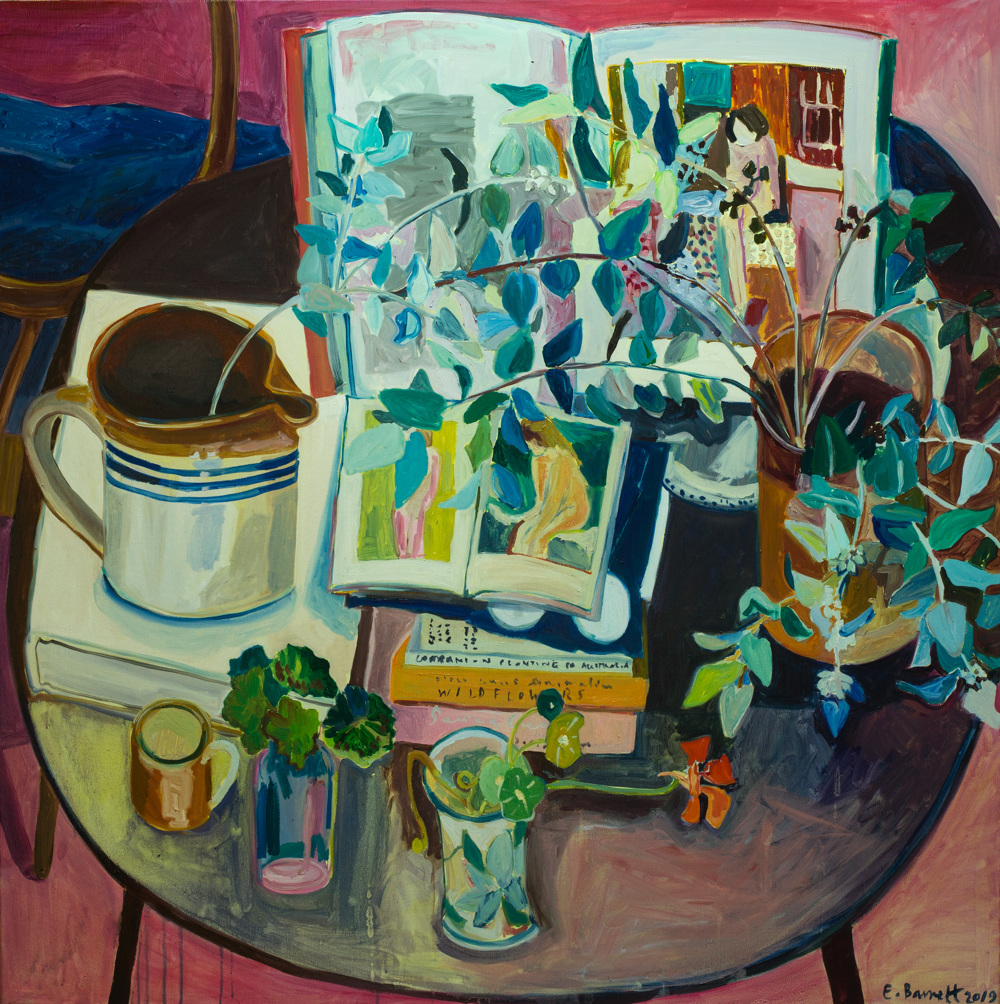
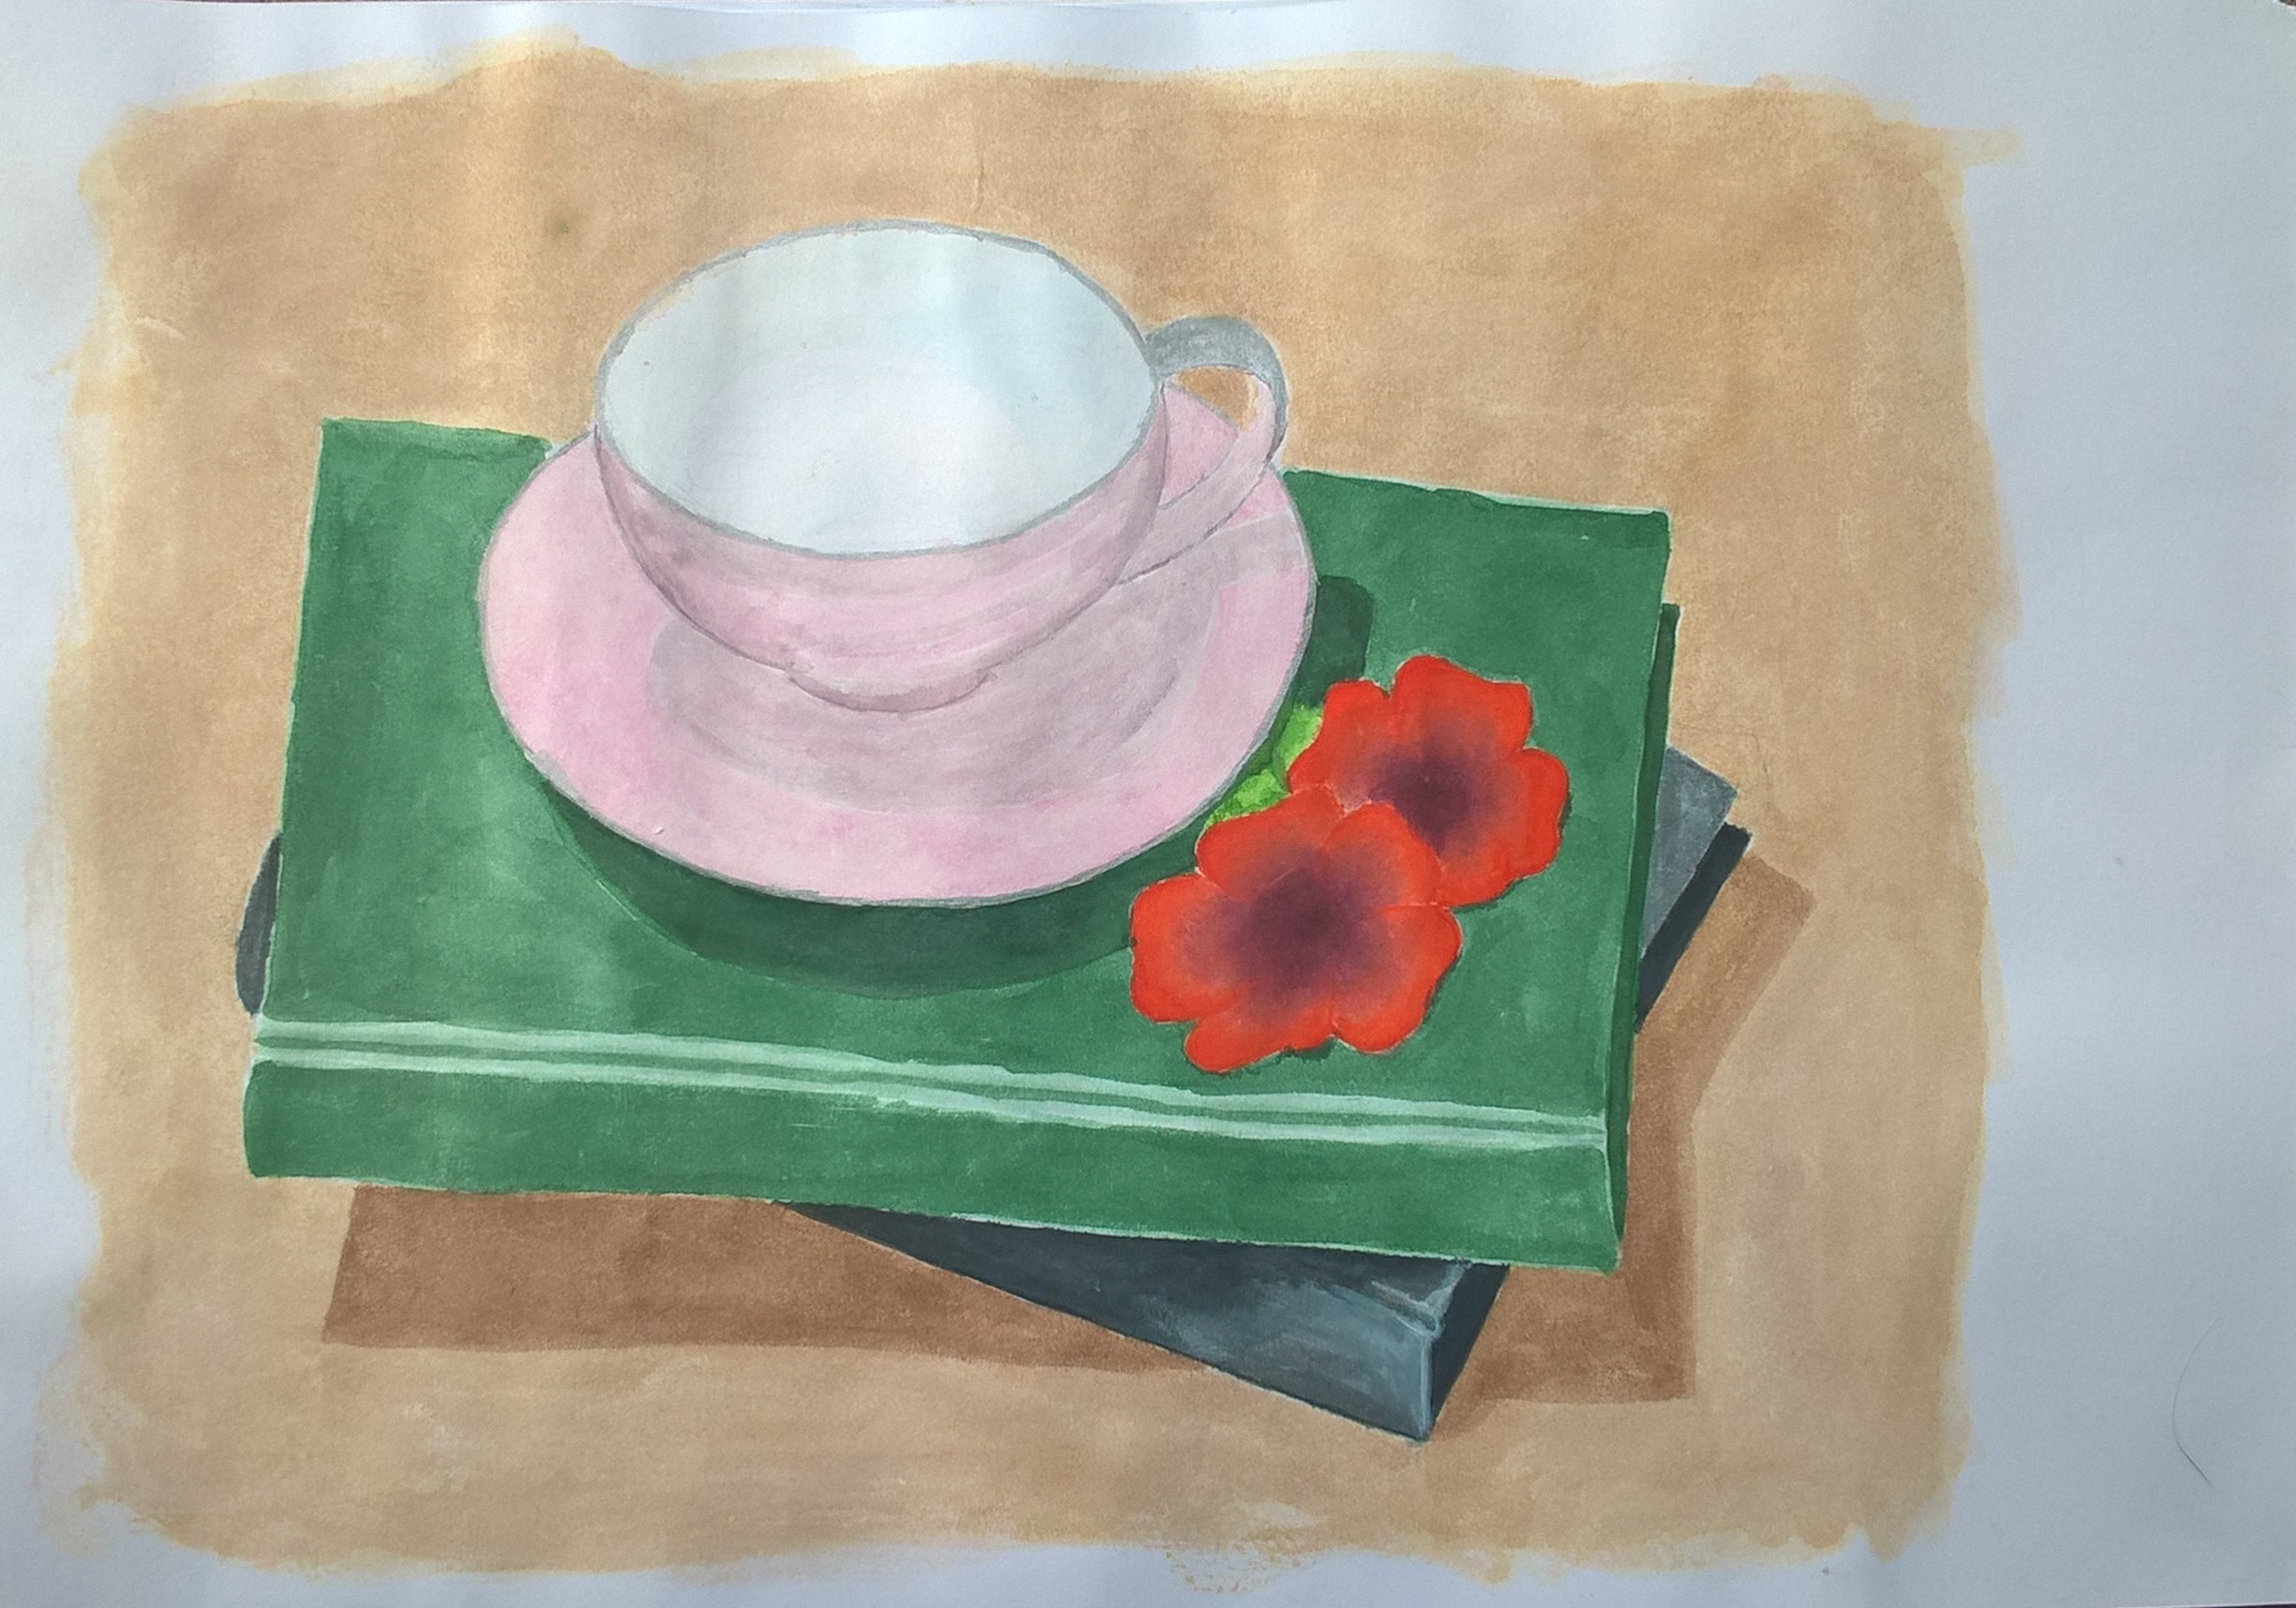
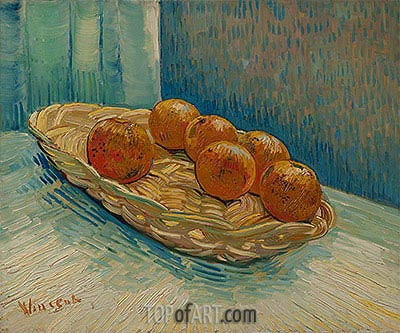
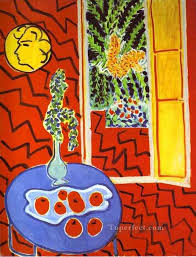
Elizabeth Barnett depicts intimate domestic scenes and still lifes with a wide range of plants, colour, personal objects, and furnishings. Her work revolves around motherhood, living off the land and her connection to nature.
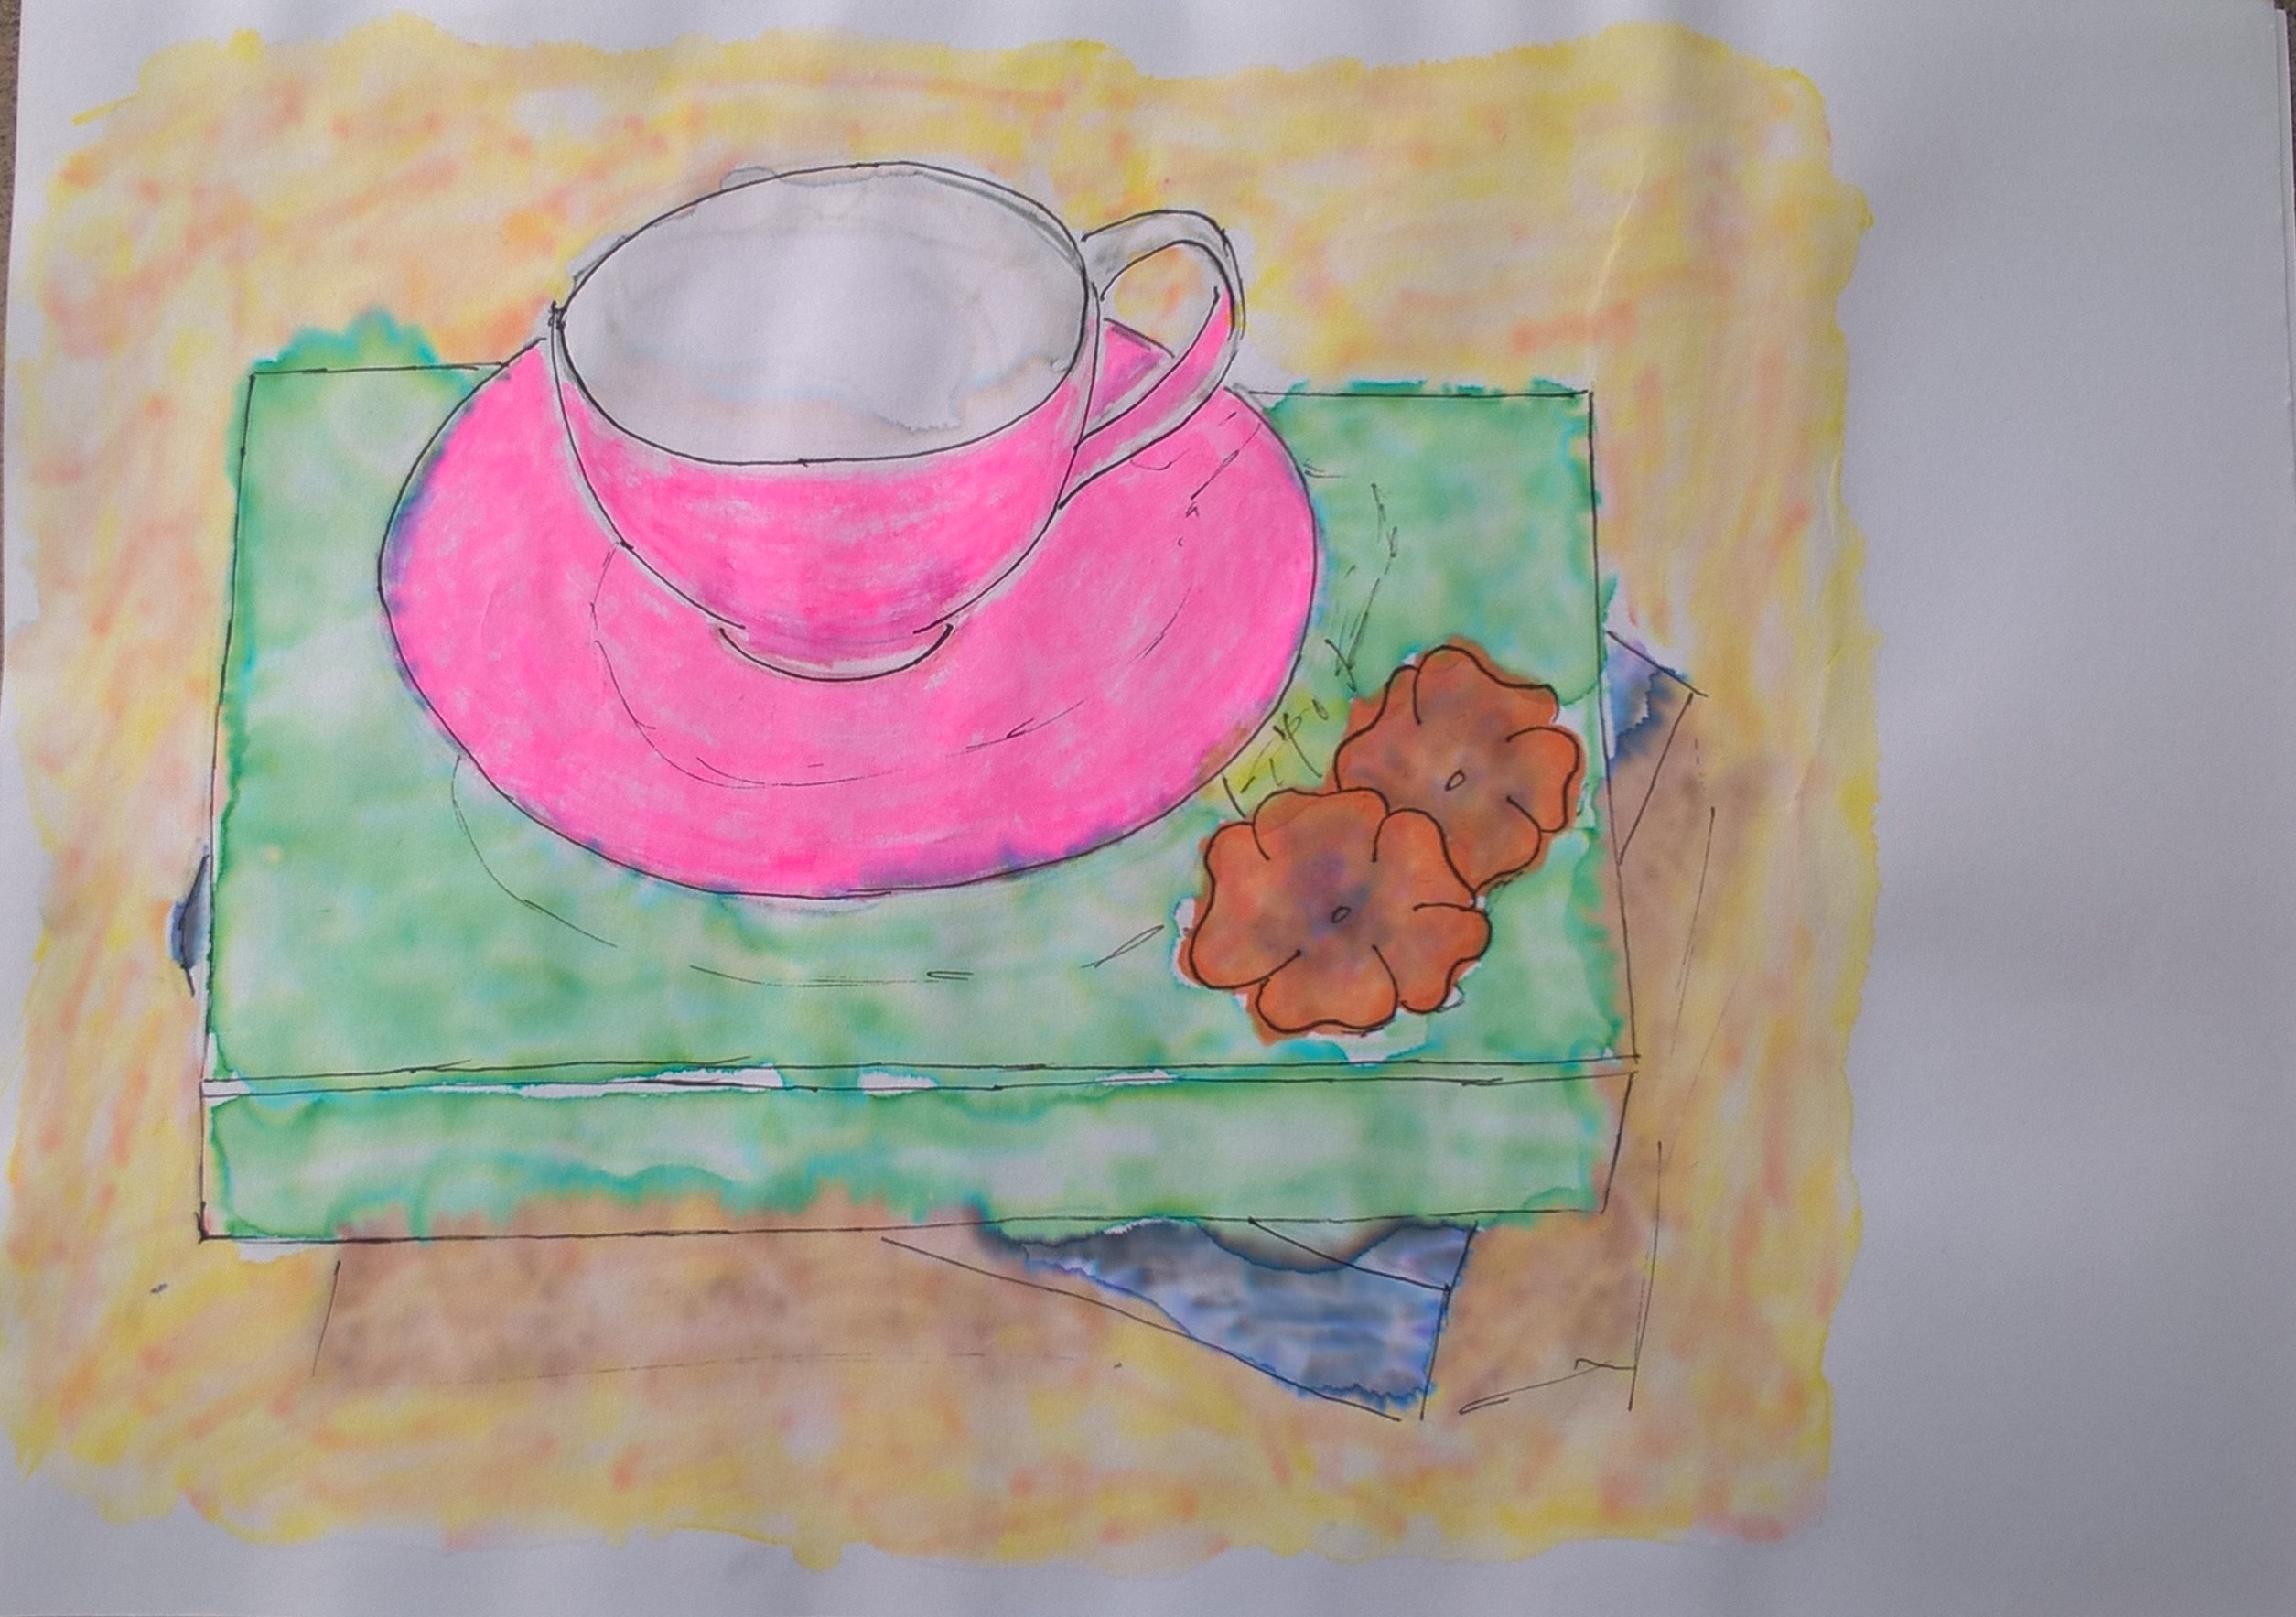
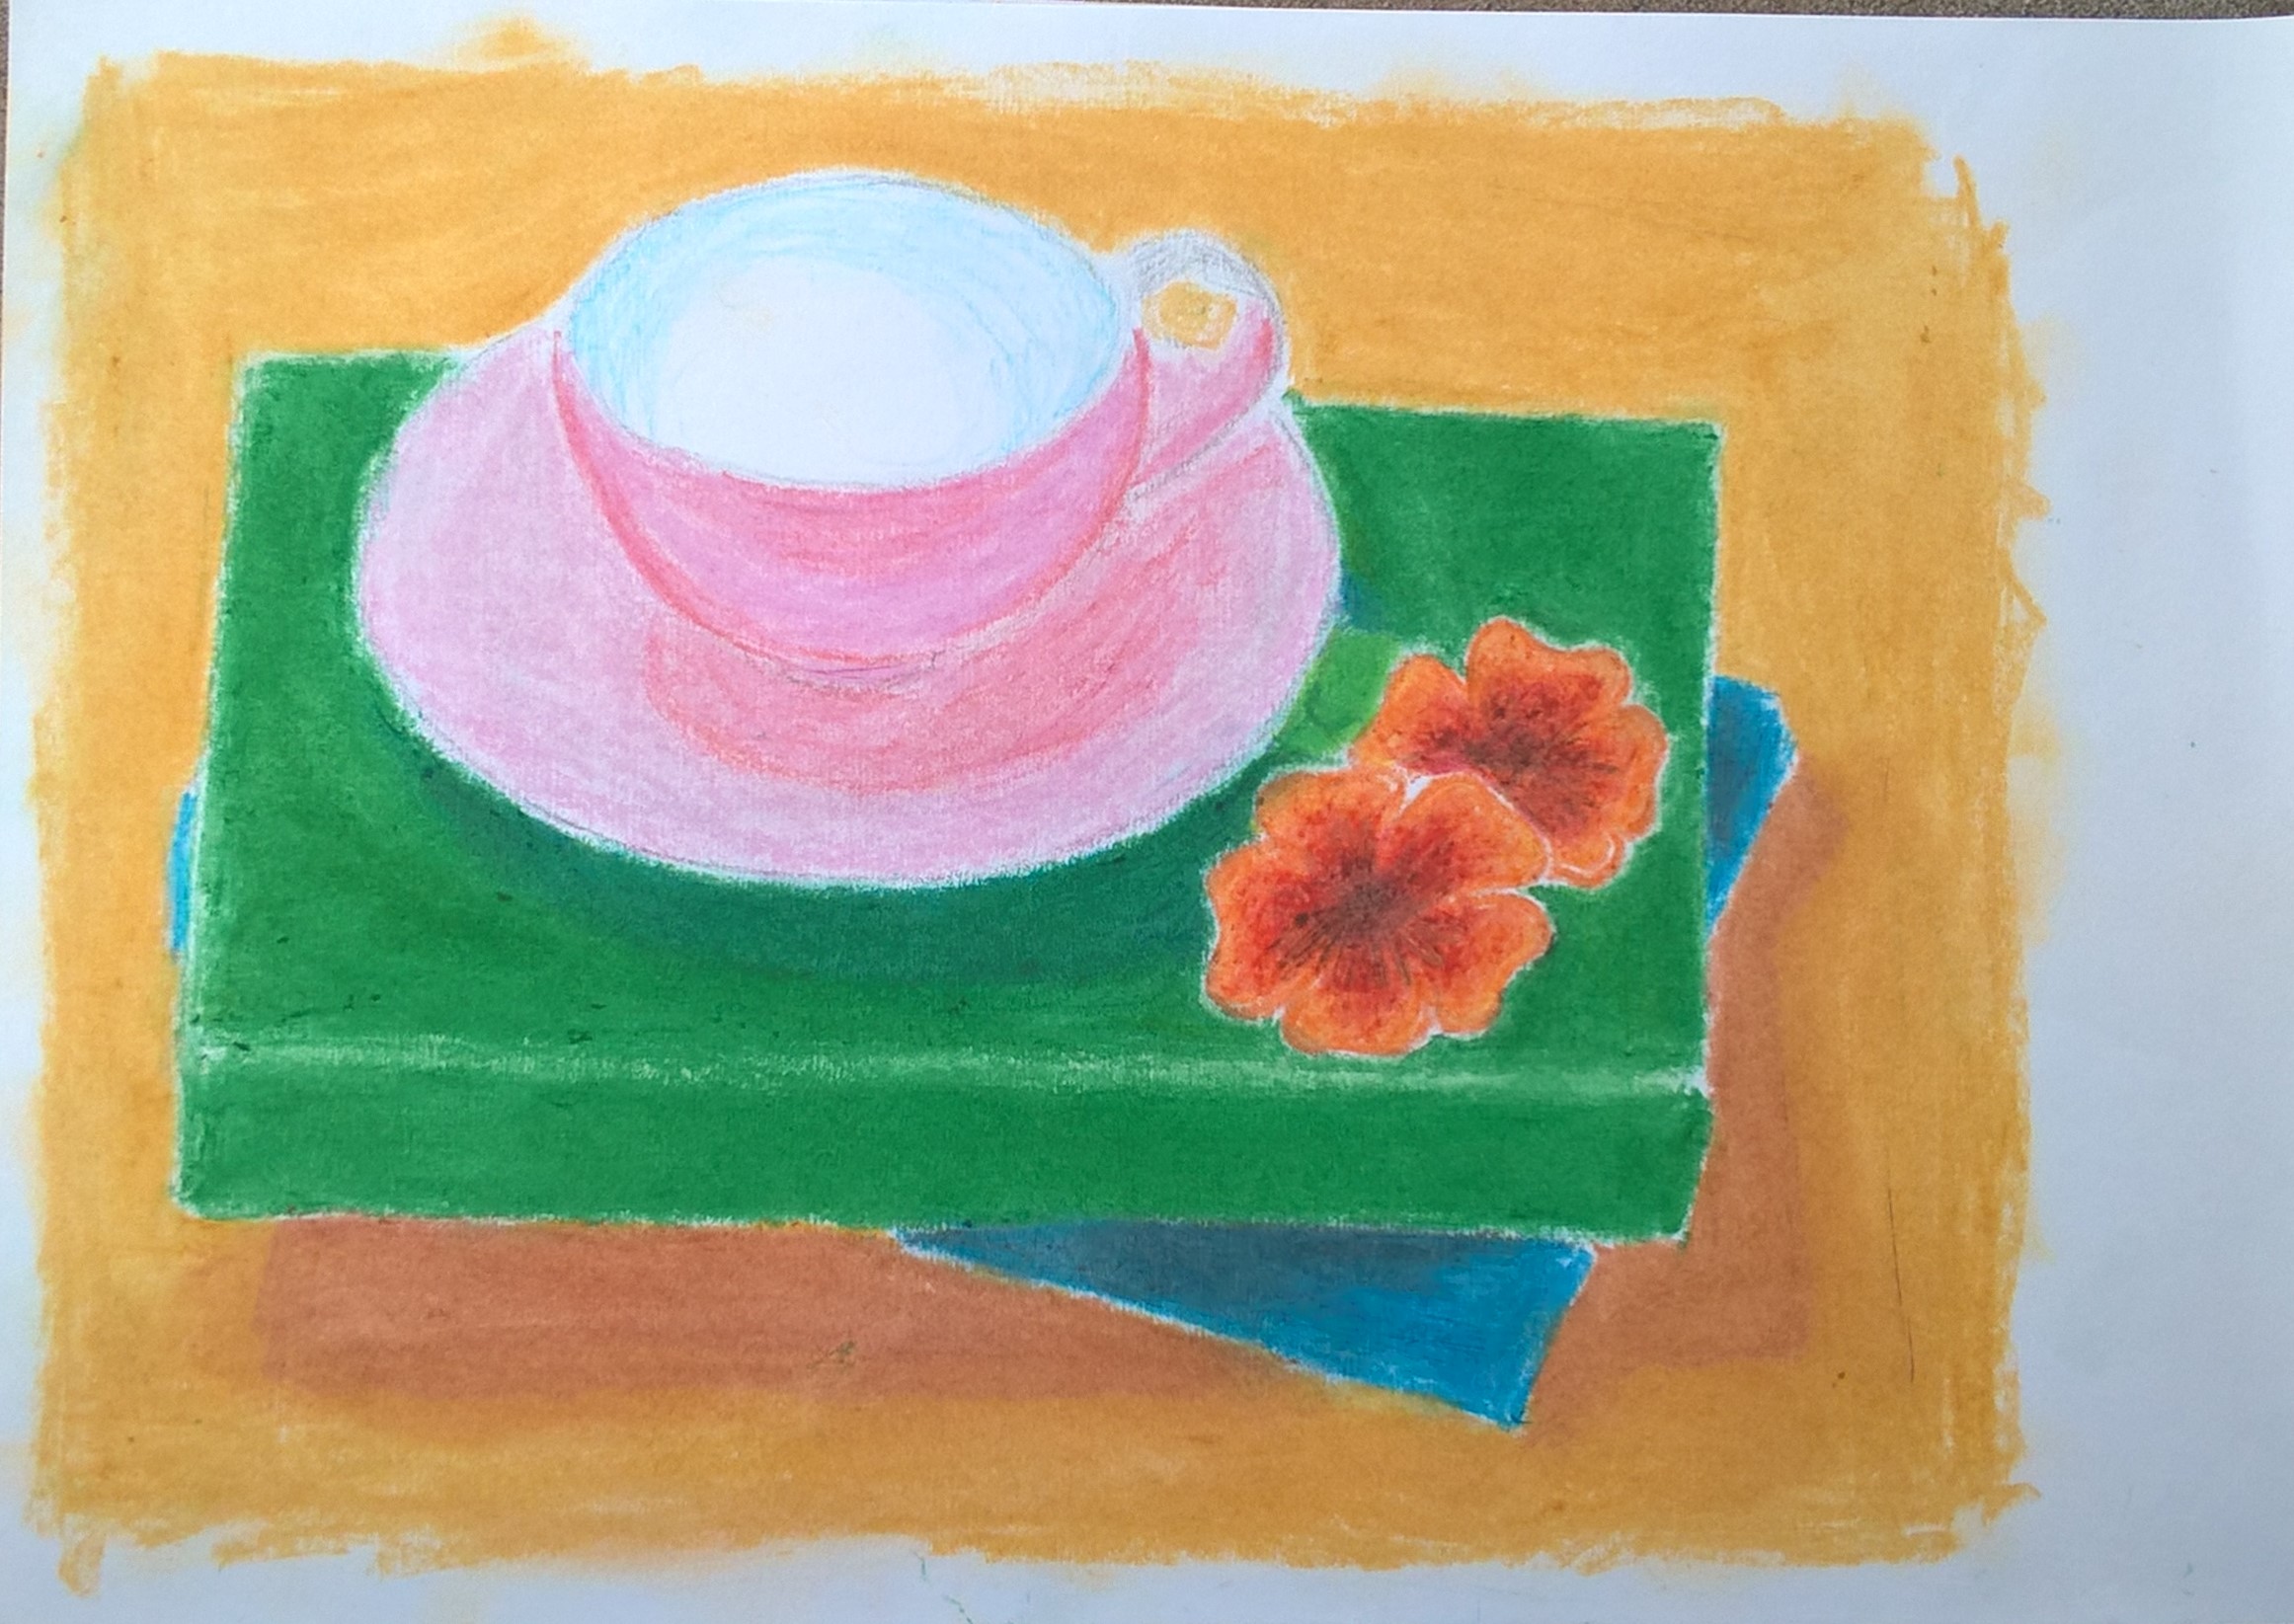
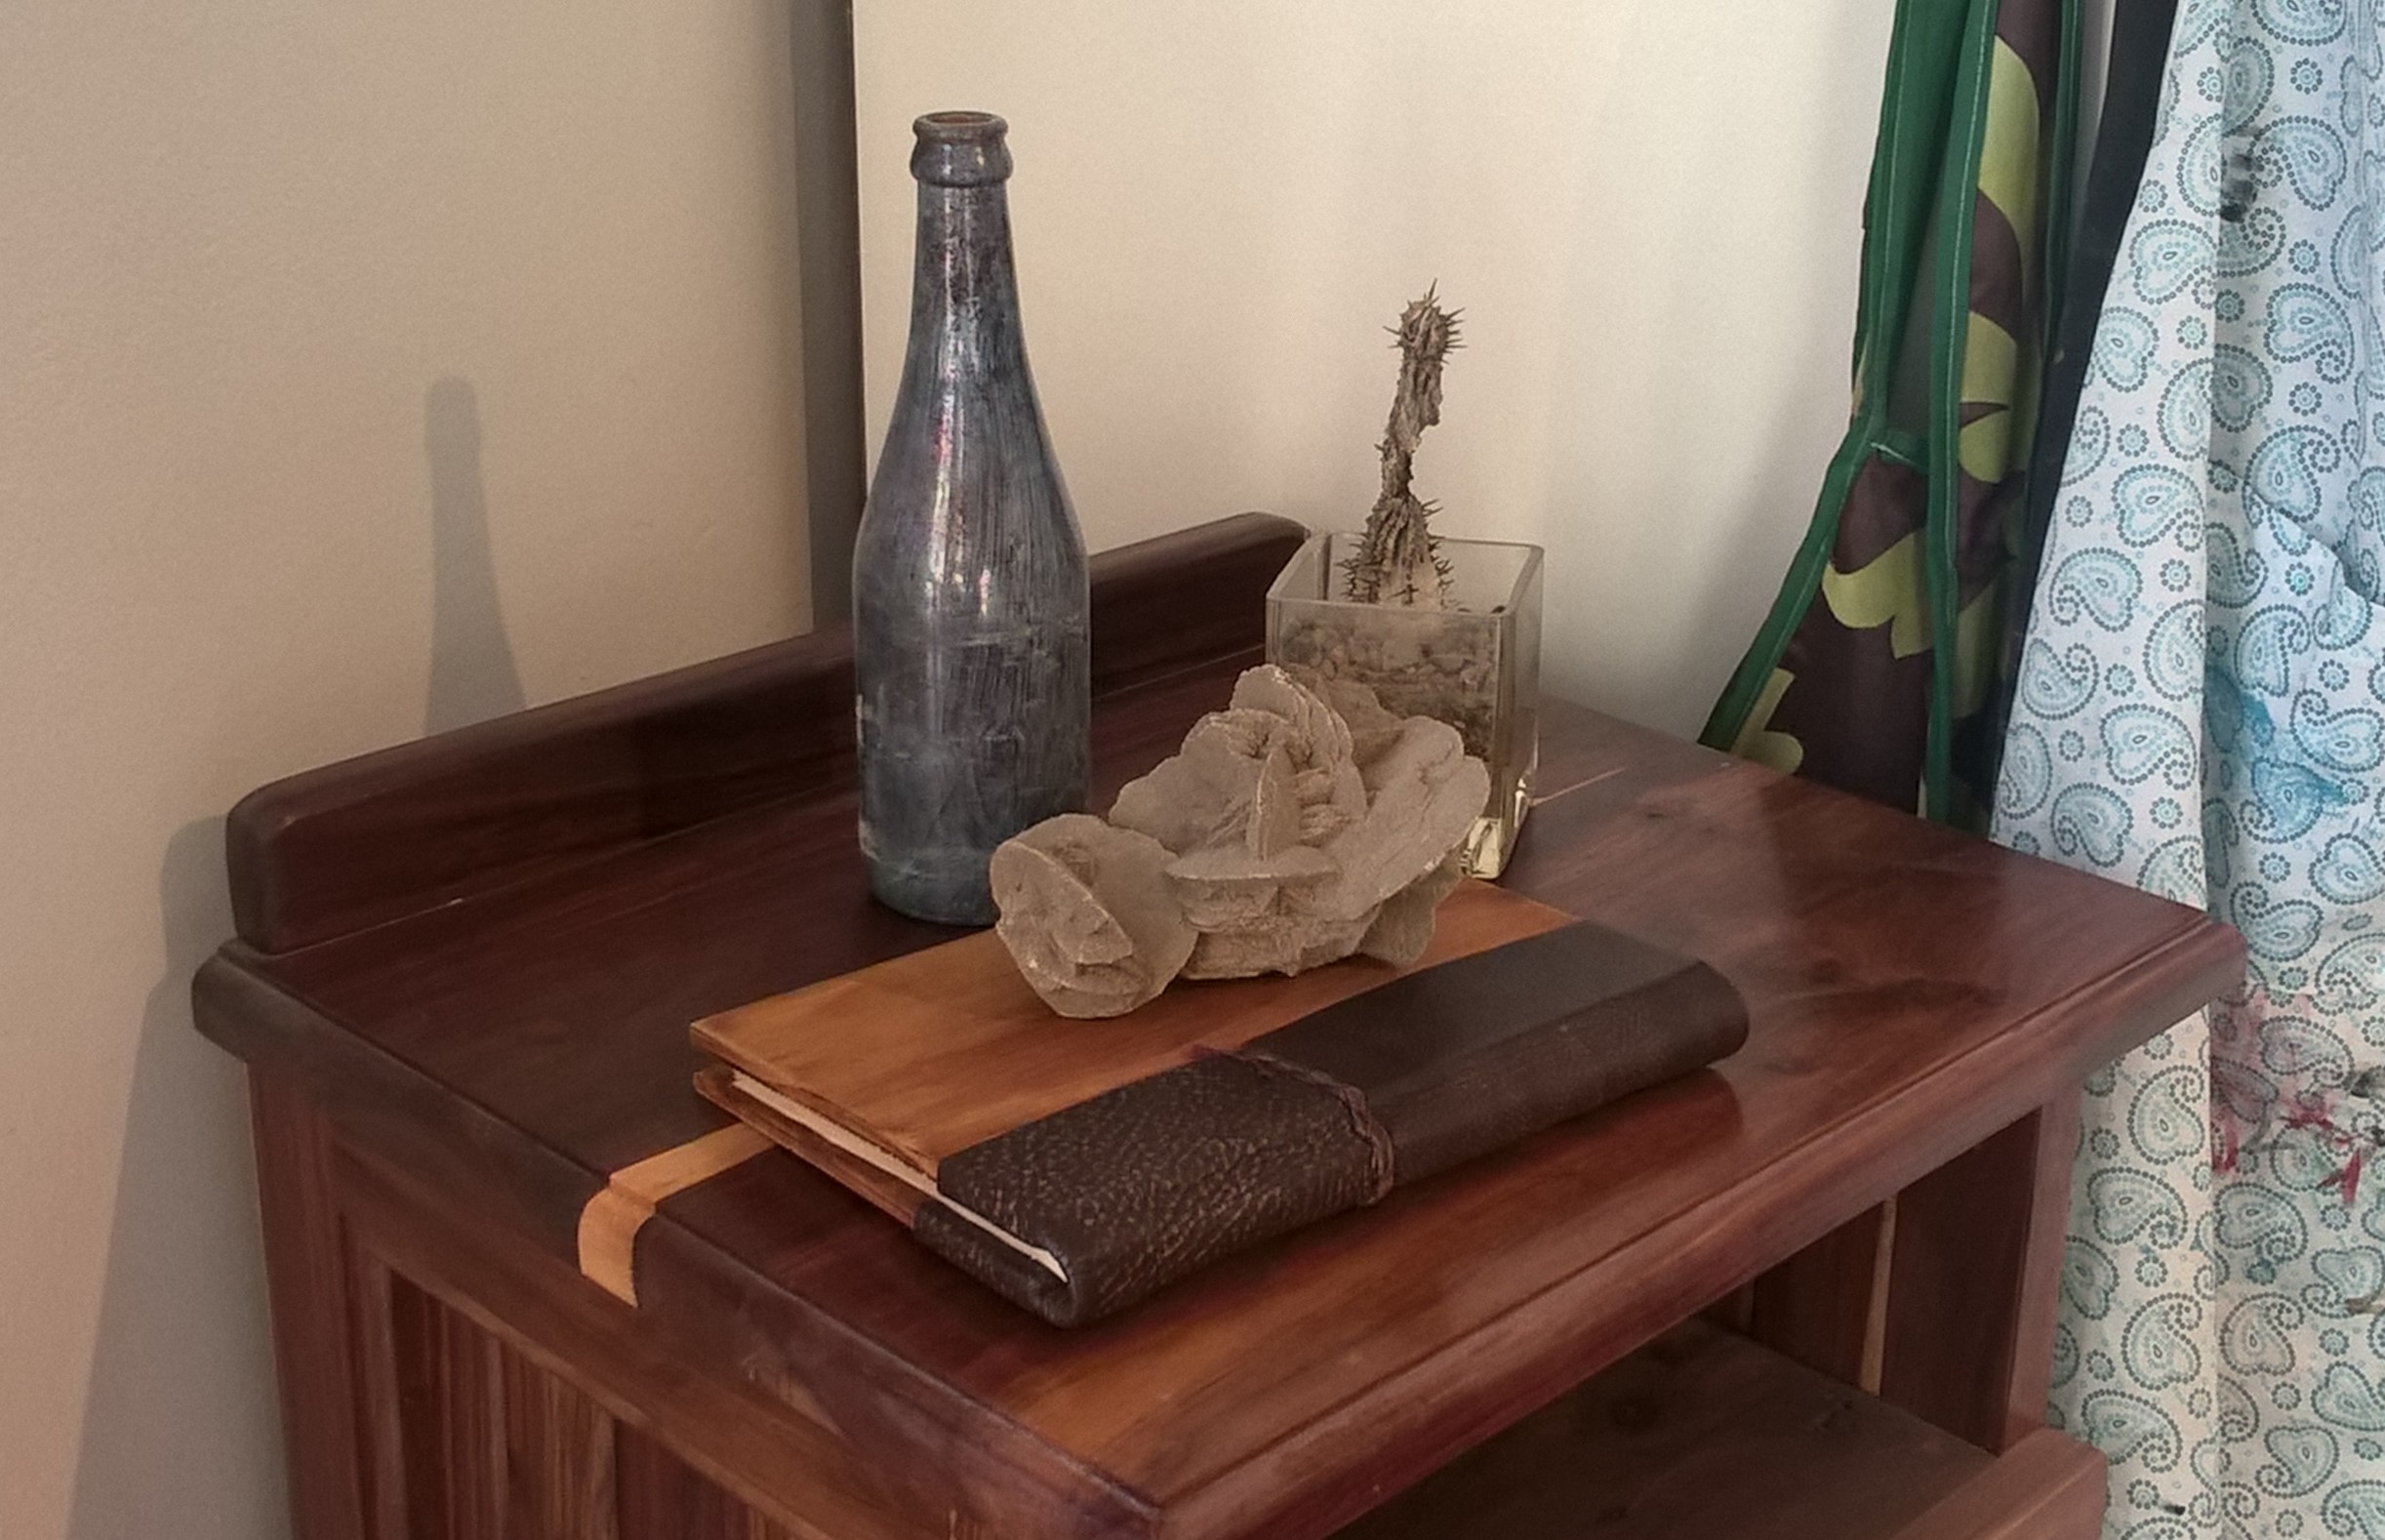
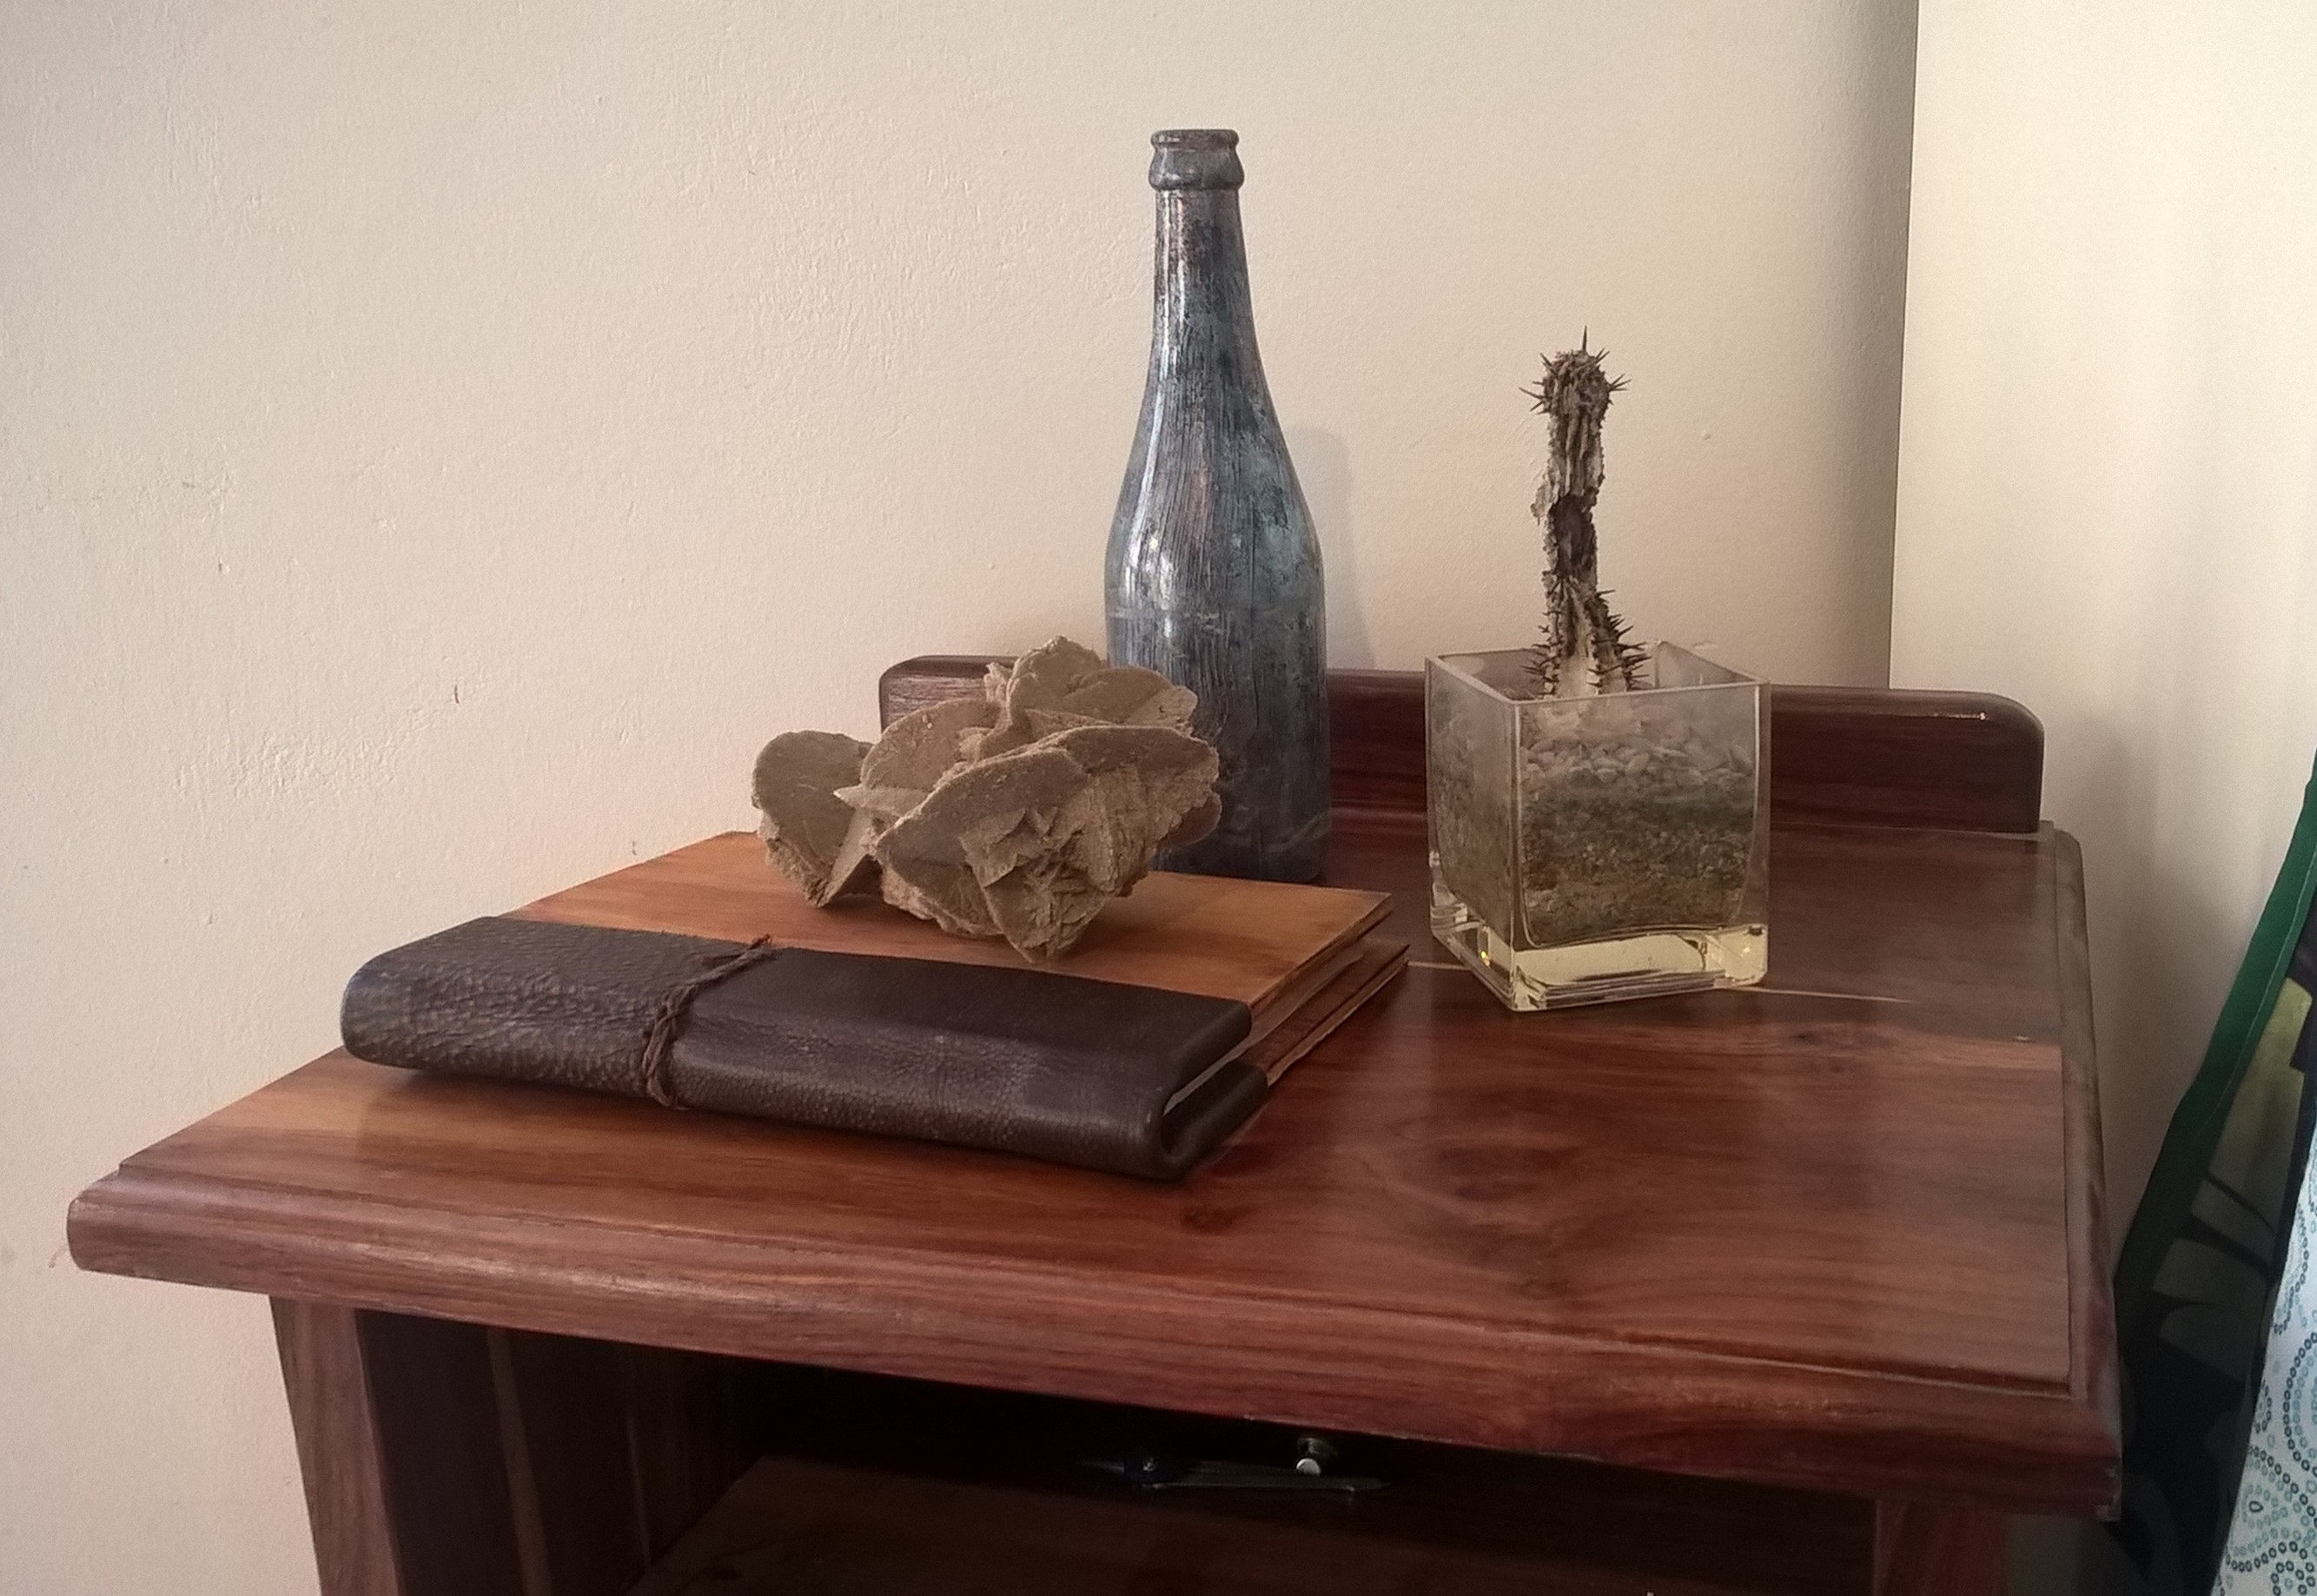
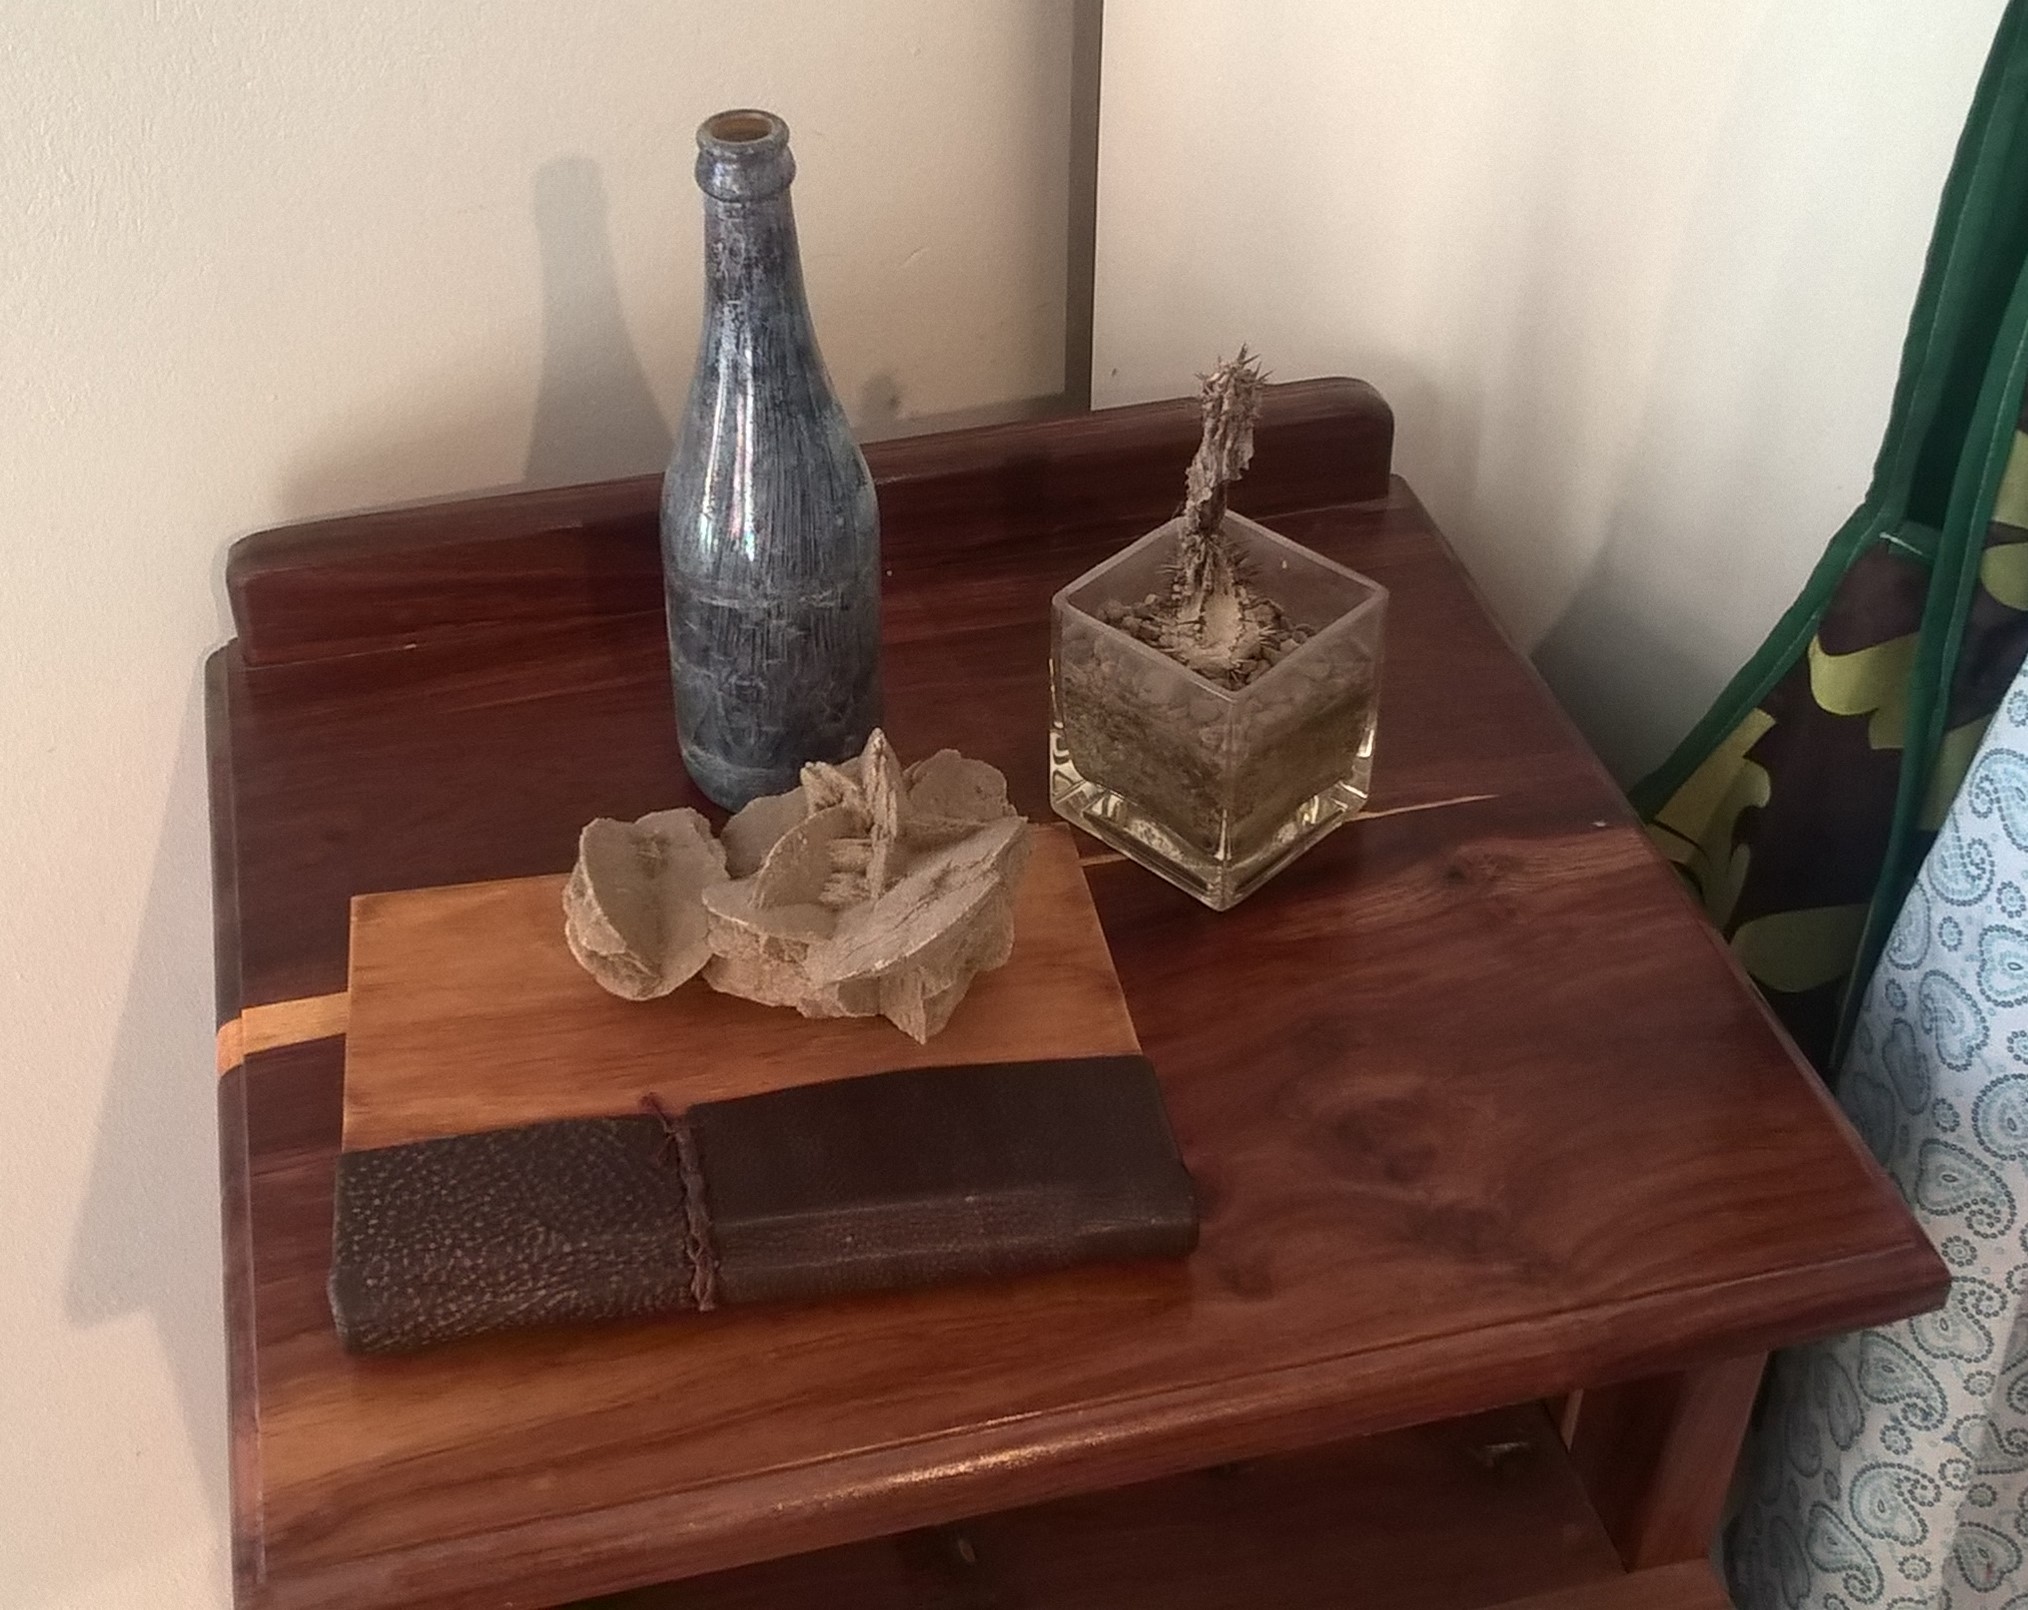
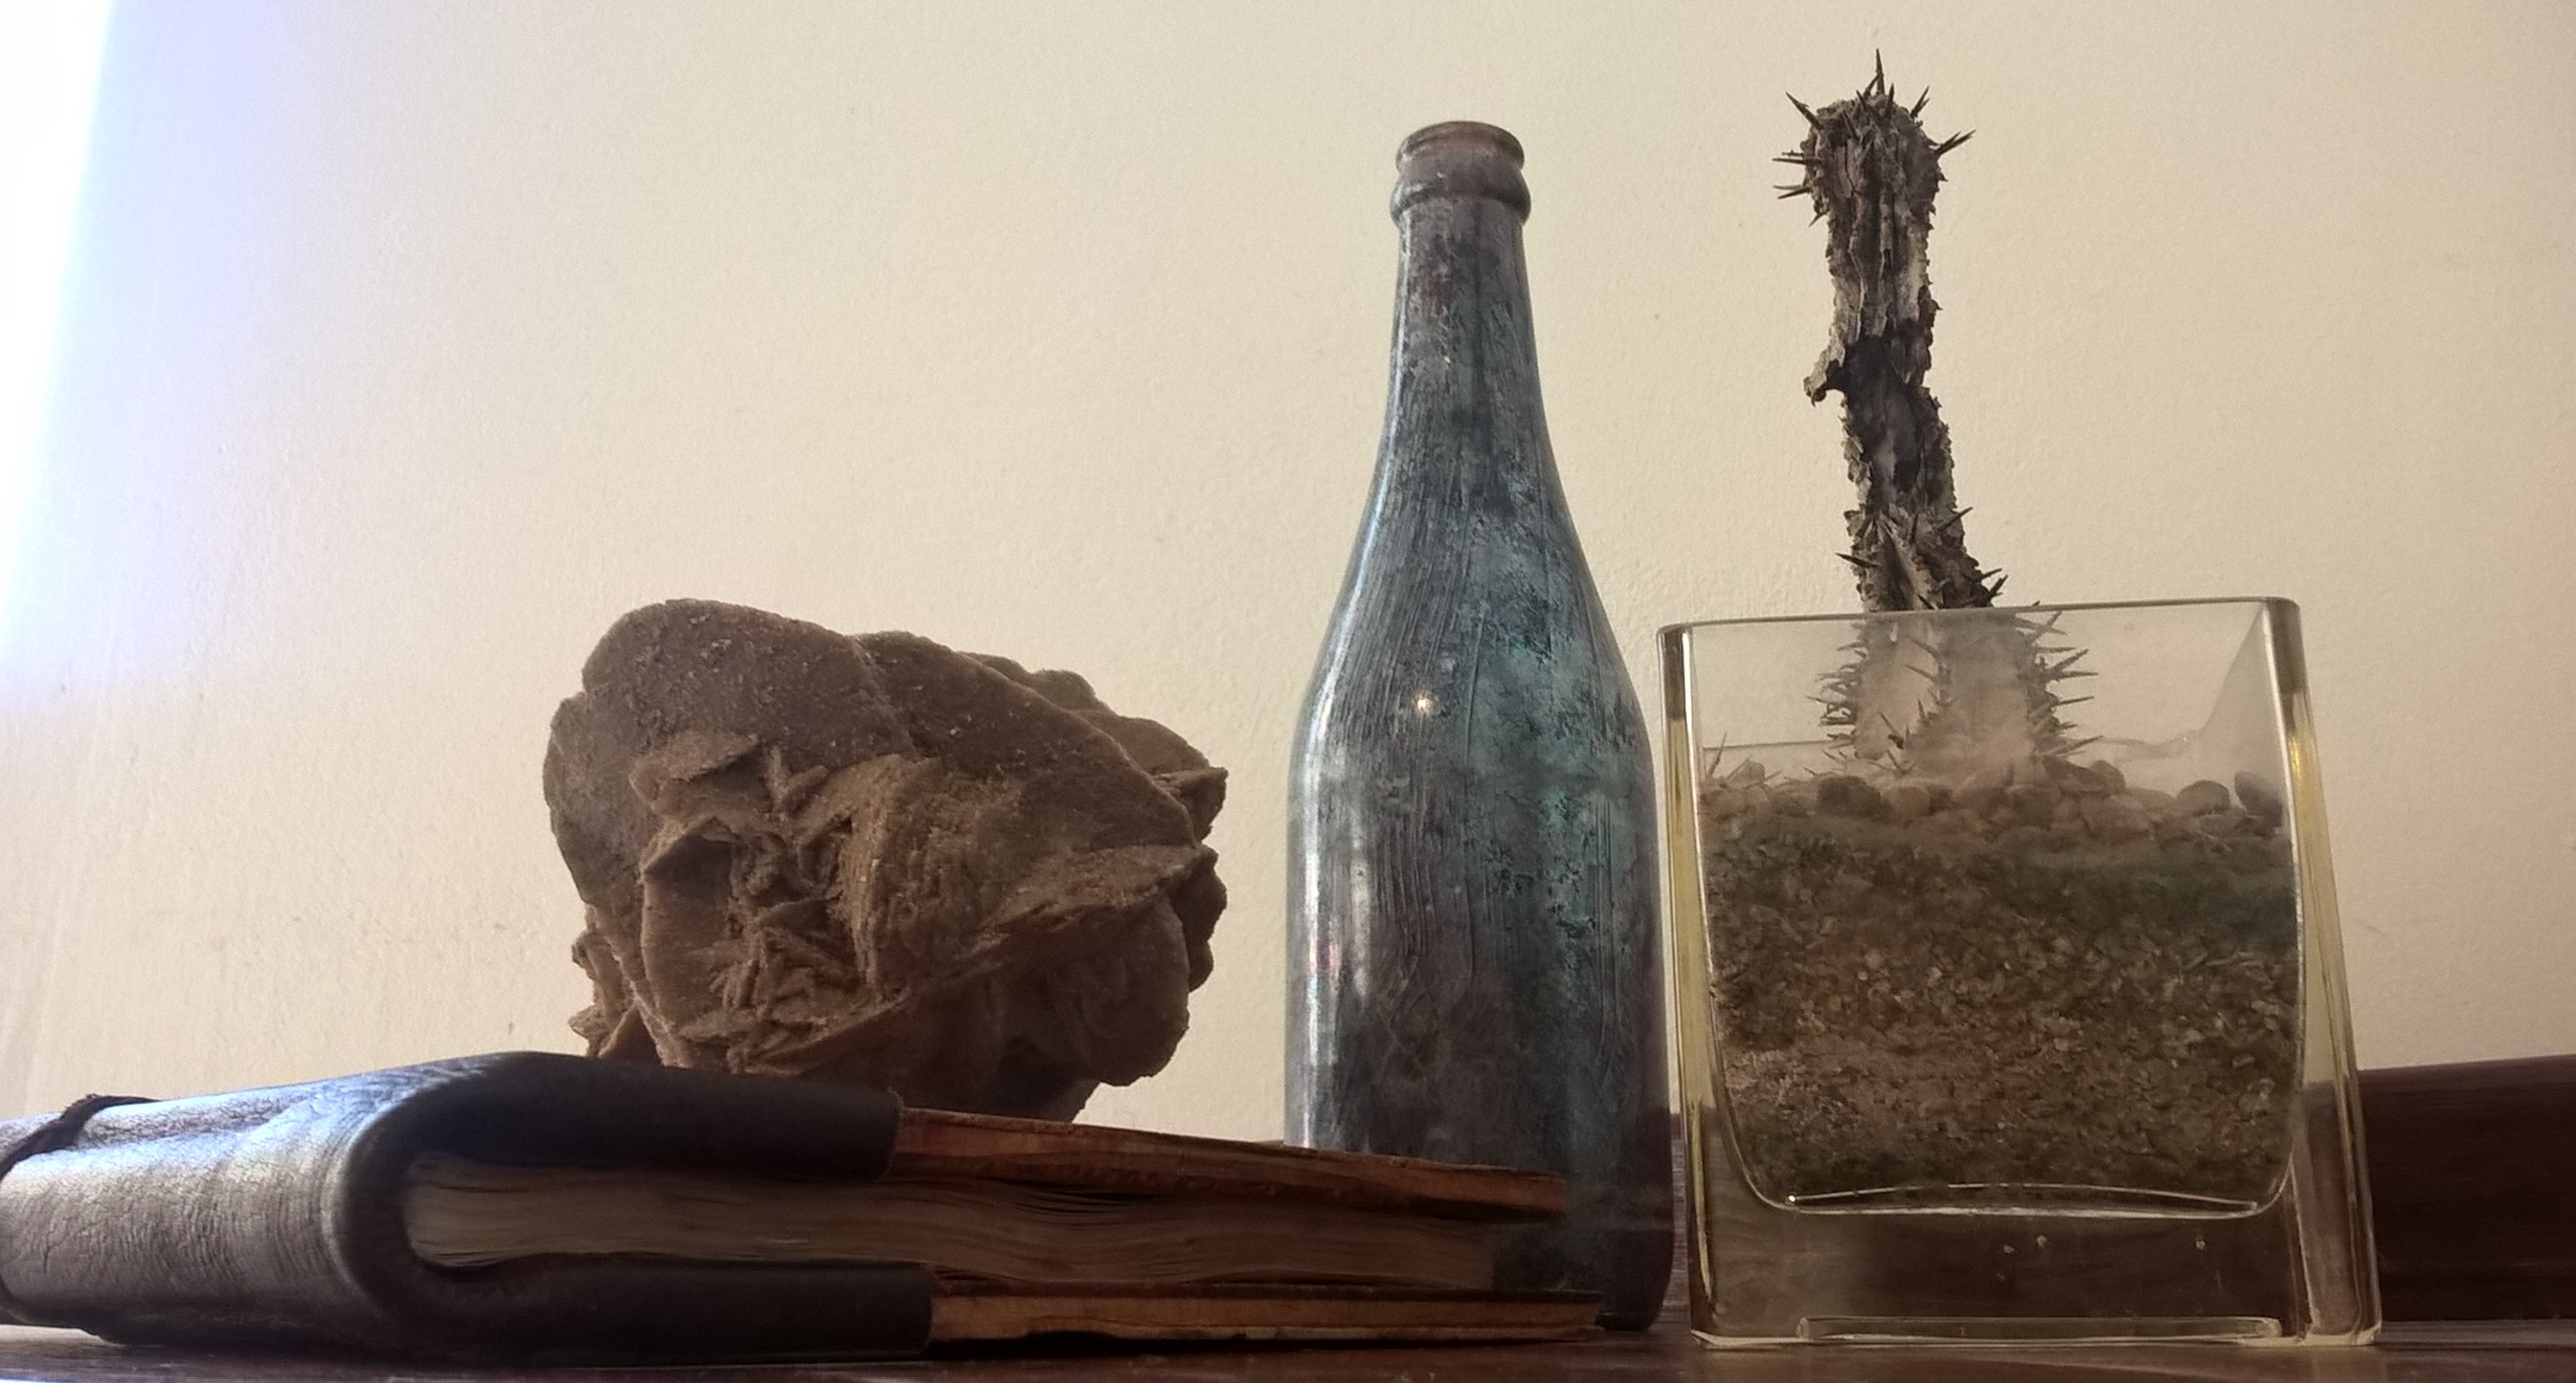
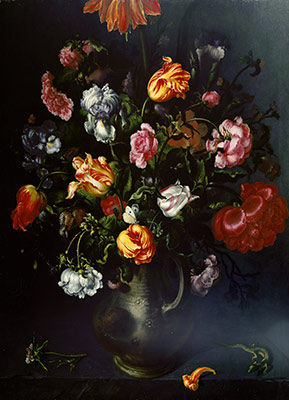
Nature Table is a still life that connects nature and her domestic world. This is done by her depiction of everyday objects along side an array of plants . This artwork exists to connect humanity and nature.
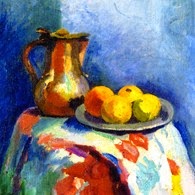
Herbal Medicine is a series inspired by natural remedies, joining motherhood and Barnett’s connection to nature. Here she works on a larger scale larger scale, making compositions looser and more welcoming. The size of the canvas gives the feeling that one could walk into the artwork.

Folk Medicine 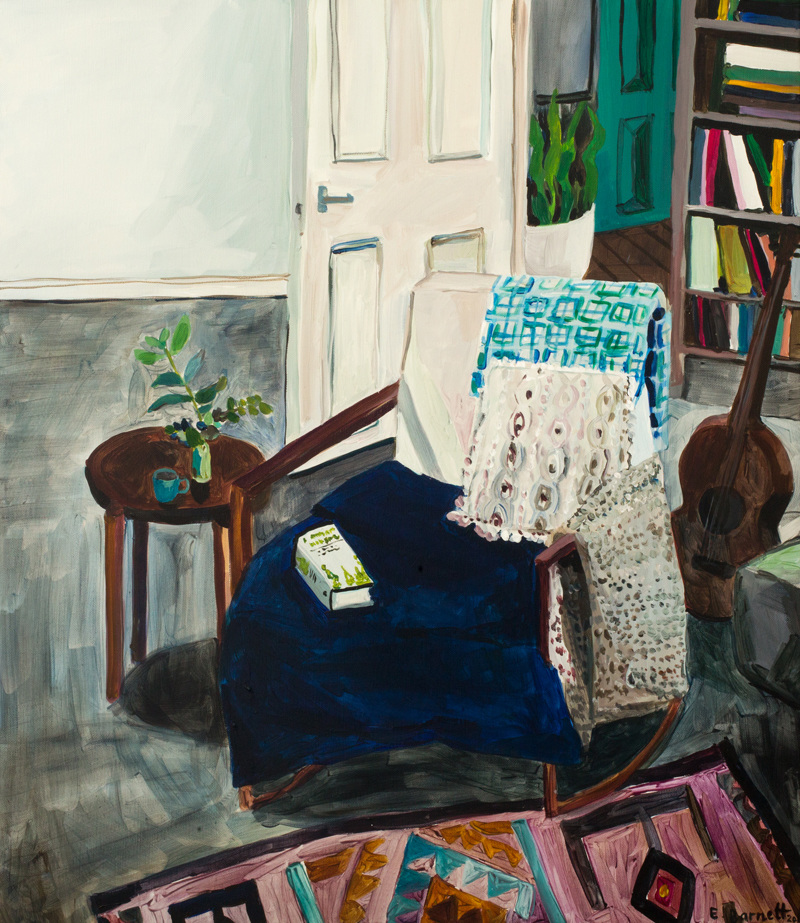
Rest and Relaxation 
Three Kinds of Mint
date I visited sites: 19/08/2019
https://elizabethbarnett.com/2019-Nature-Table
https://elizabethbarnett.com/2017-Herbal-Medicine-TDF-Collect
TDF Collect · ‘Herbal Medicine’ by Elizabeth Barnett
Matthias Weischer
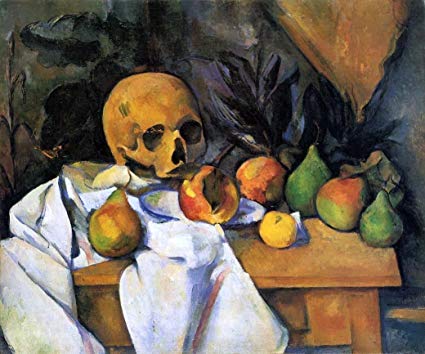
Matthias Weischer’s paintings incorporate both reality and imagination. He is interested in the historical medium, perspective and representation while making it his own by adding collage-like elements. He builds the artwork up by using many payers of paint, adding to the three -dimensionality of his work. His work strives to find the balance between chaos and harmony.


Date I visited sites: 19/08/2019
https://grimmgallery.com/artists/matthies-weischer/
https://www.artsy.net/artist/matthies-weischer
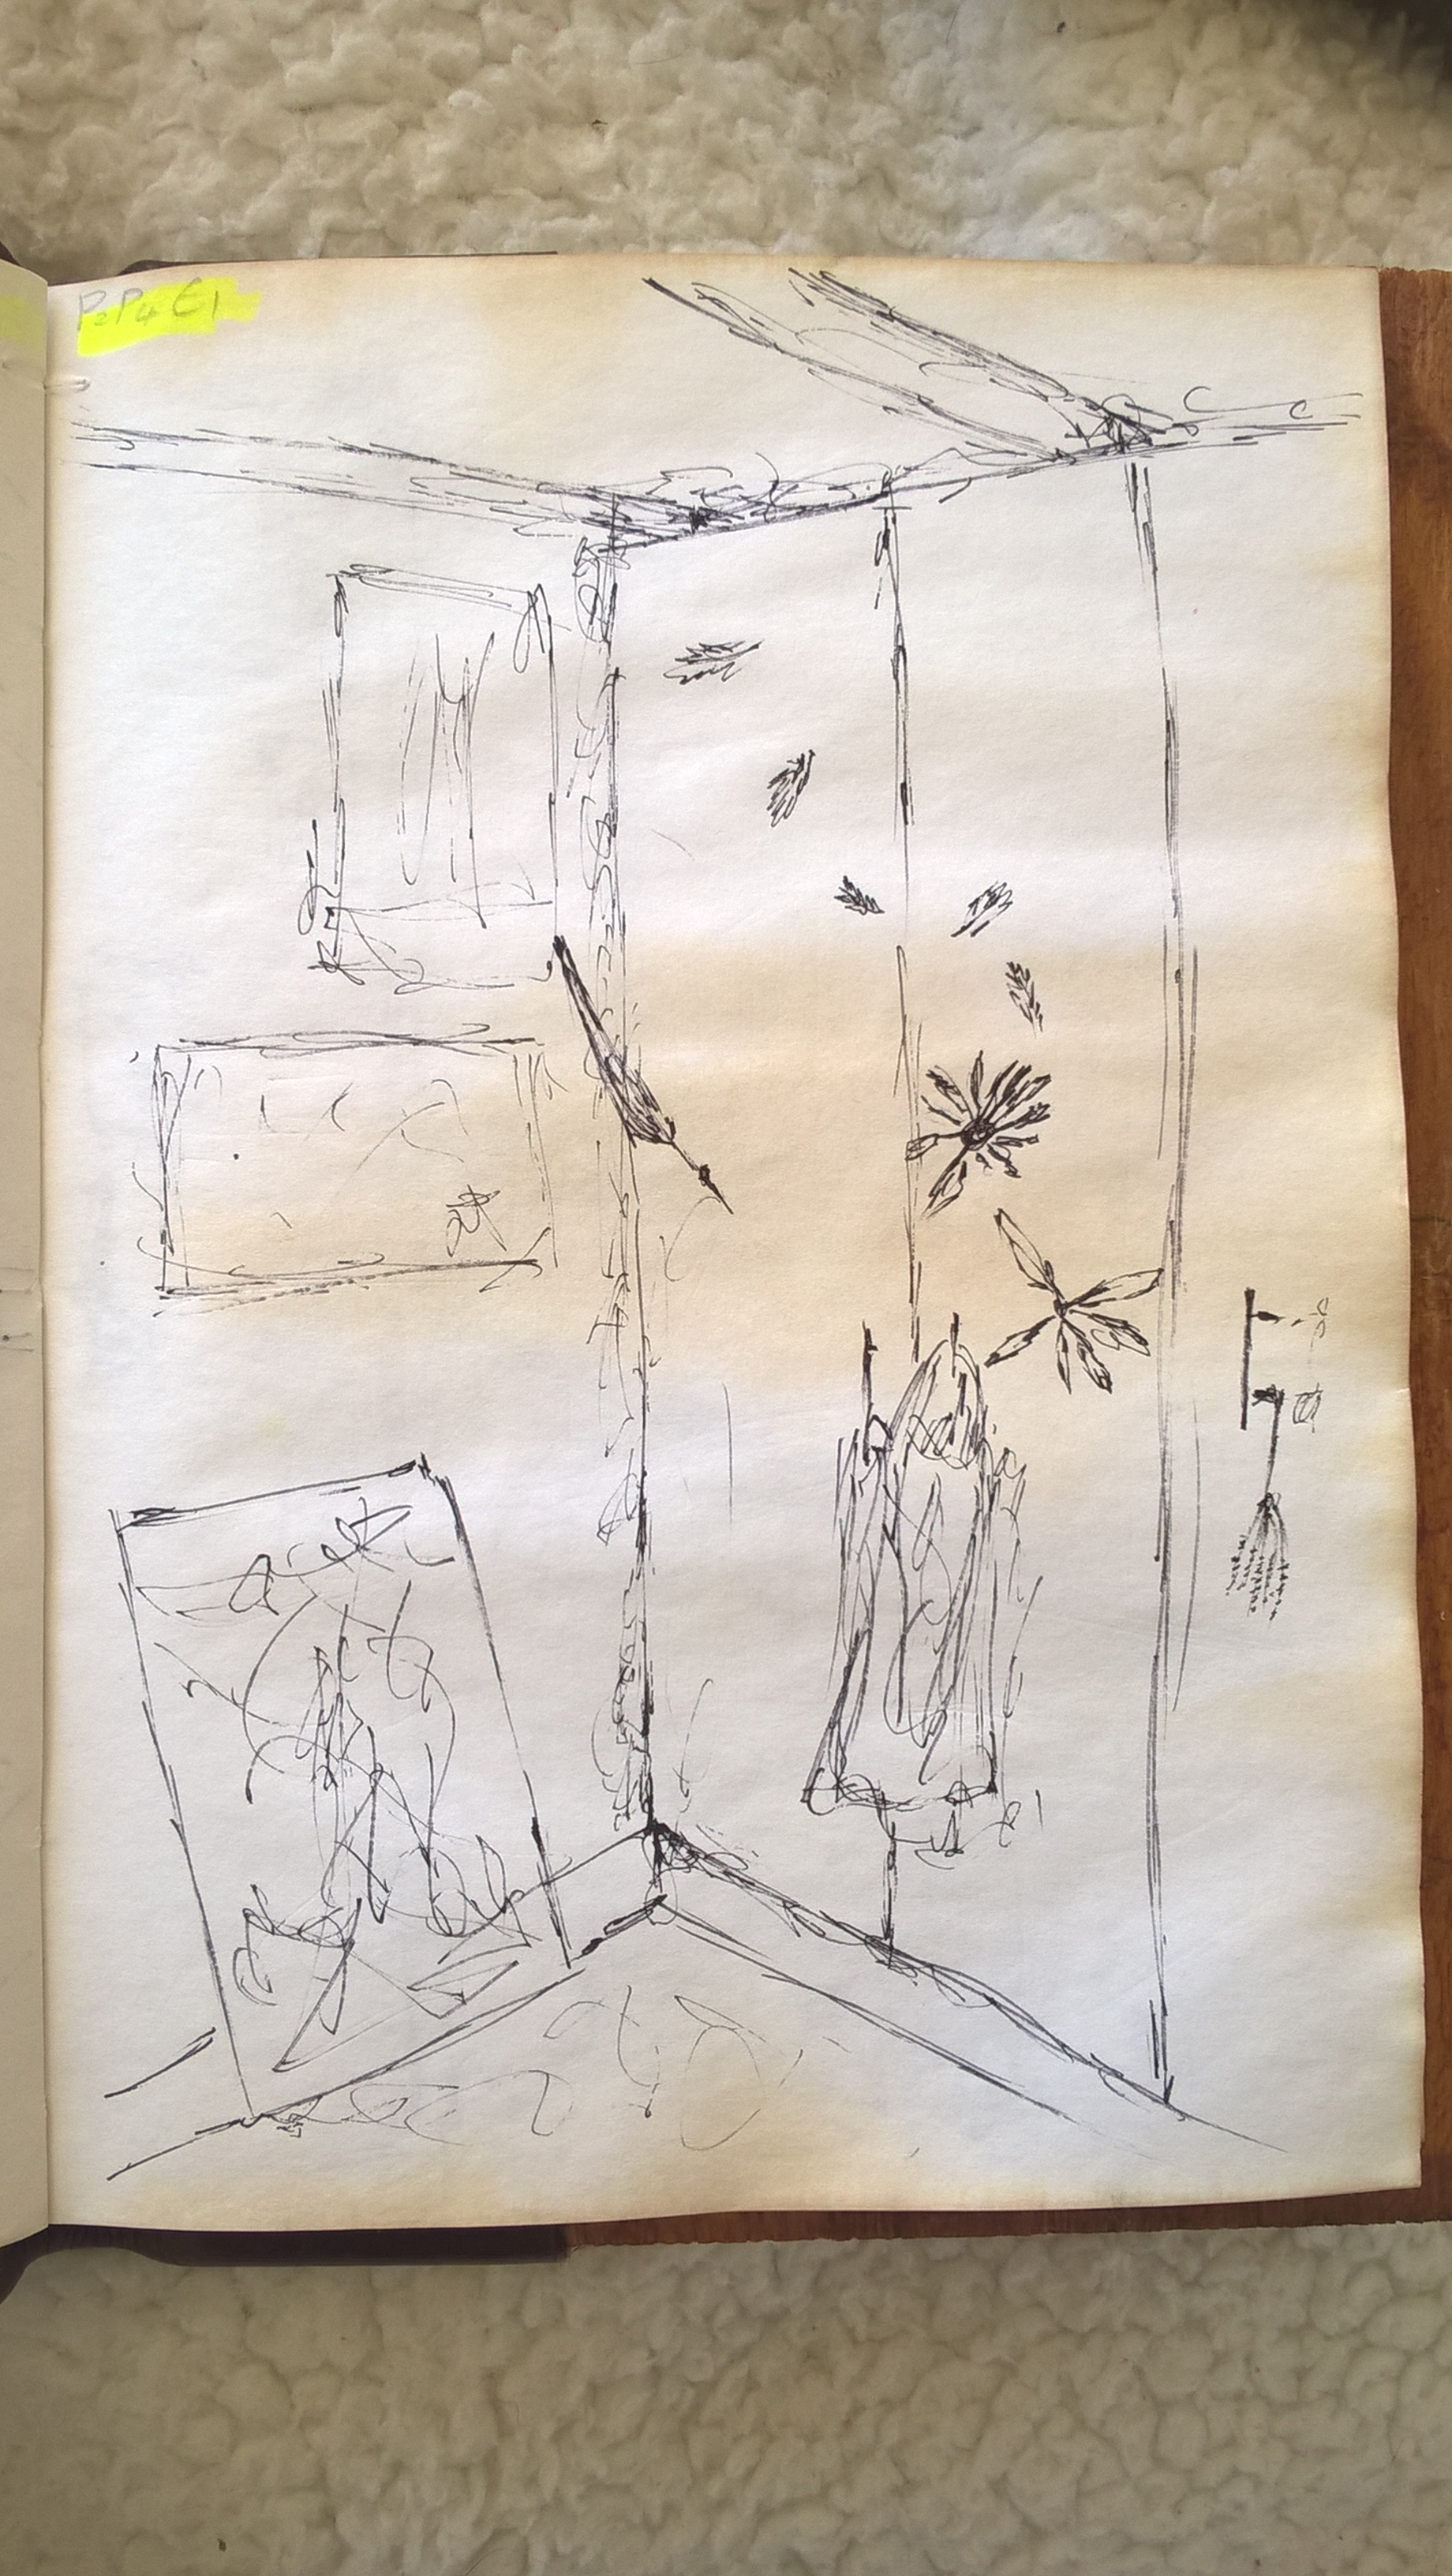
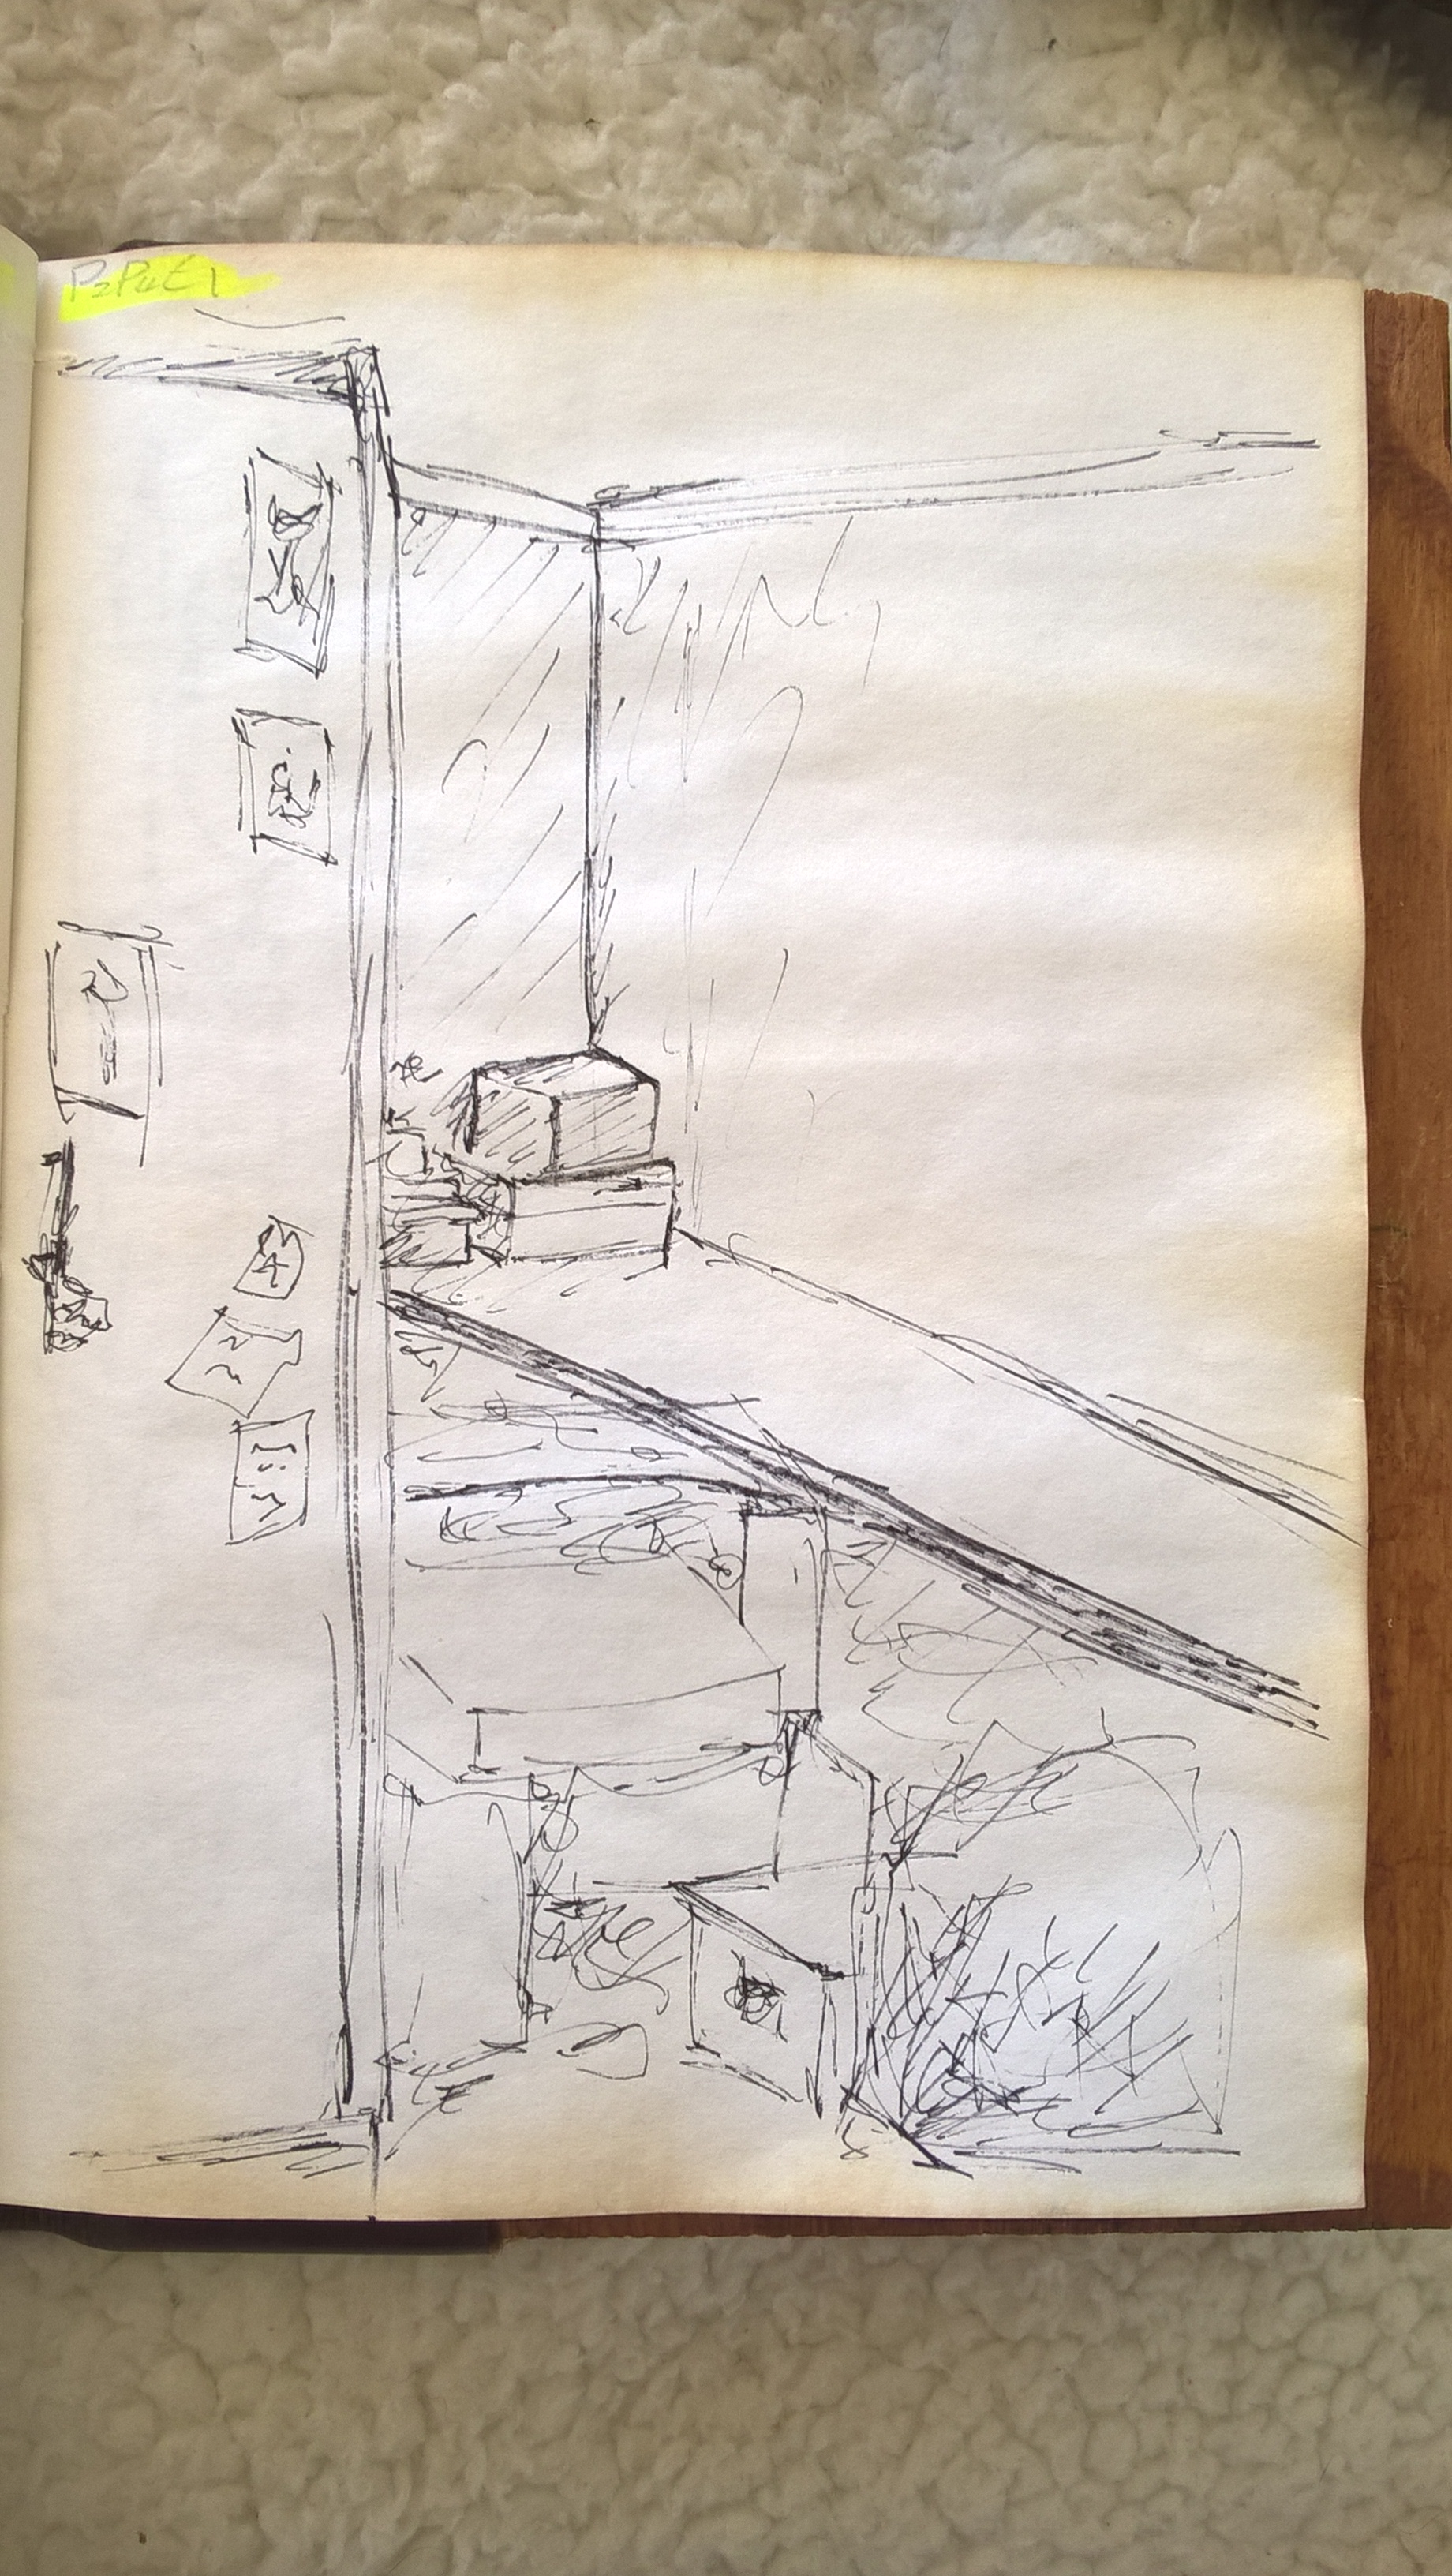
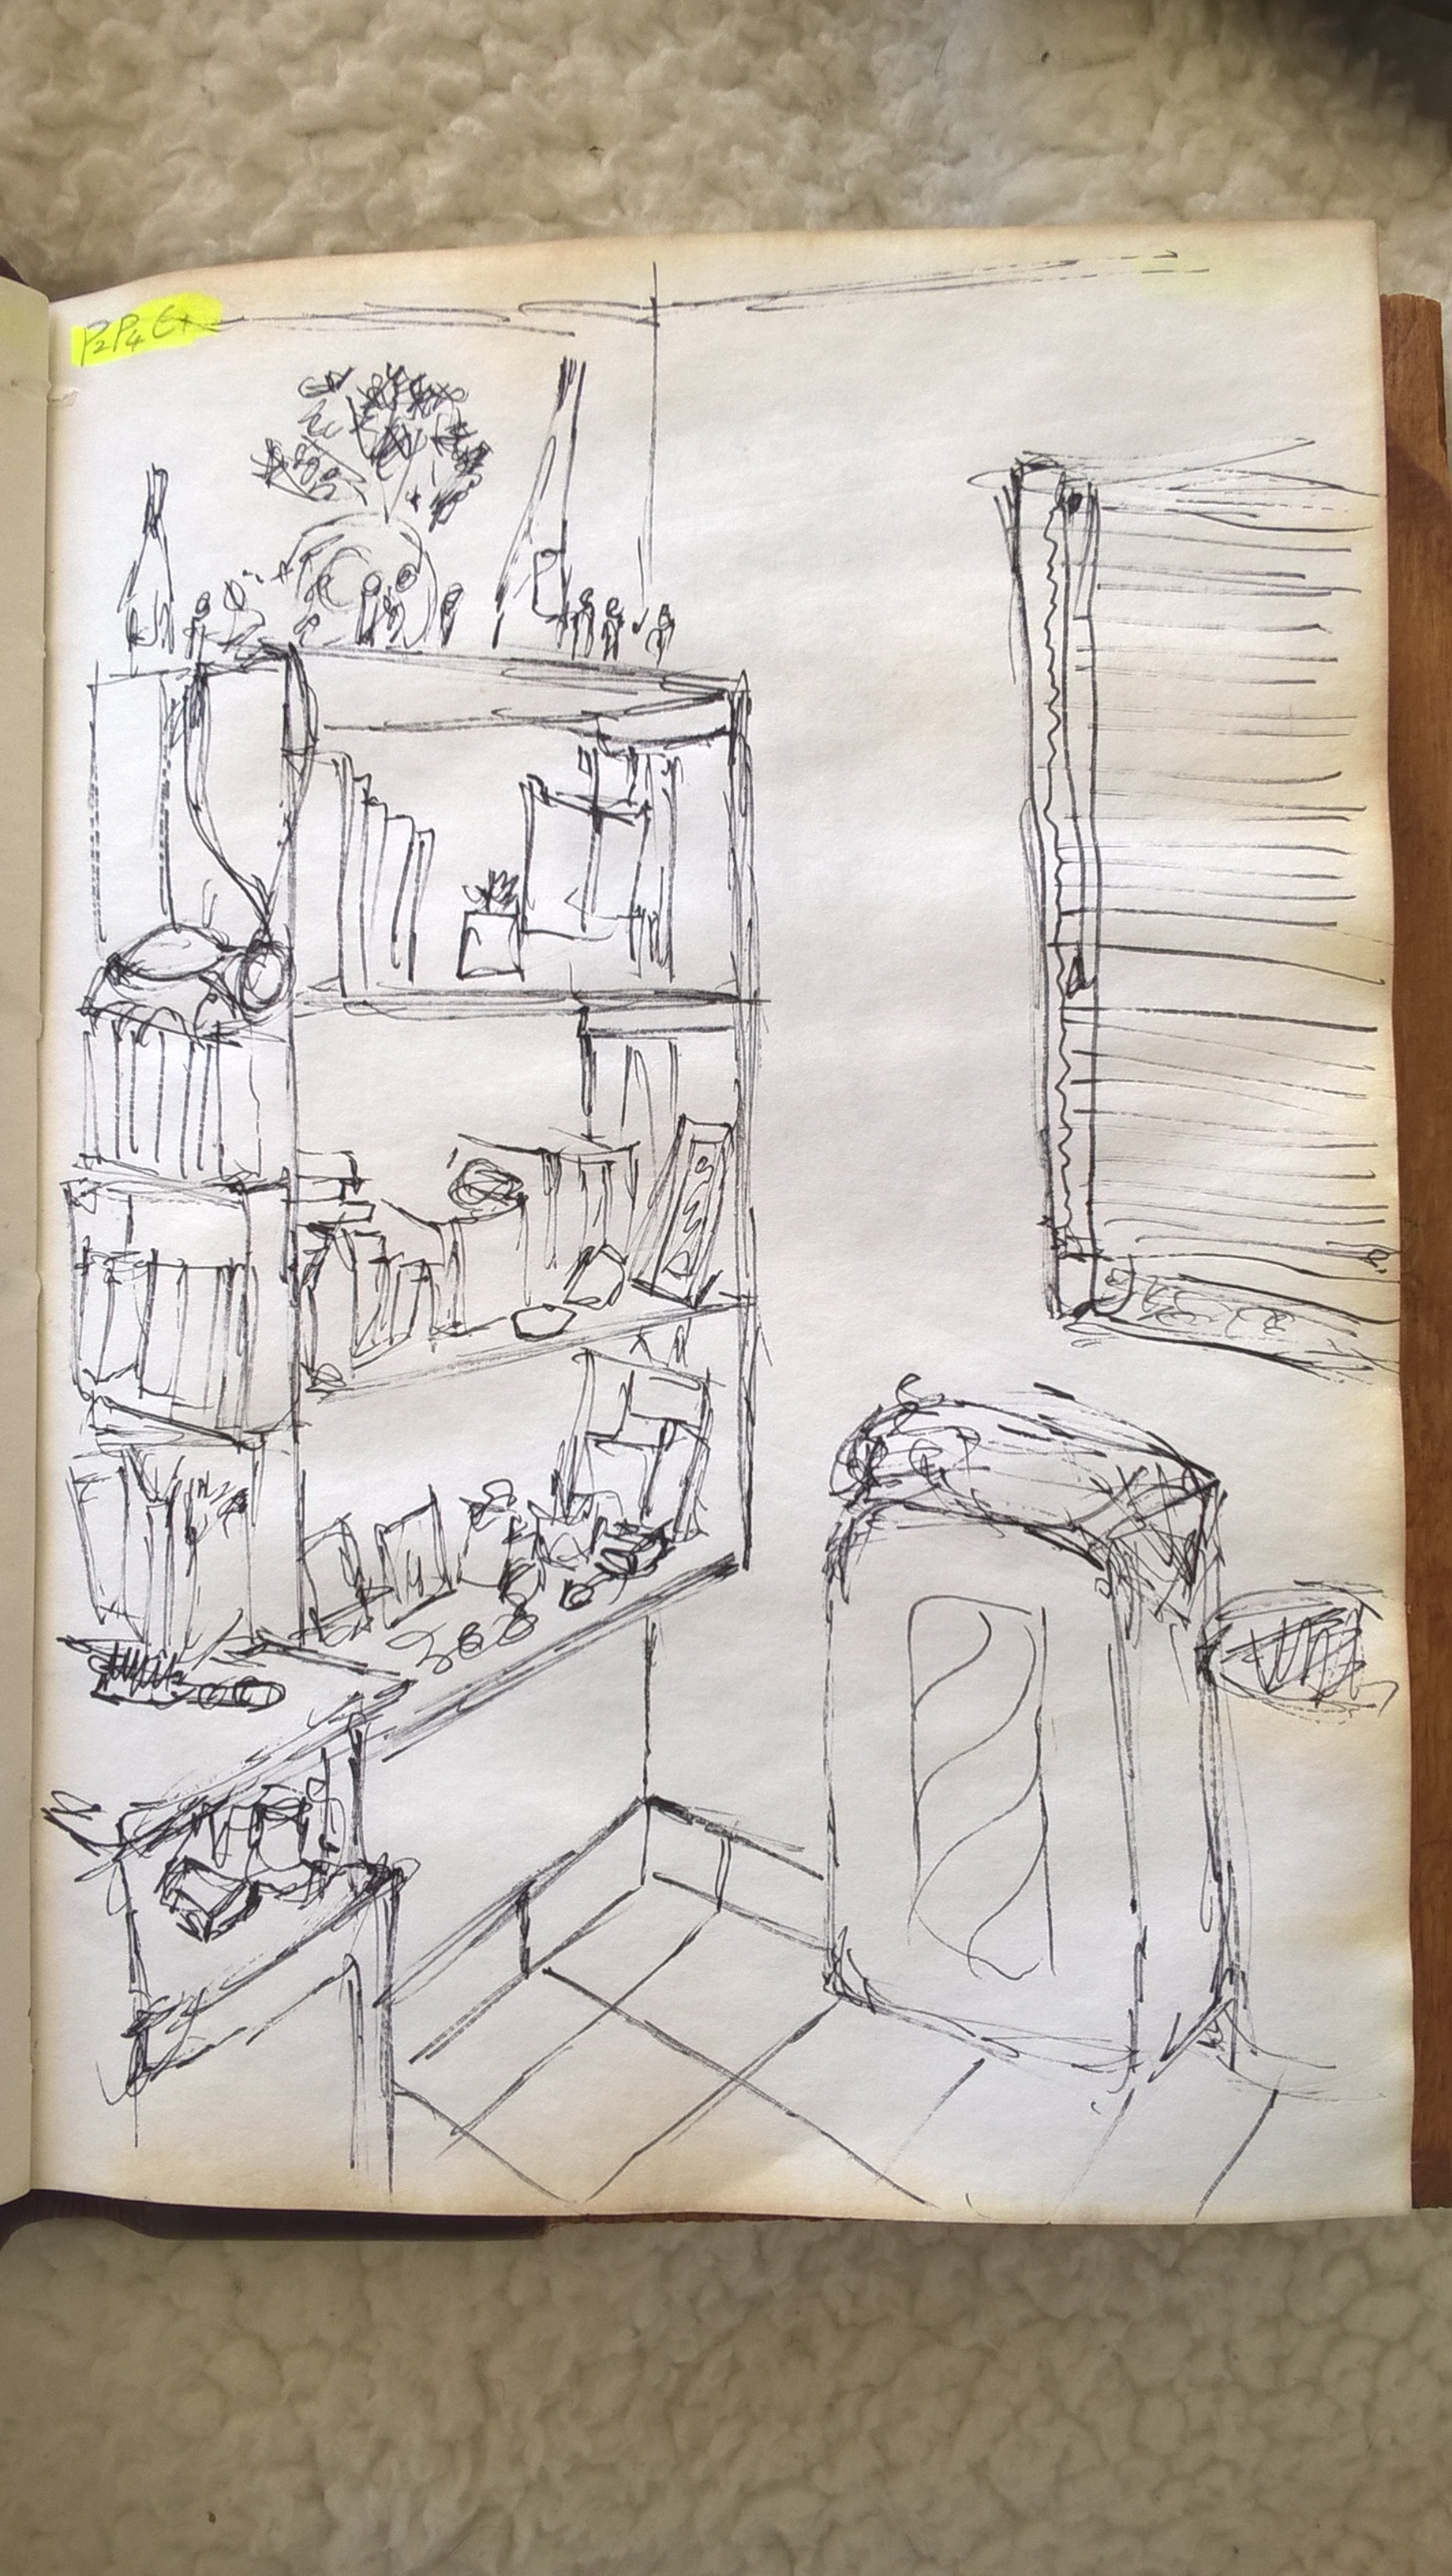
Jonas Wood
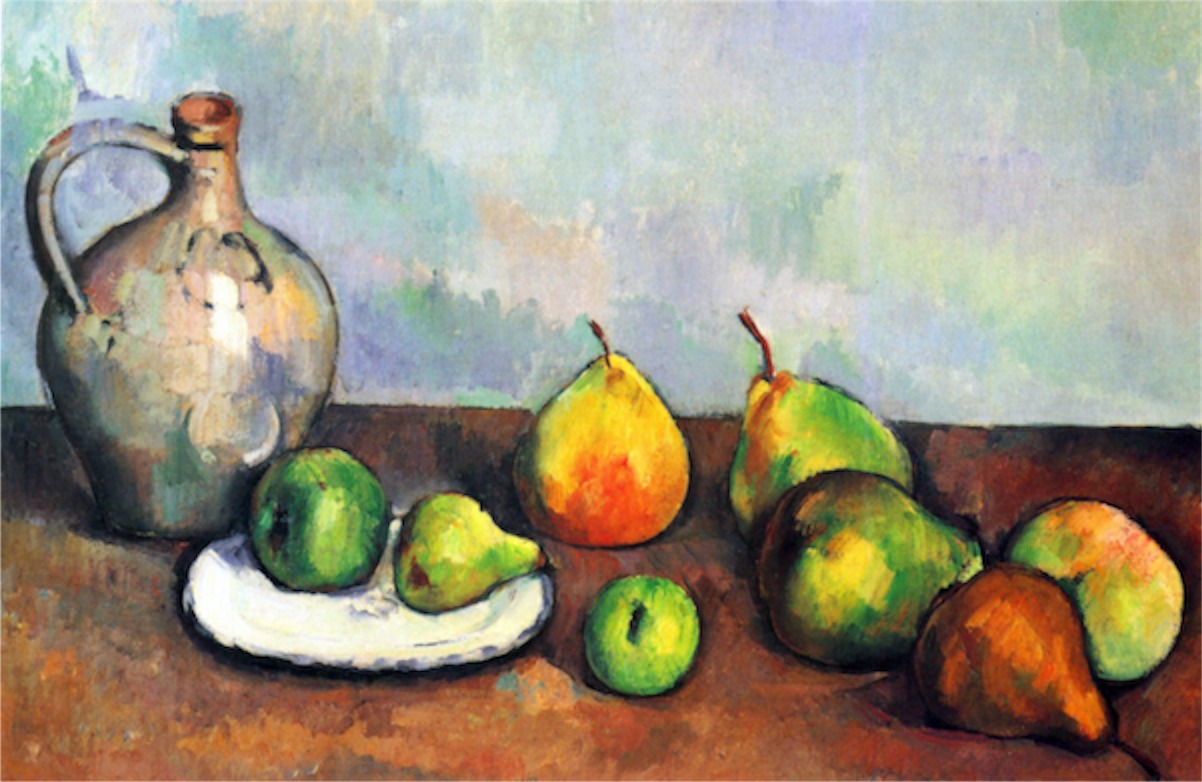
Jona Wood is well known for his depictions of everyday scenes and objects. He was inspired by the disconnected angles and planes of cubism and so uses odd views for his artwork. He starts off with photographic bases and then goes on to layer different perspectives into the artwork giving an almost abstract atmosphere to his work.

black still life 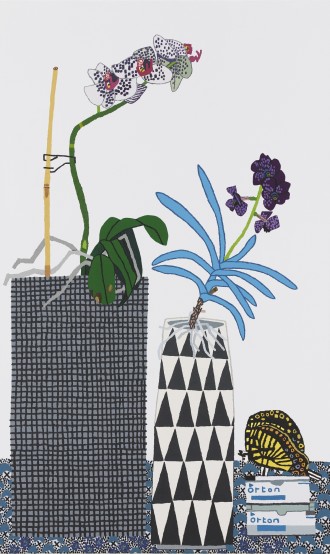
shio butterfly still life 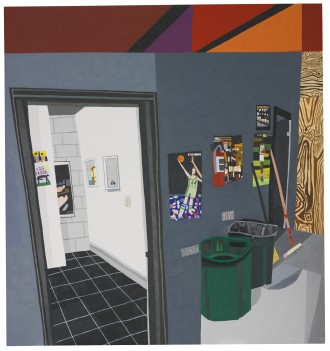
studio hallway 
the speller
Date I visited site: 19/08/2019
https://www.sothebys.com/en/artists/jonas-wood
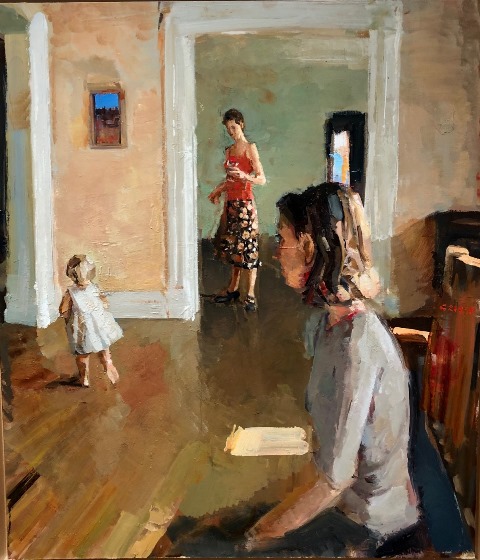
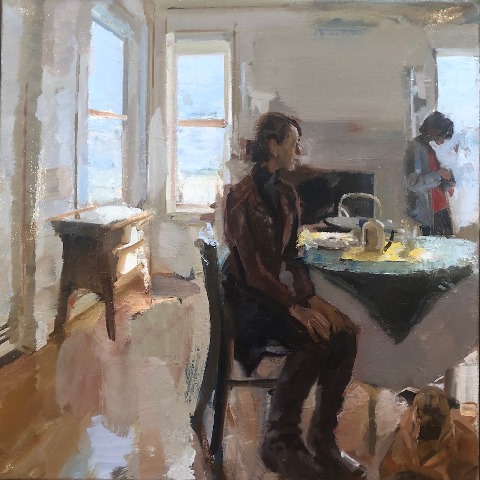
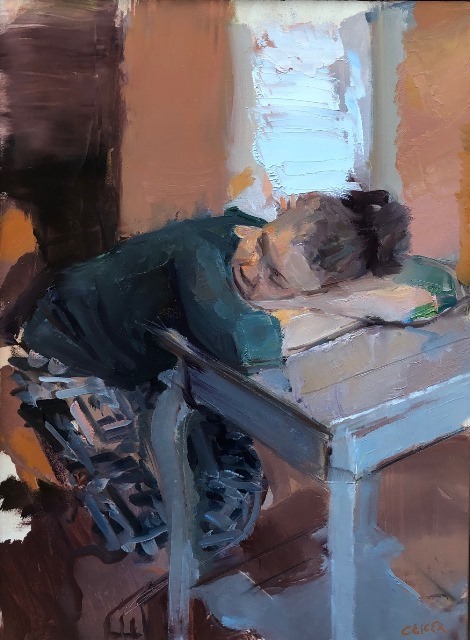
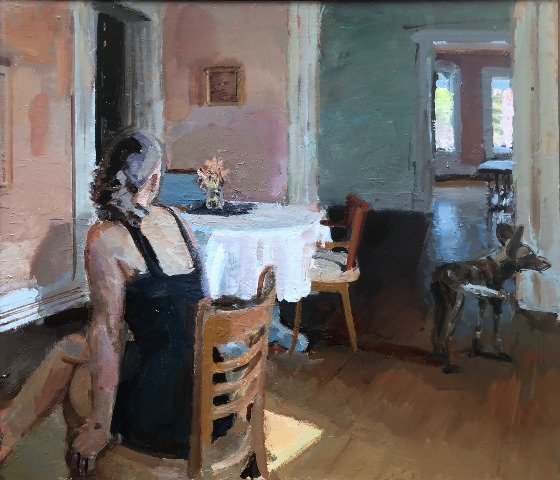
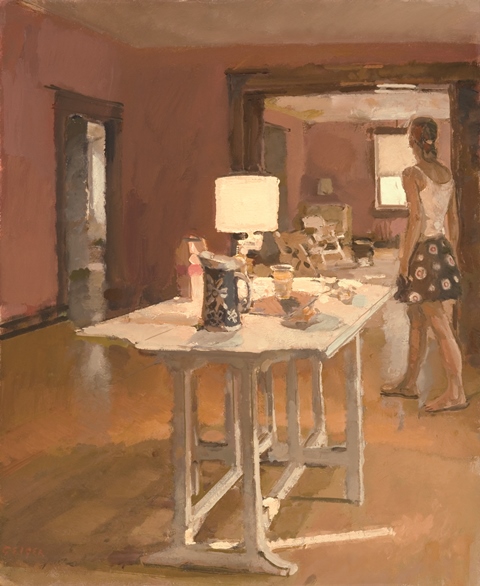
Phillip Geiger
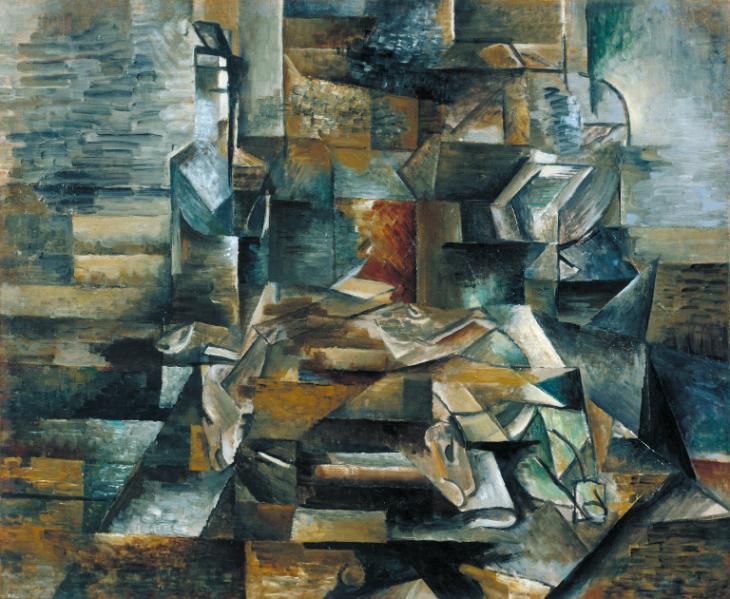
Phillip Geiger depicts scenes of everyday life with his family. His use of loose brushwork and colour give a calm and peaceful effect on the viewer. His work tells us focus on and appreciate the calm and mundane moments and events in life. His work is simplistic yet says a lot about peoples misplaced priorities. The simple and seamingly unimportant moments in life are the ones we look back on when remembering loved ones and so must be treasured. Geiger immortalizes these moments in his artwork


