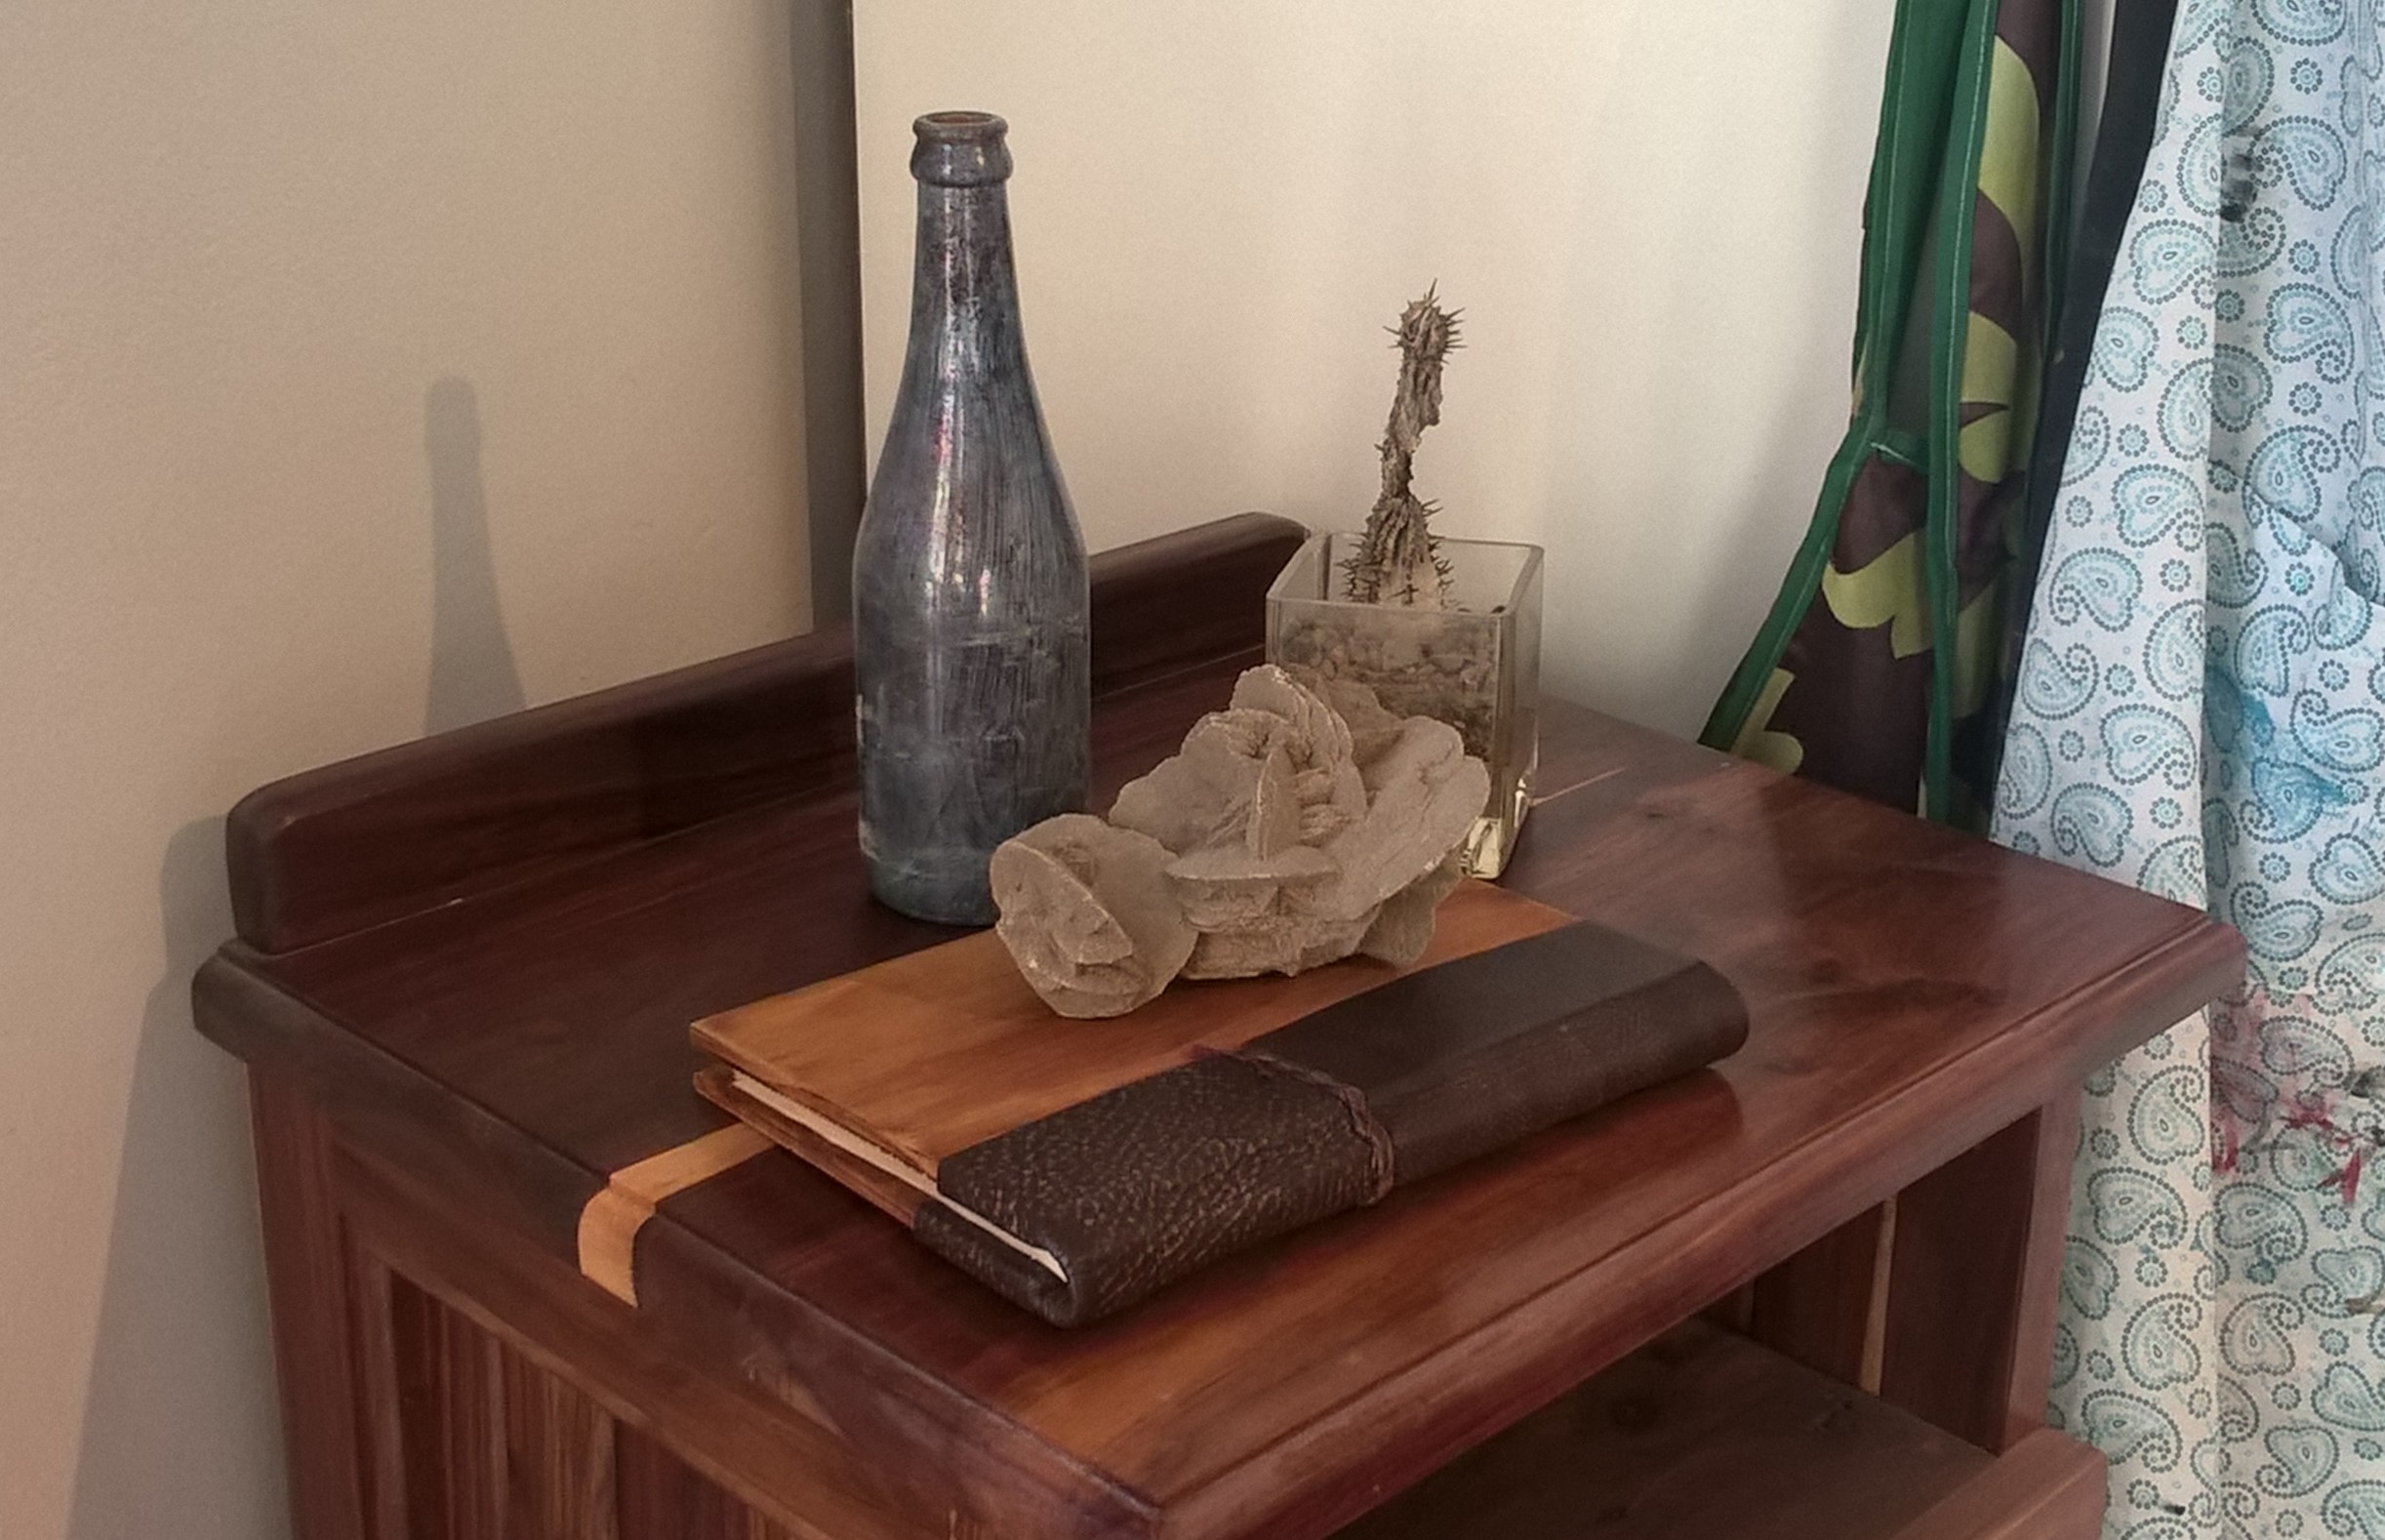
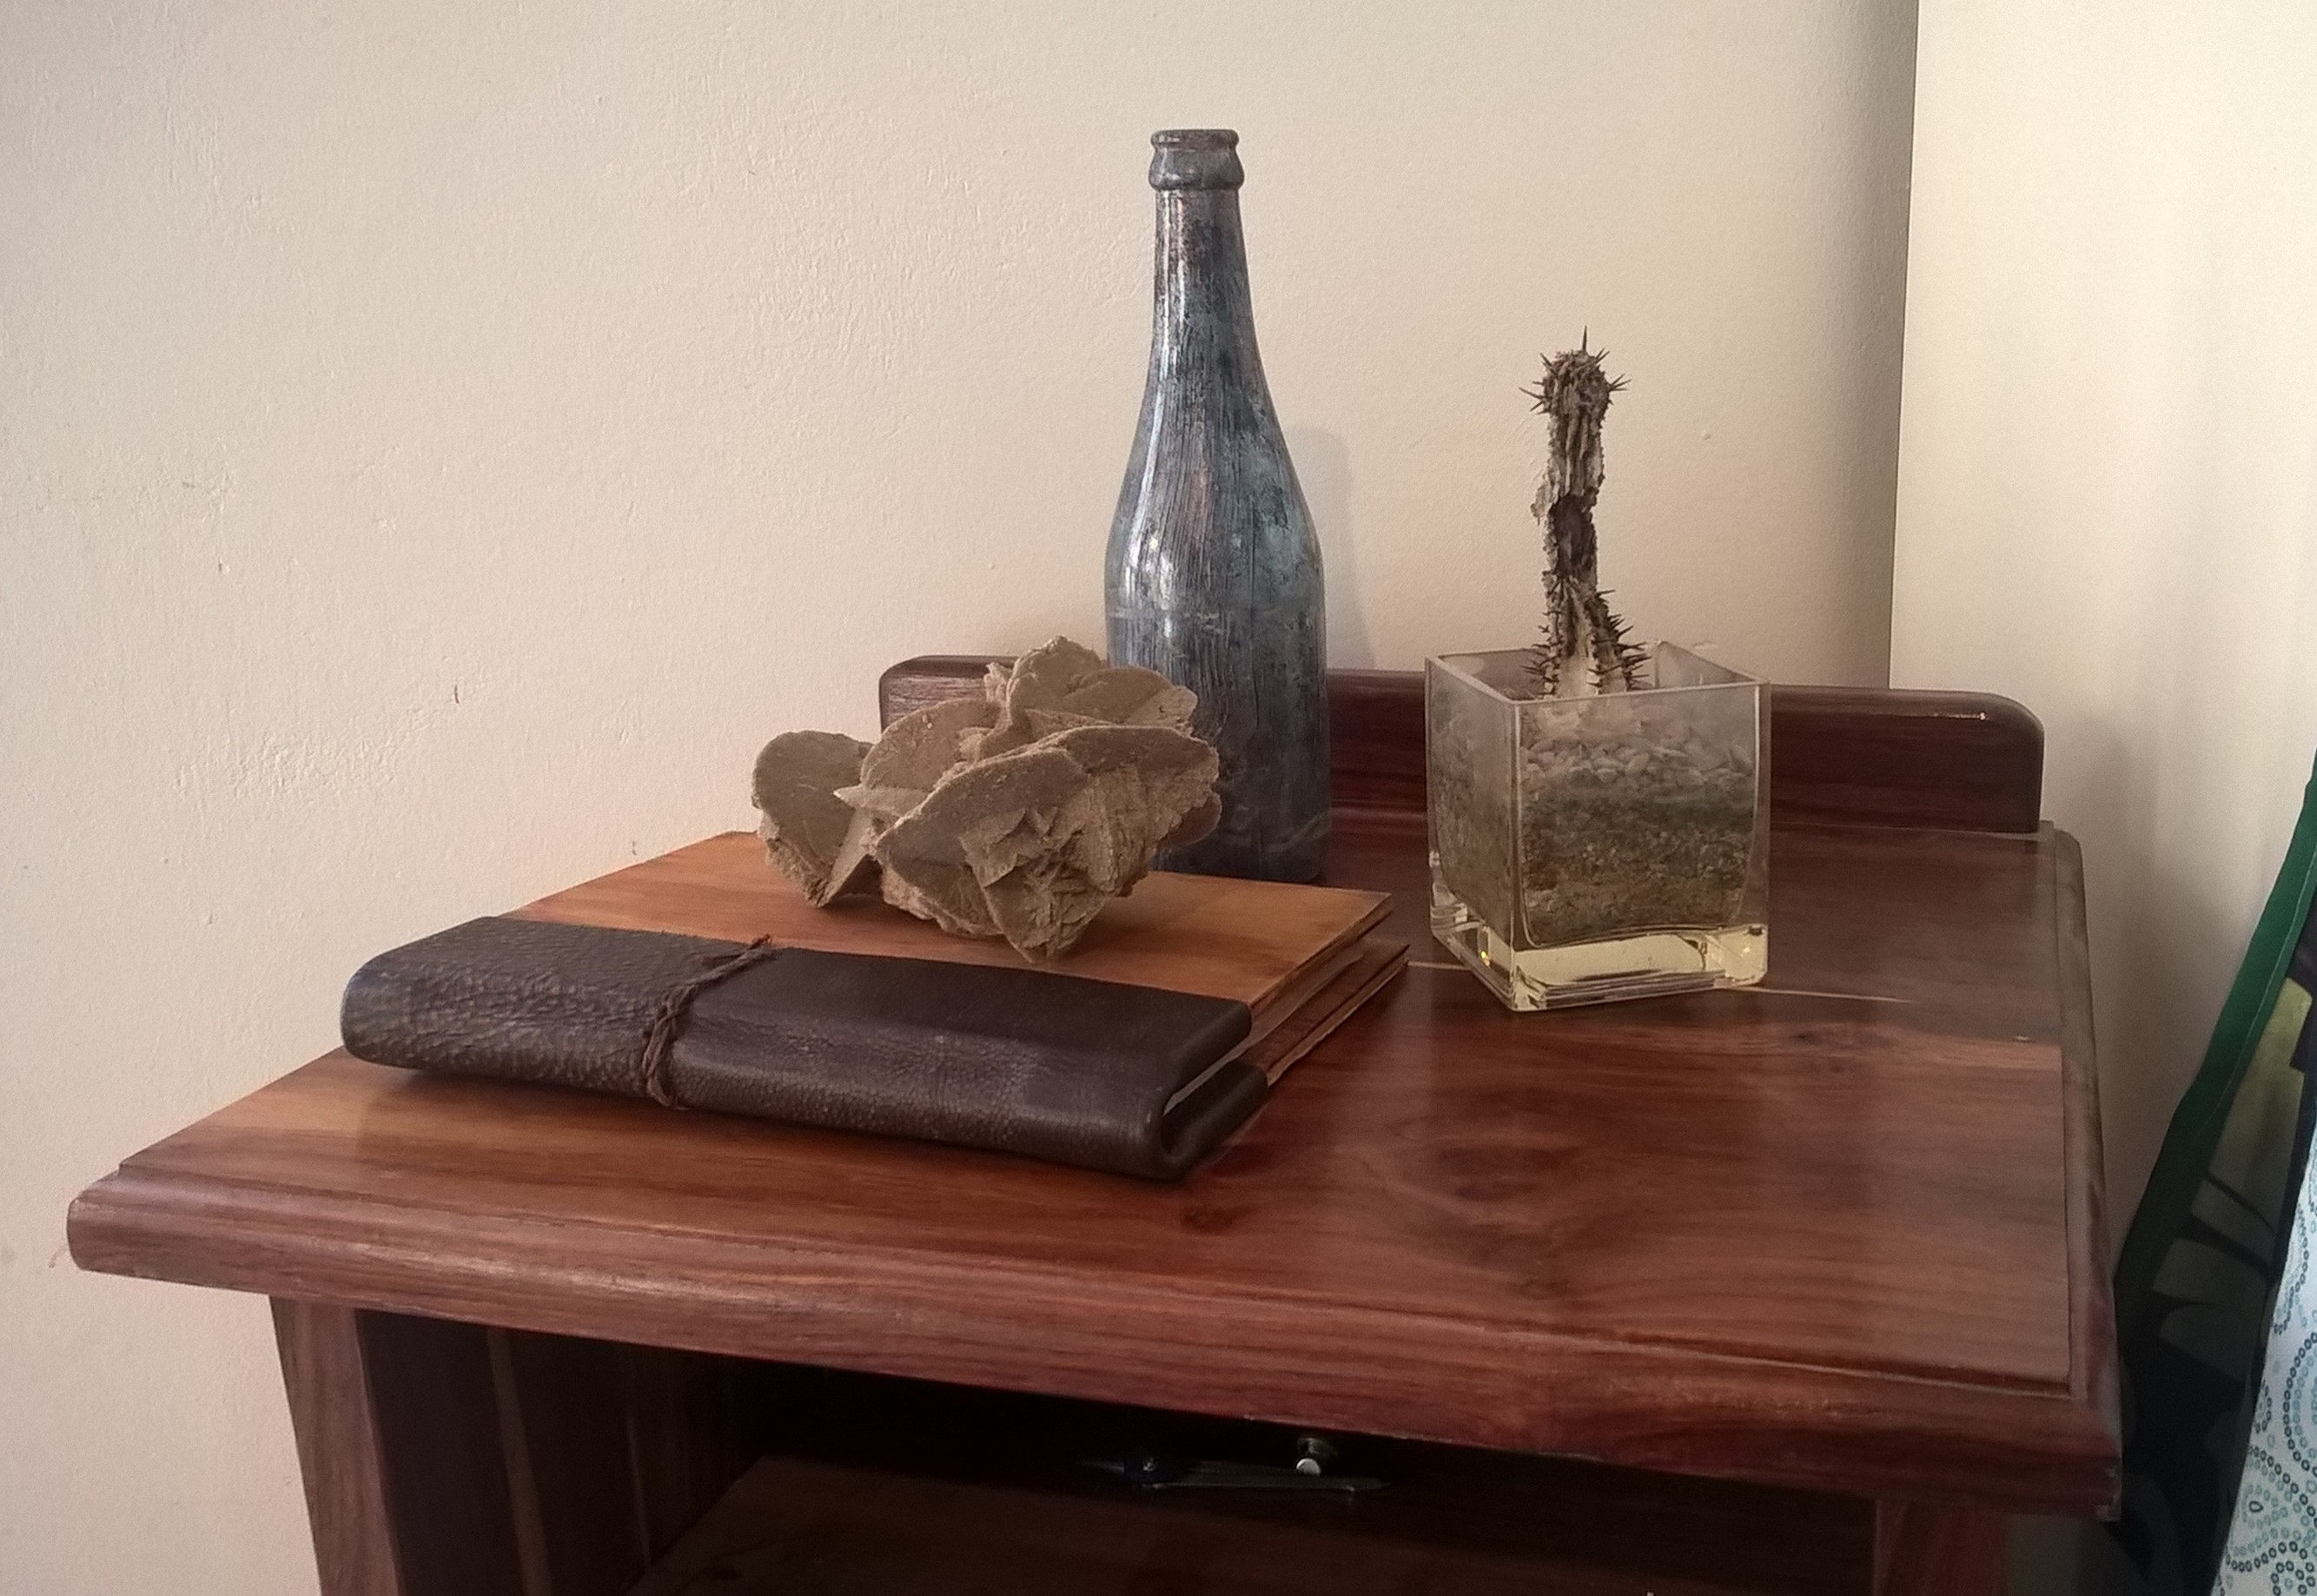
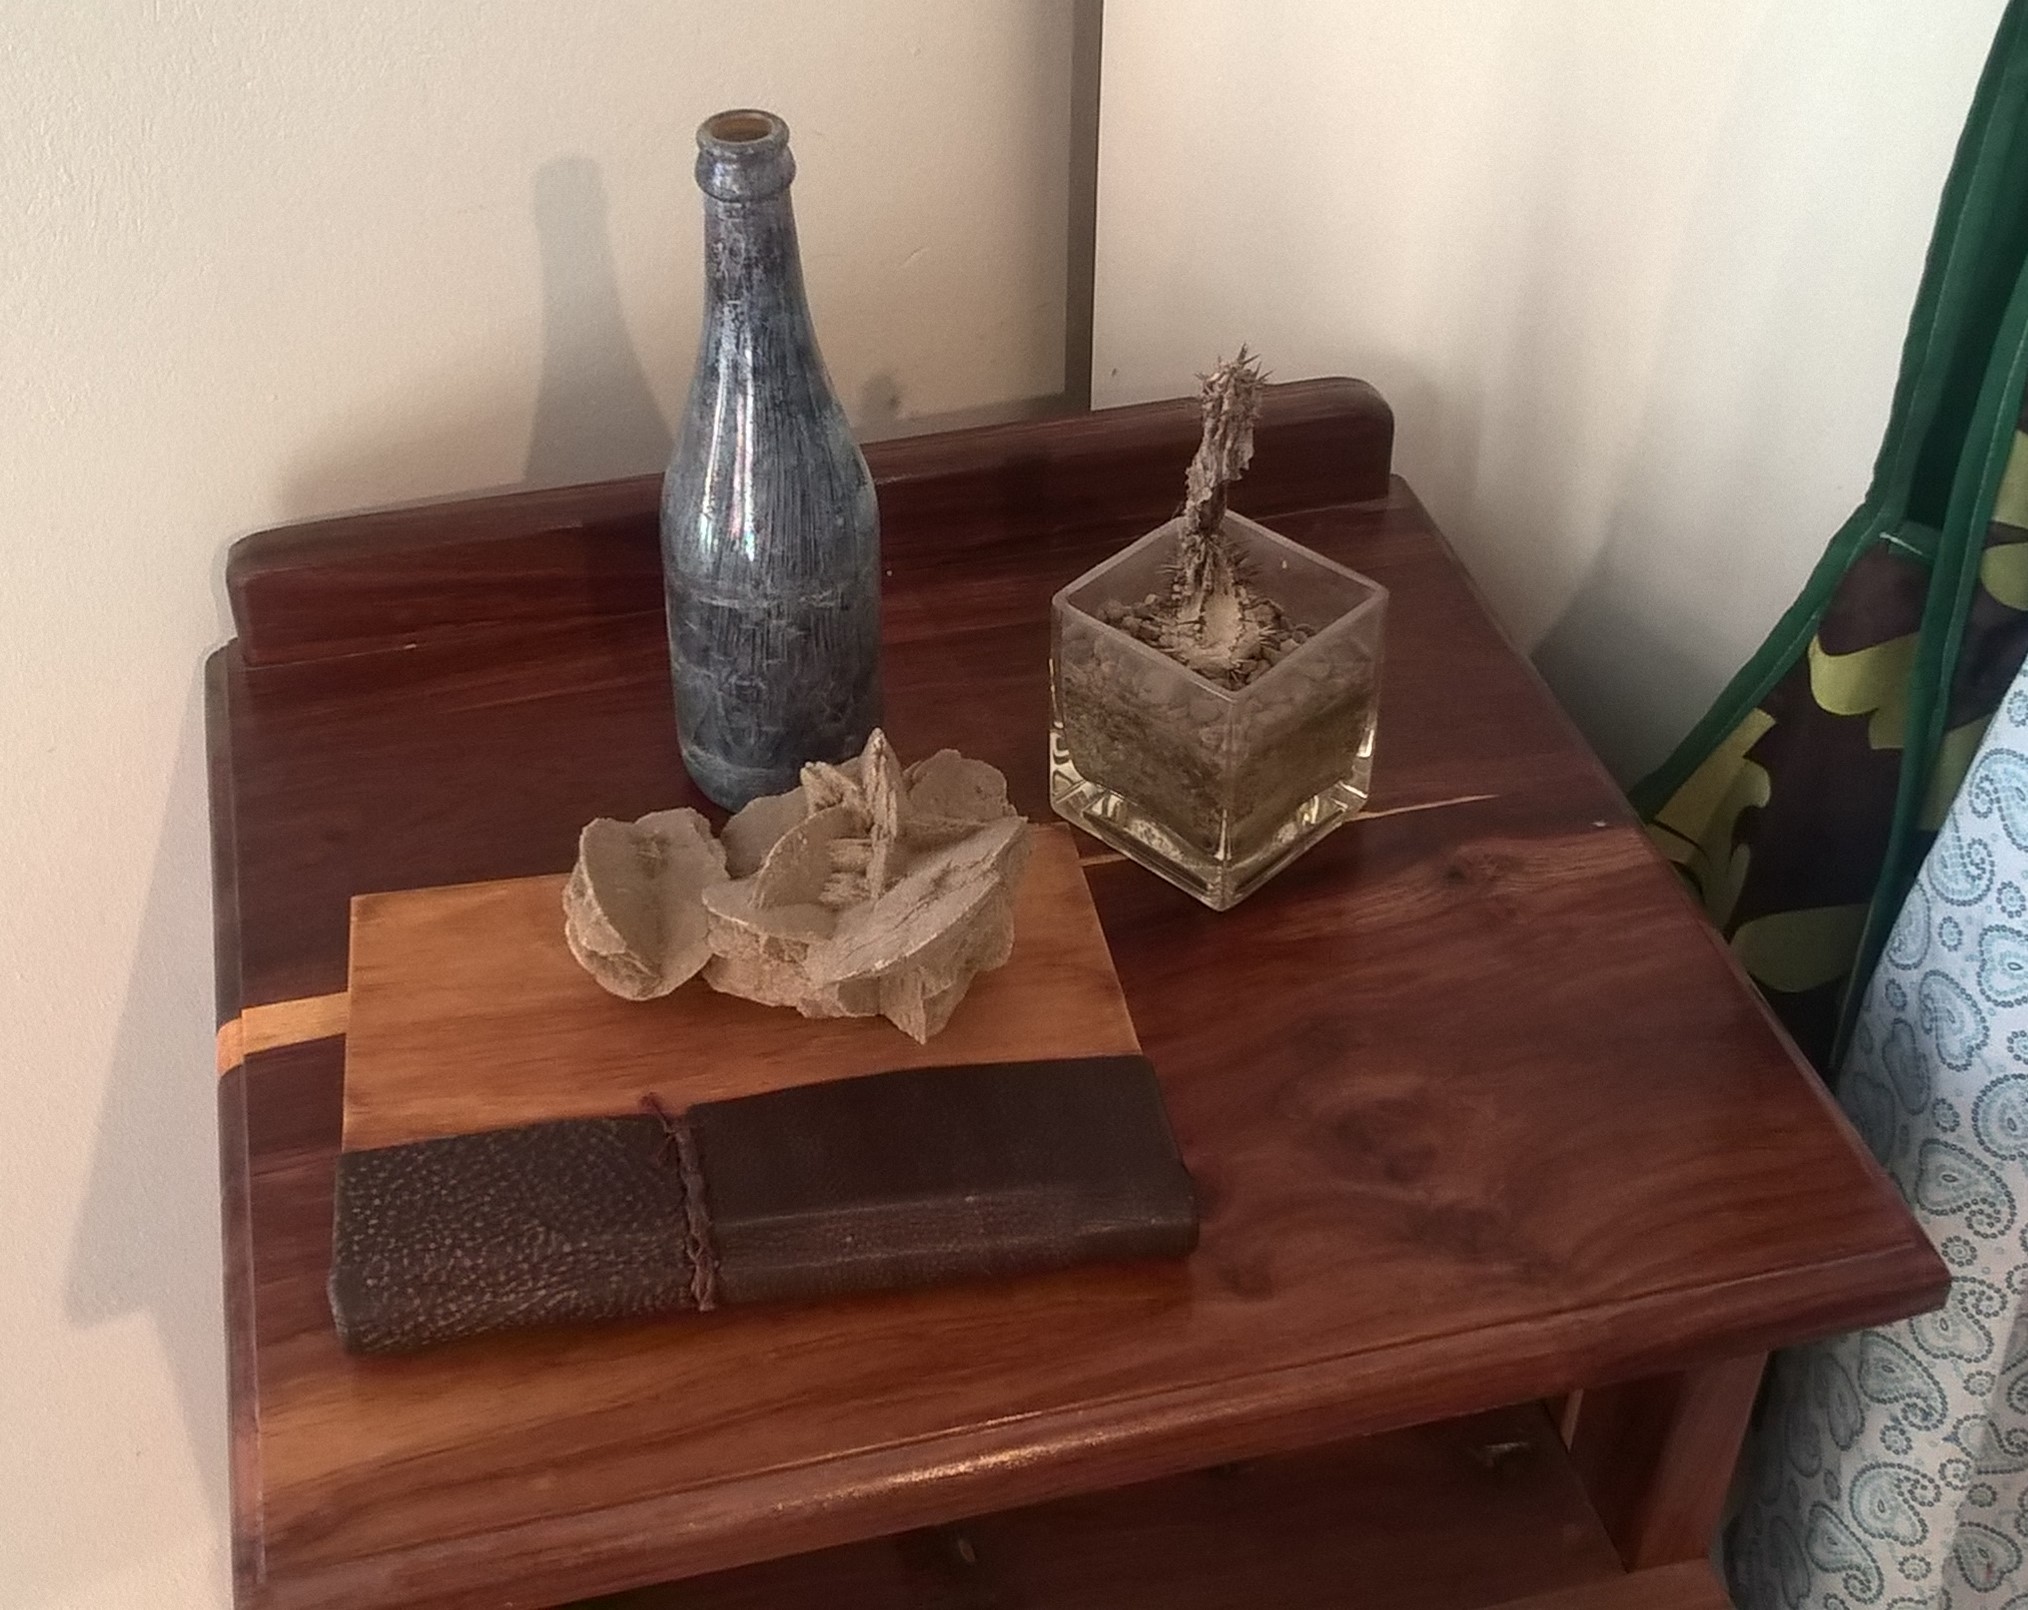
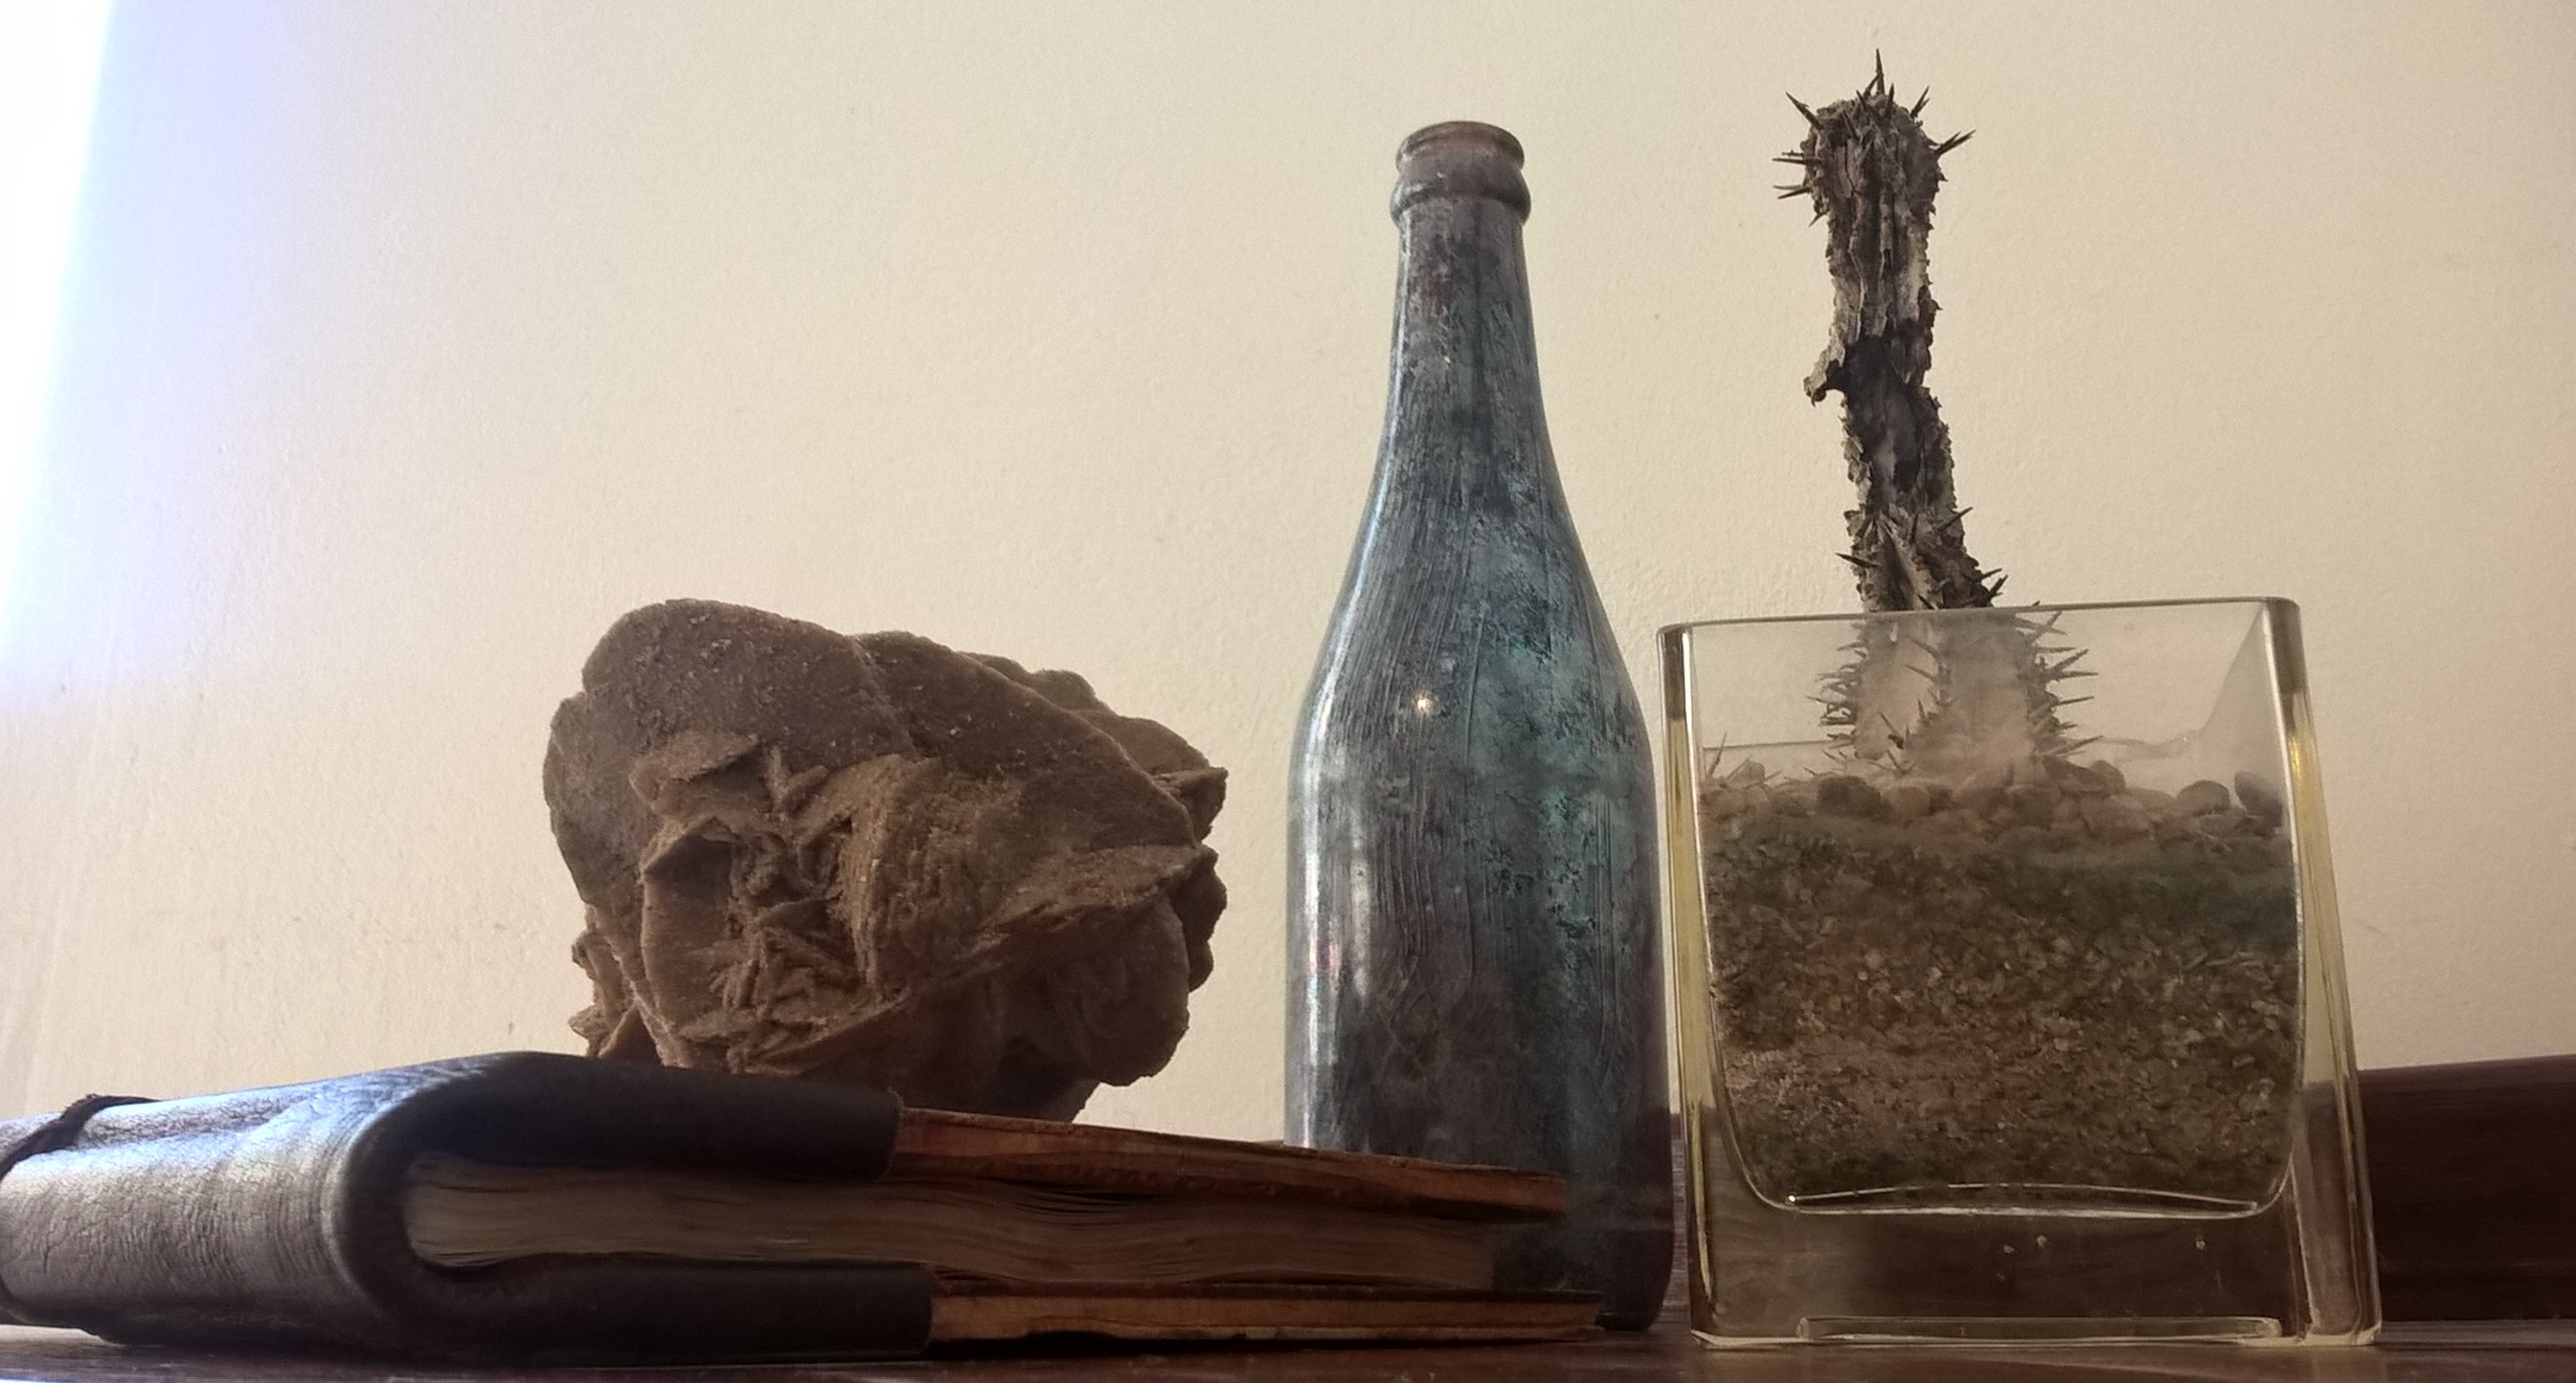
The objects I collected for my still life have the common theme of the desert/Africa. I gave my still life two light sources,one being natural light coming from the window and the other from the lights in my room. I then took pictures from different angles.

Next I made sketches using the pictures as references until I found an angle that I liked.
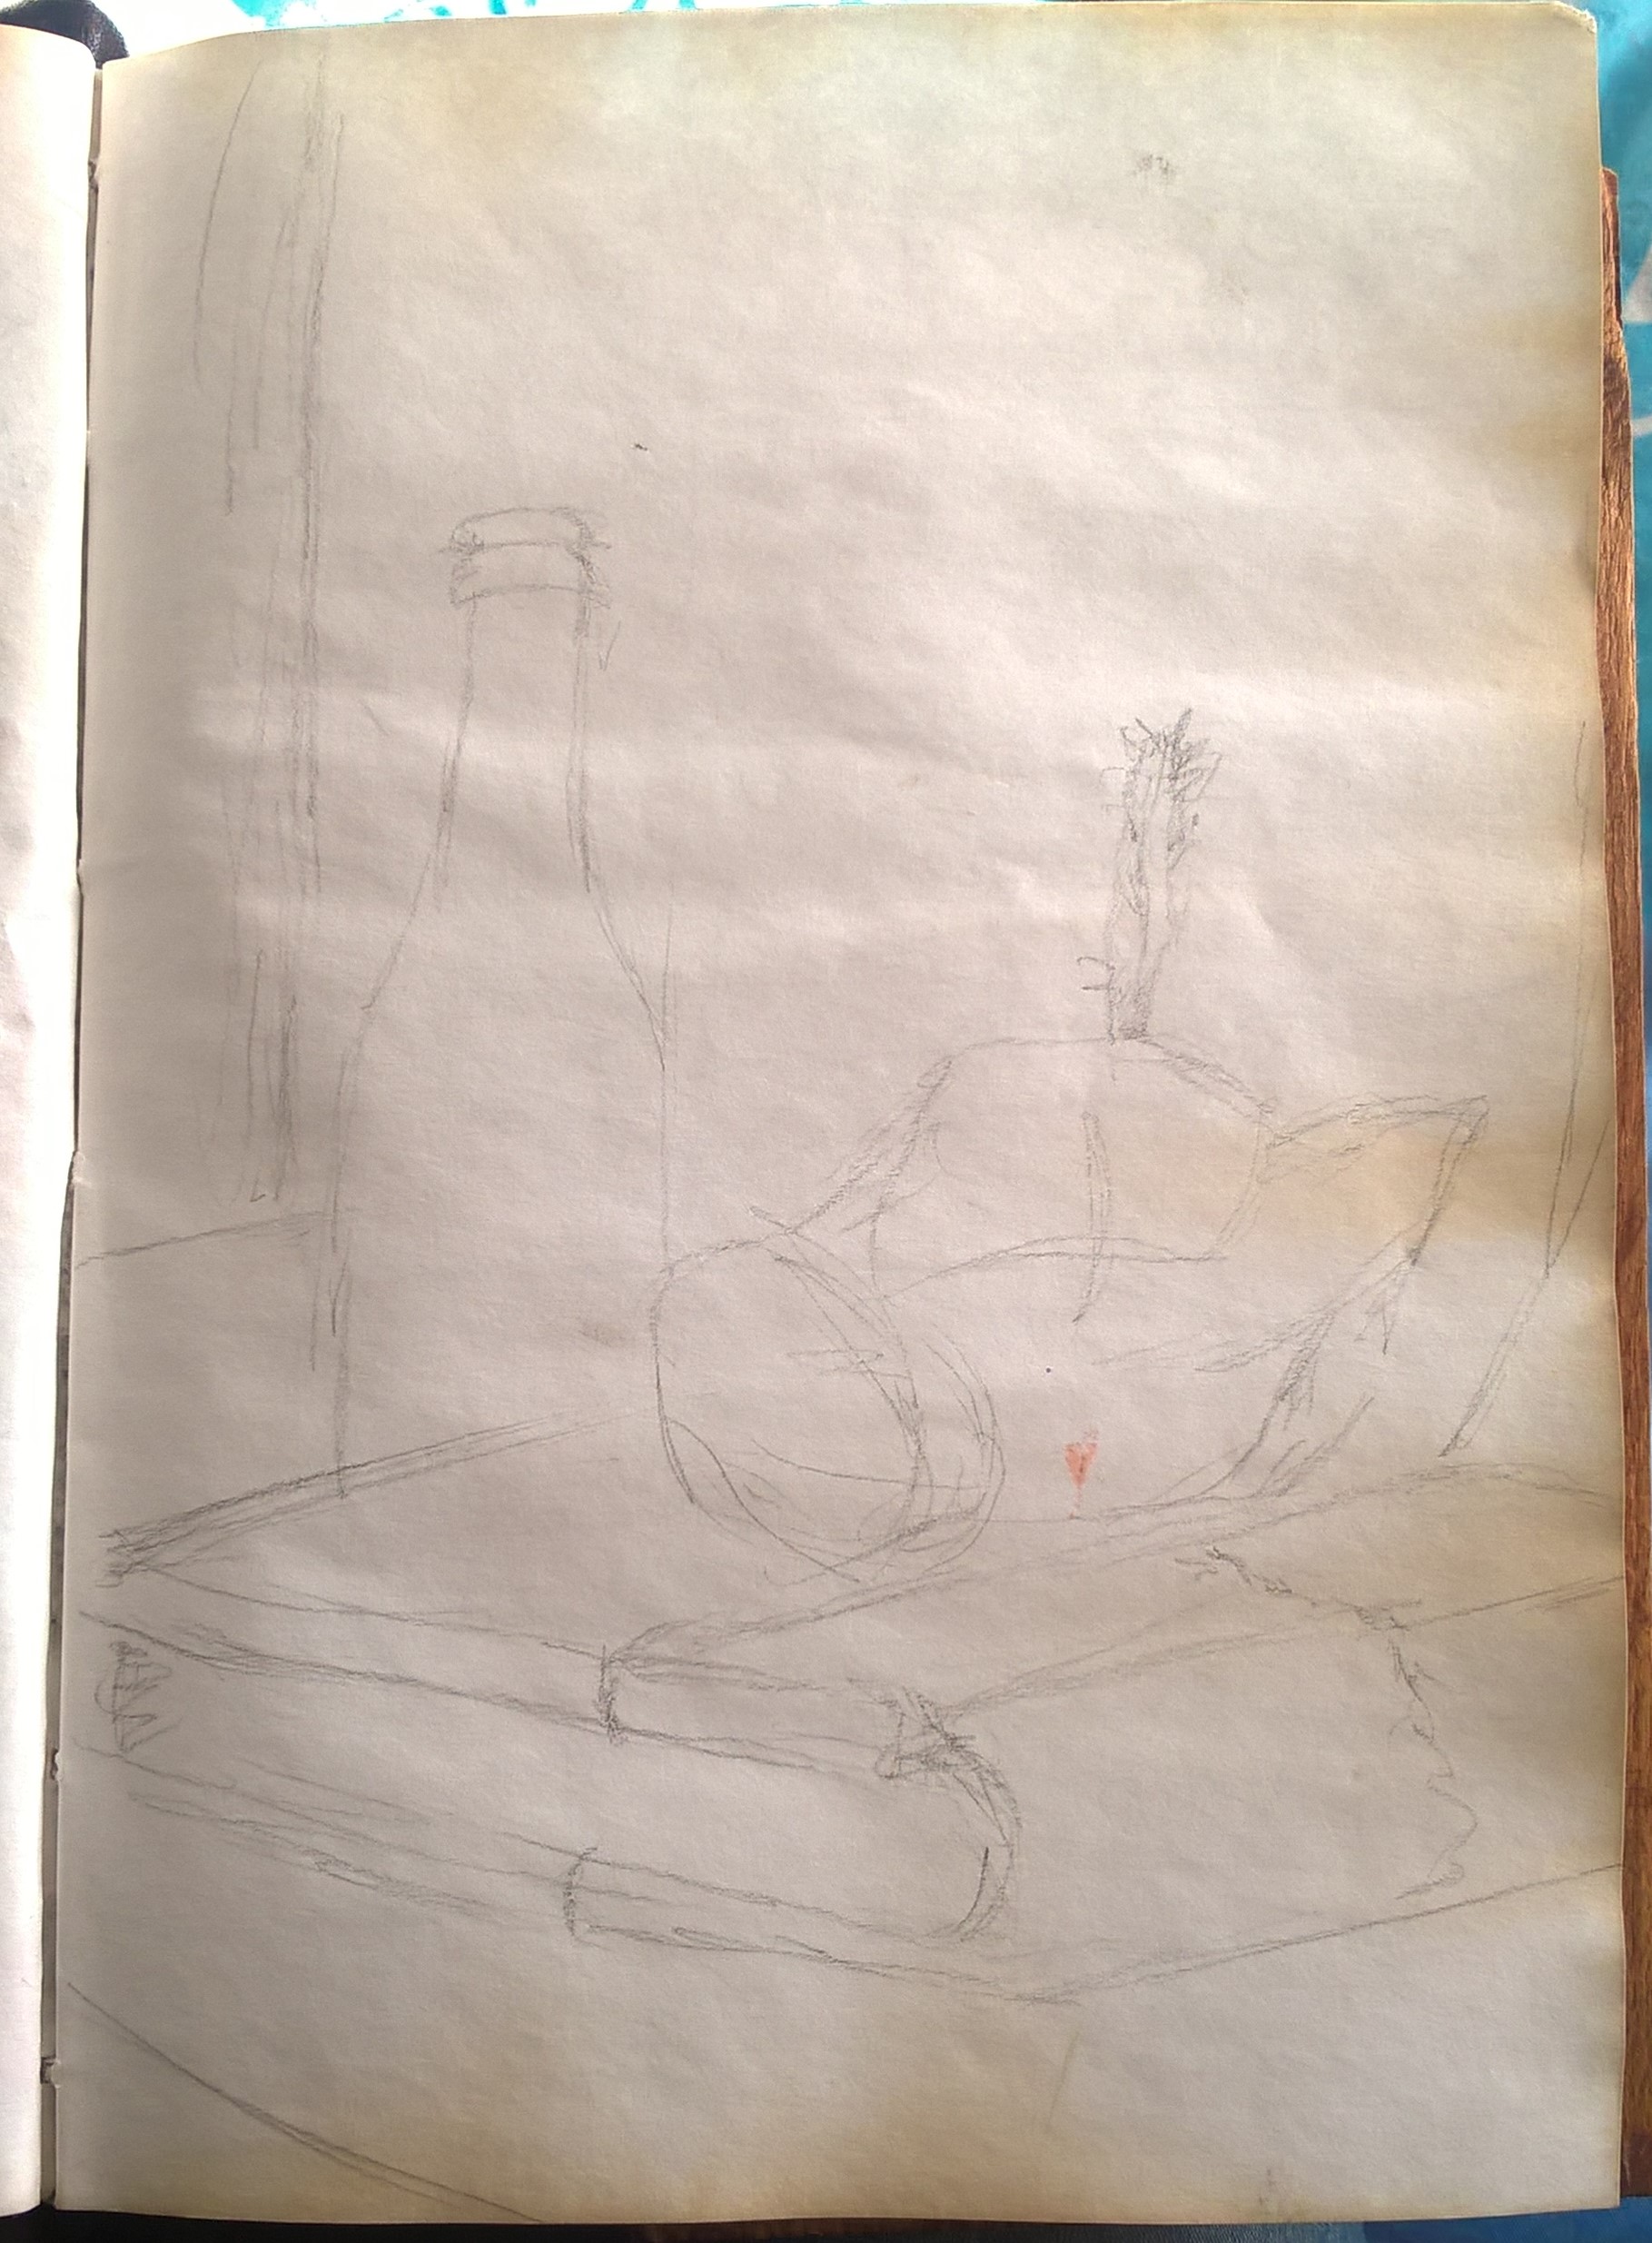
i 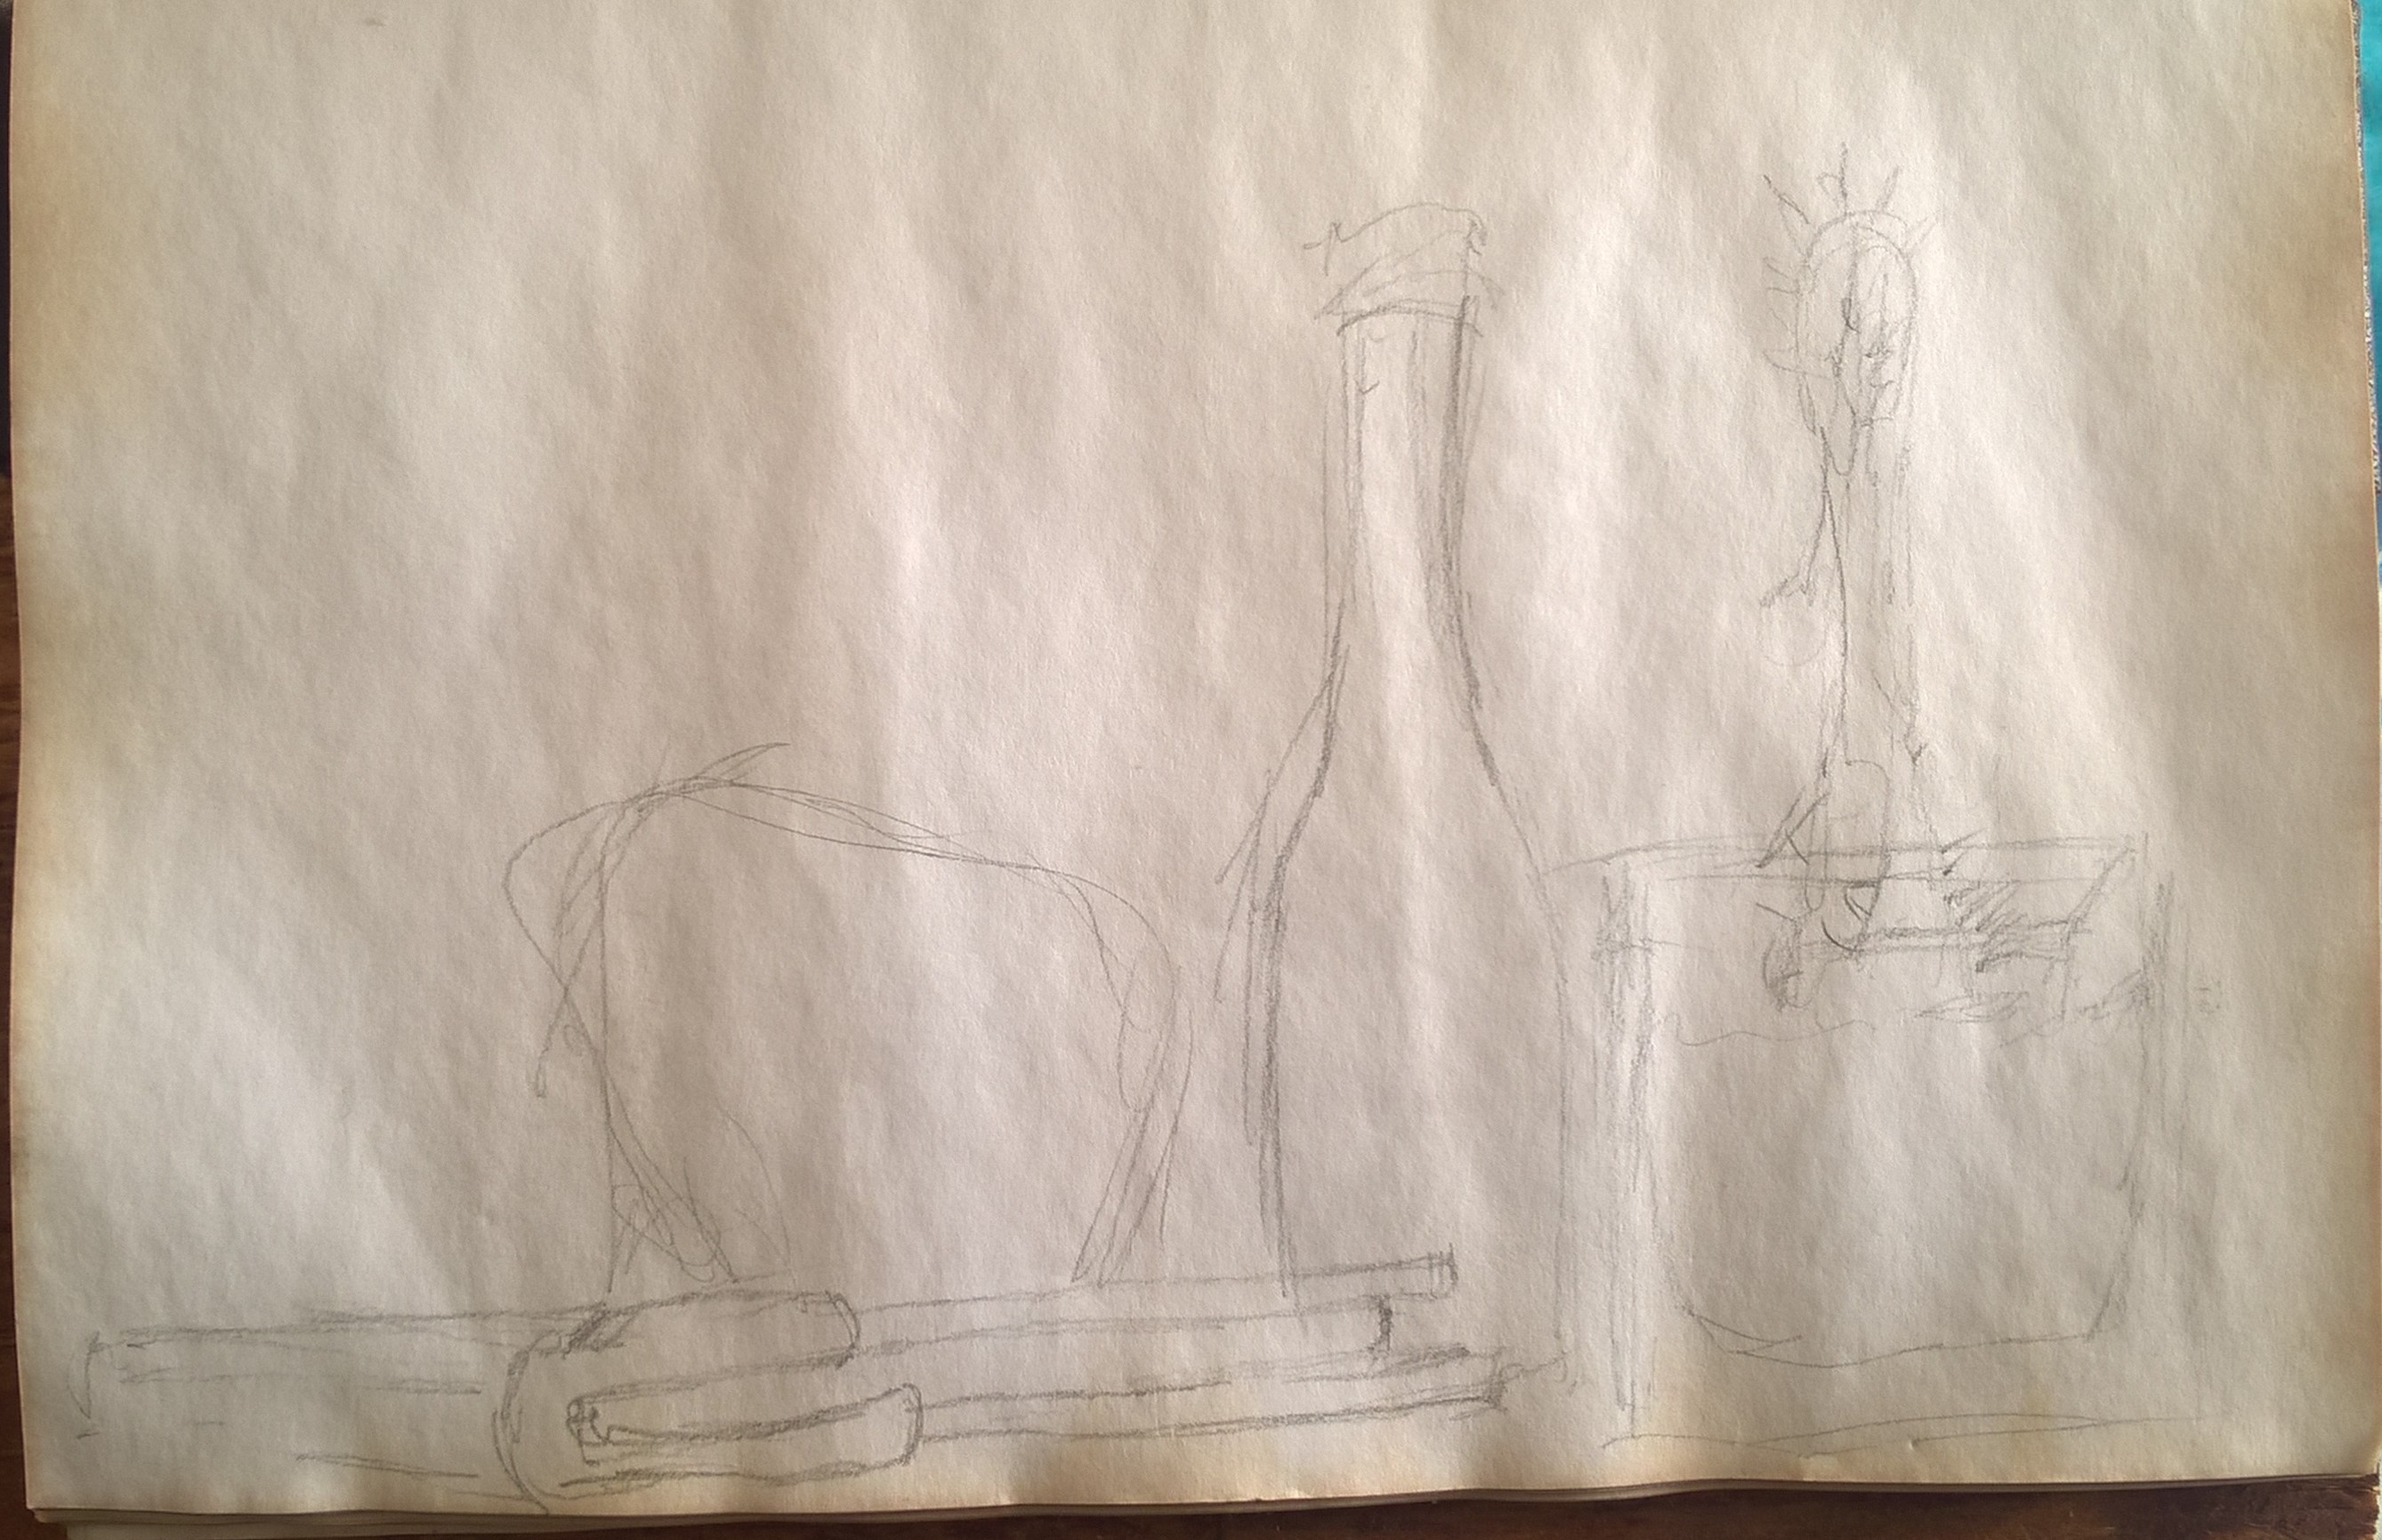
ii 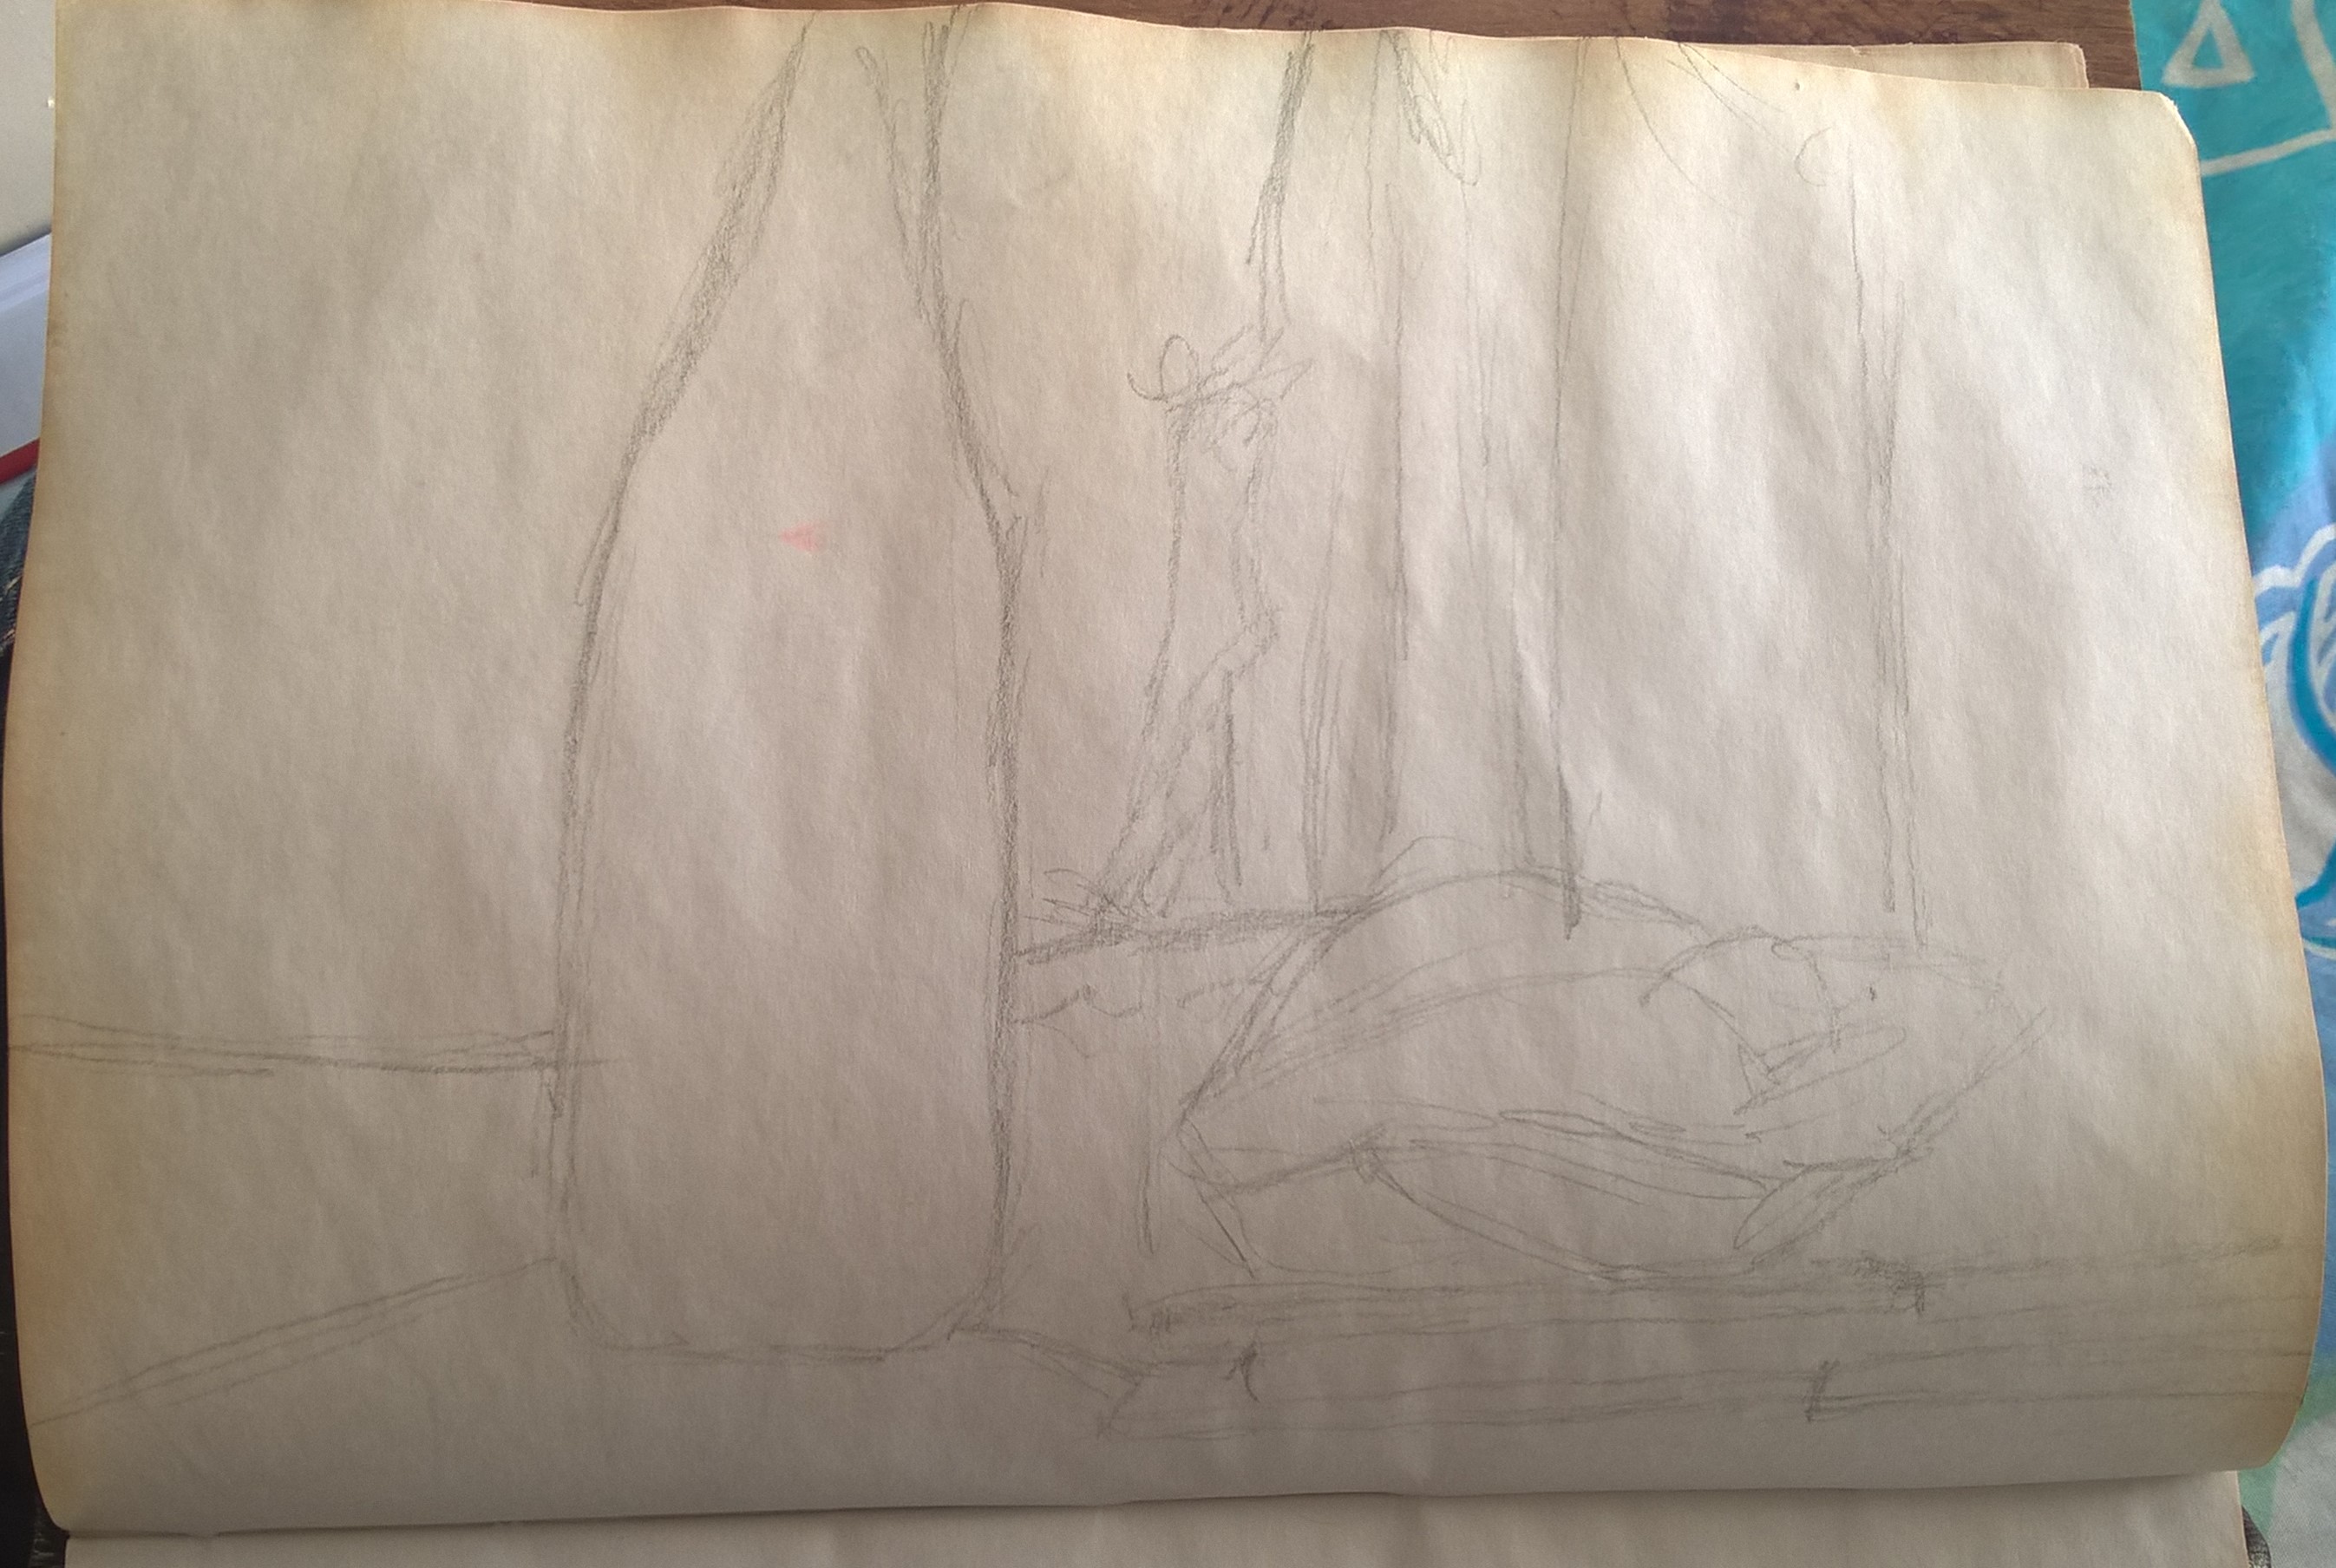
iii
I decided that the best line work would be done with my dip pen and used my smallest nib in order to catch more detail. I went over the sketches with my dip pen to see how it would look and it it would work the way i wanted it to. In in sketch iii I tried going over the ink with a wet brush to try make larger dark areas but I was not happy with the result and the ink went through the page as seen in sketch ii.
(side note: the sponge I use in my ink pot fell onto my page and that’s why sketch ii has a black patch)
i 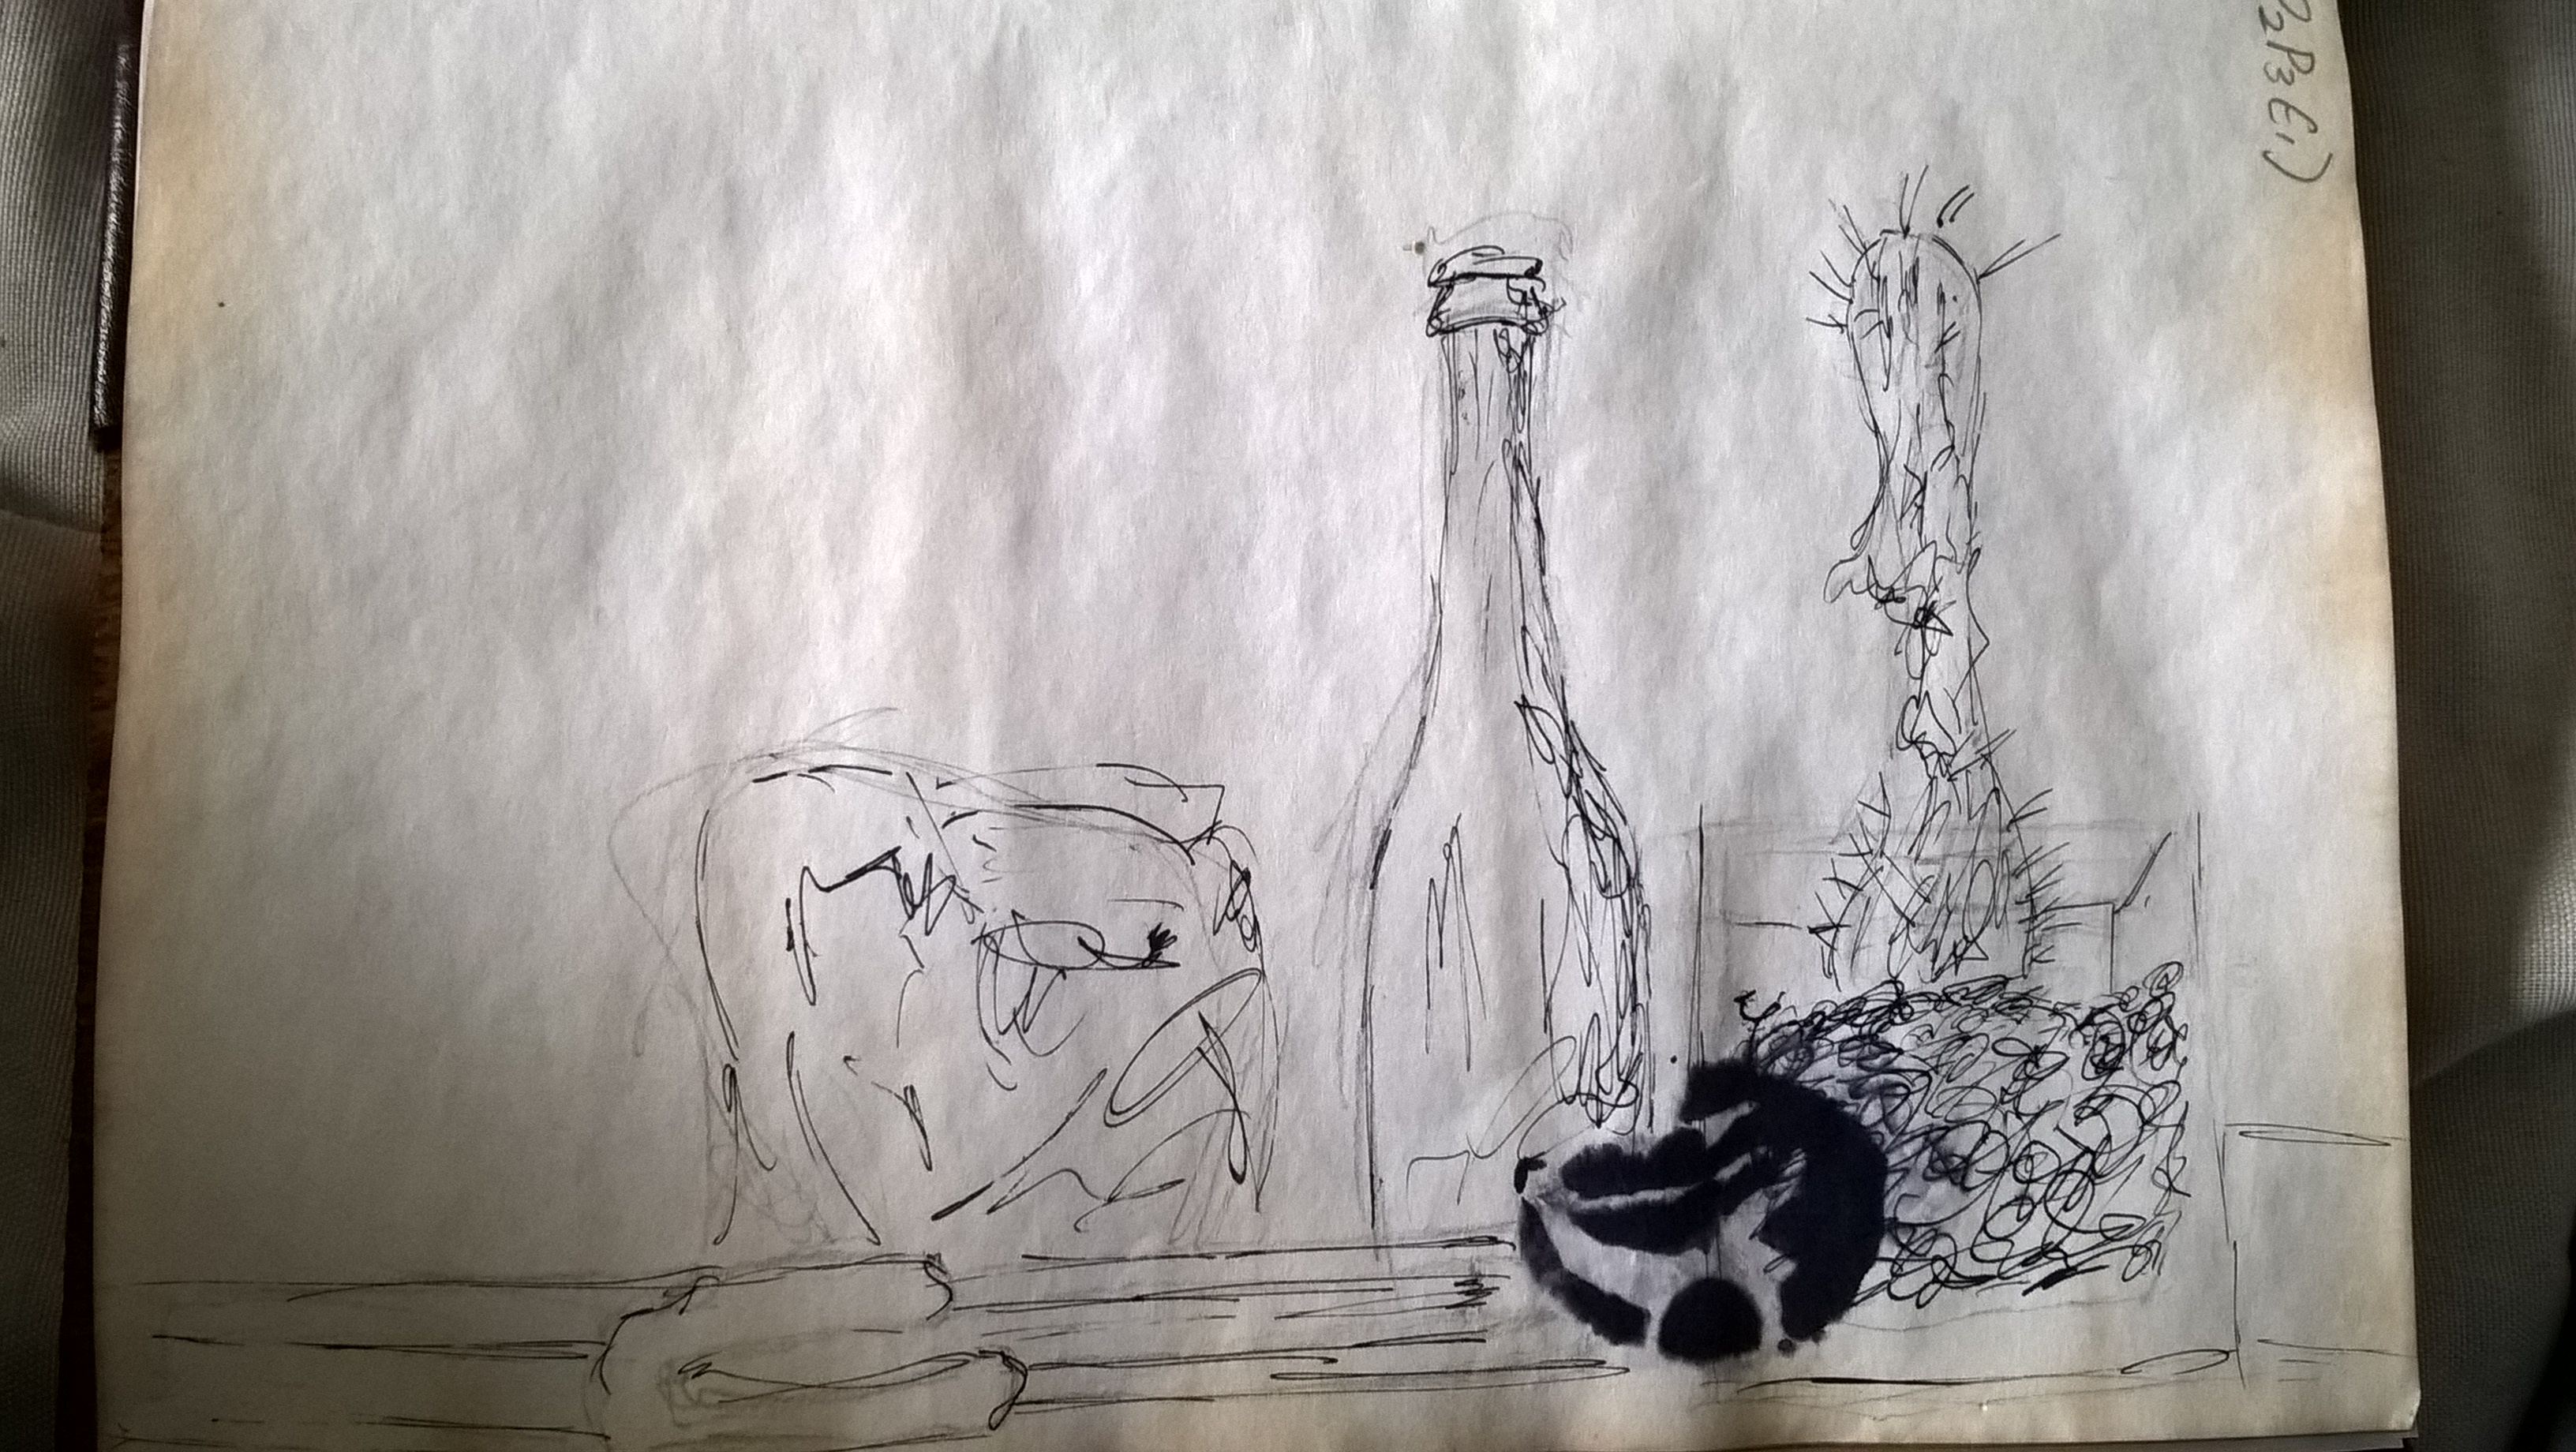
ii 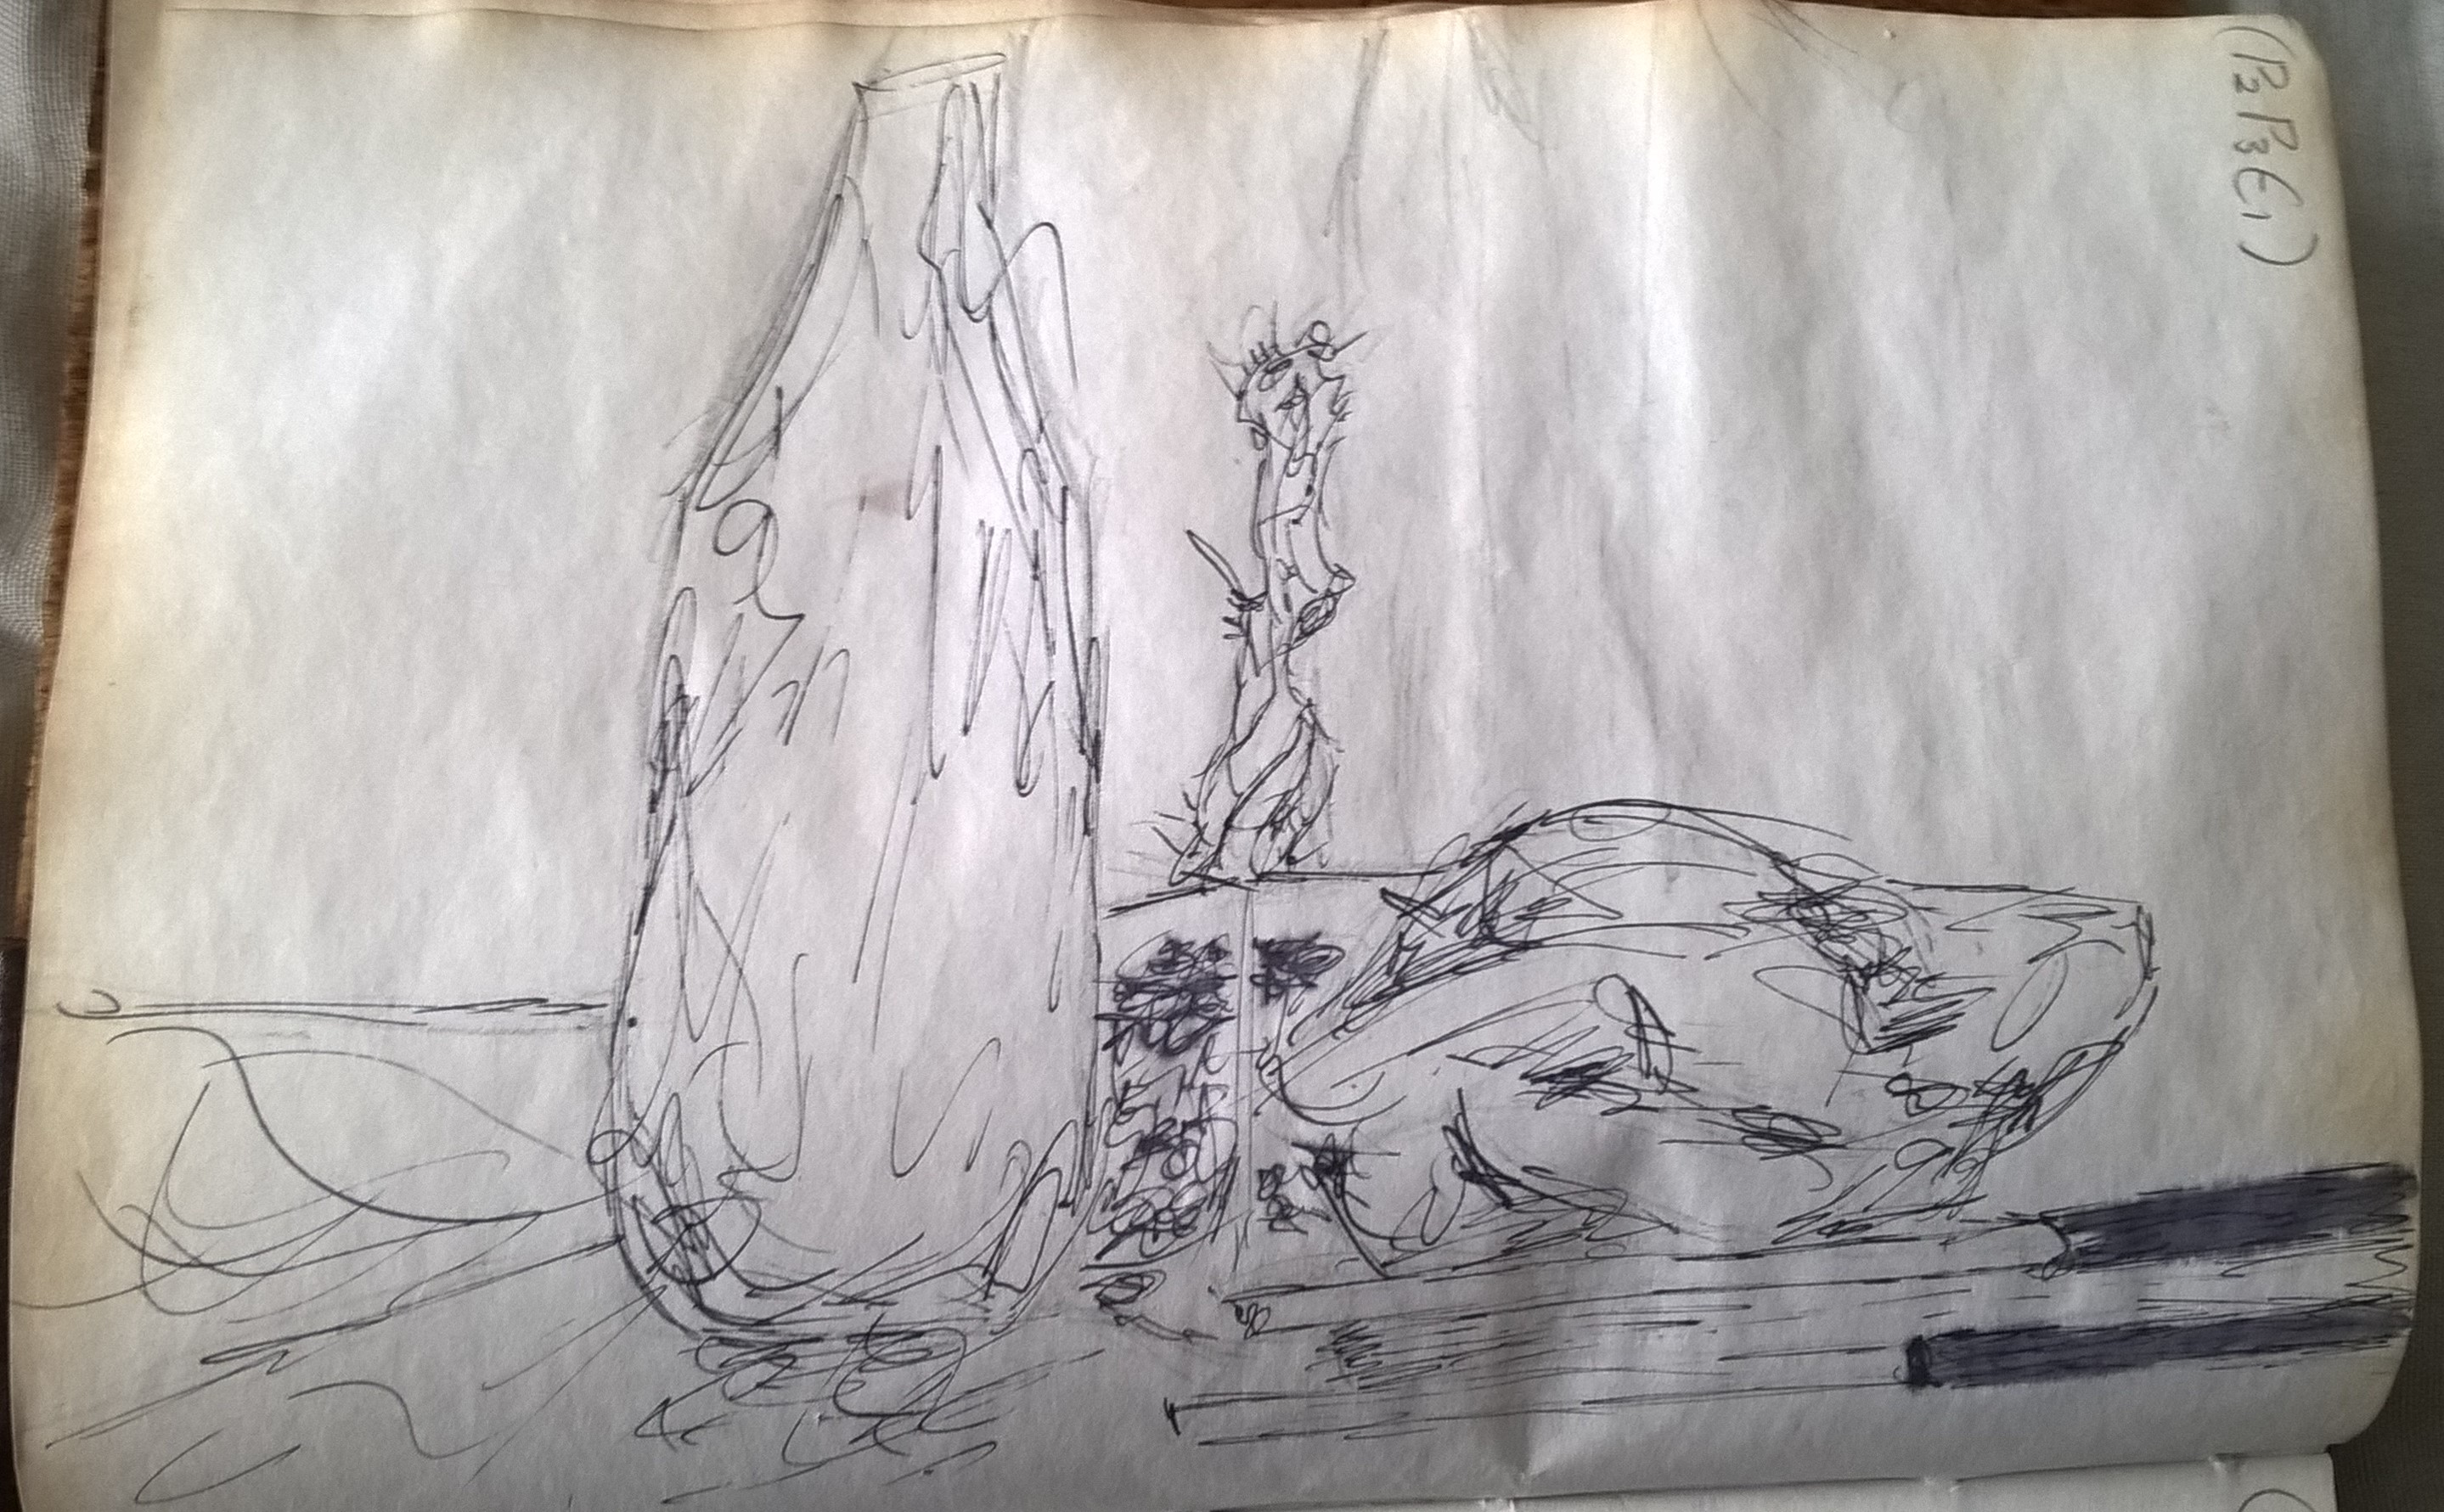
iii
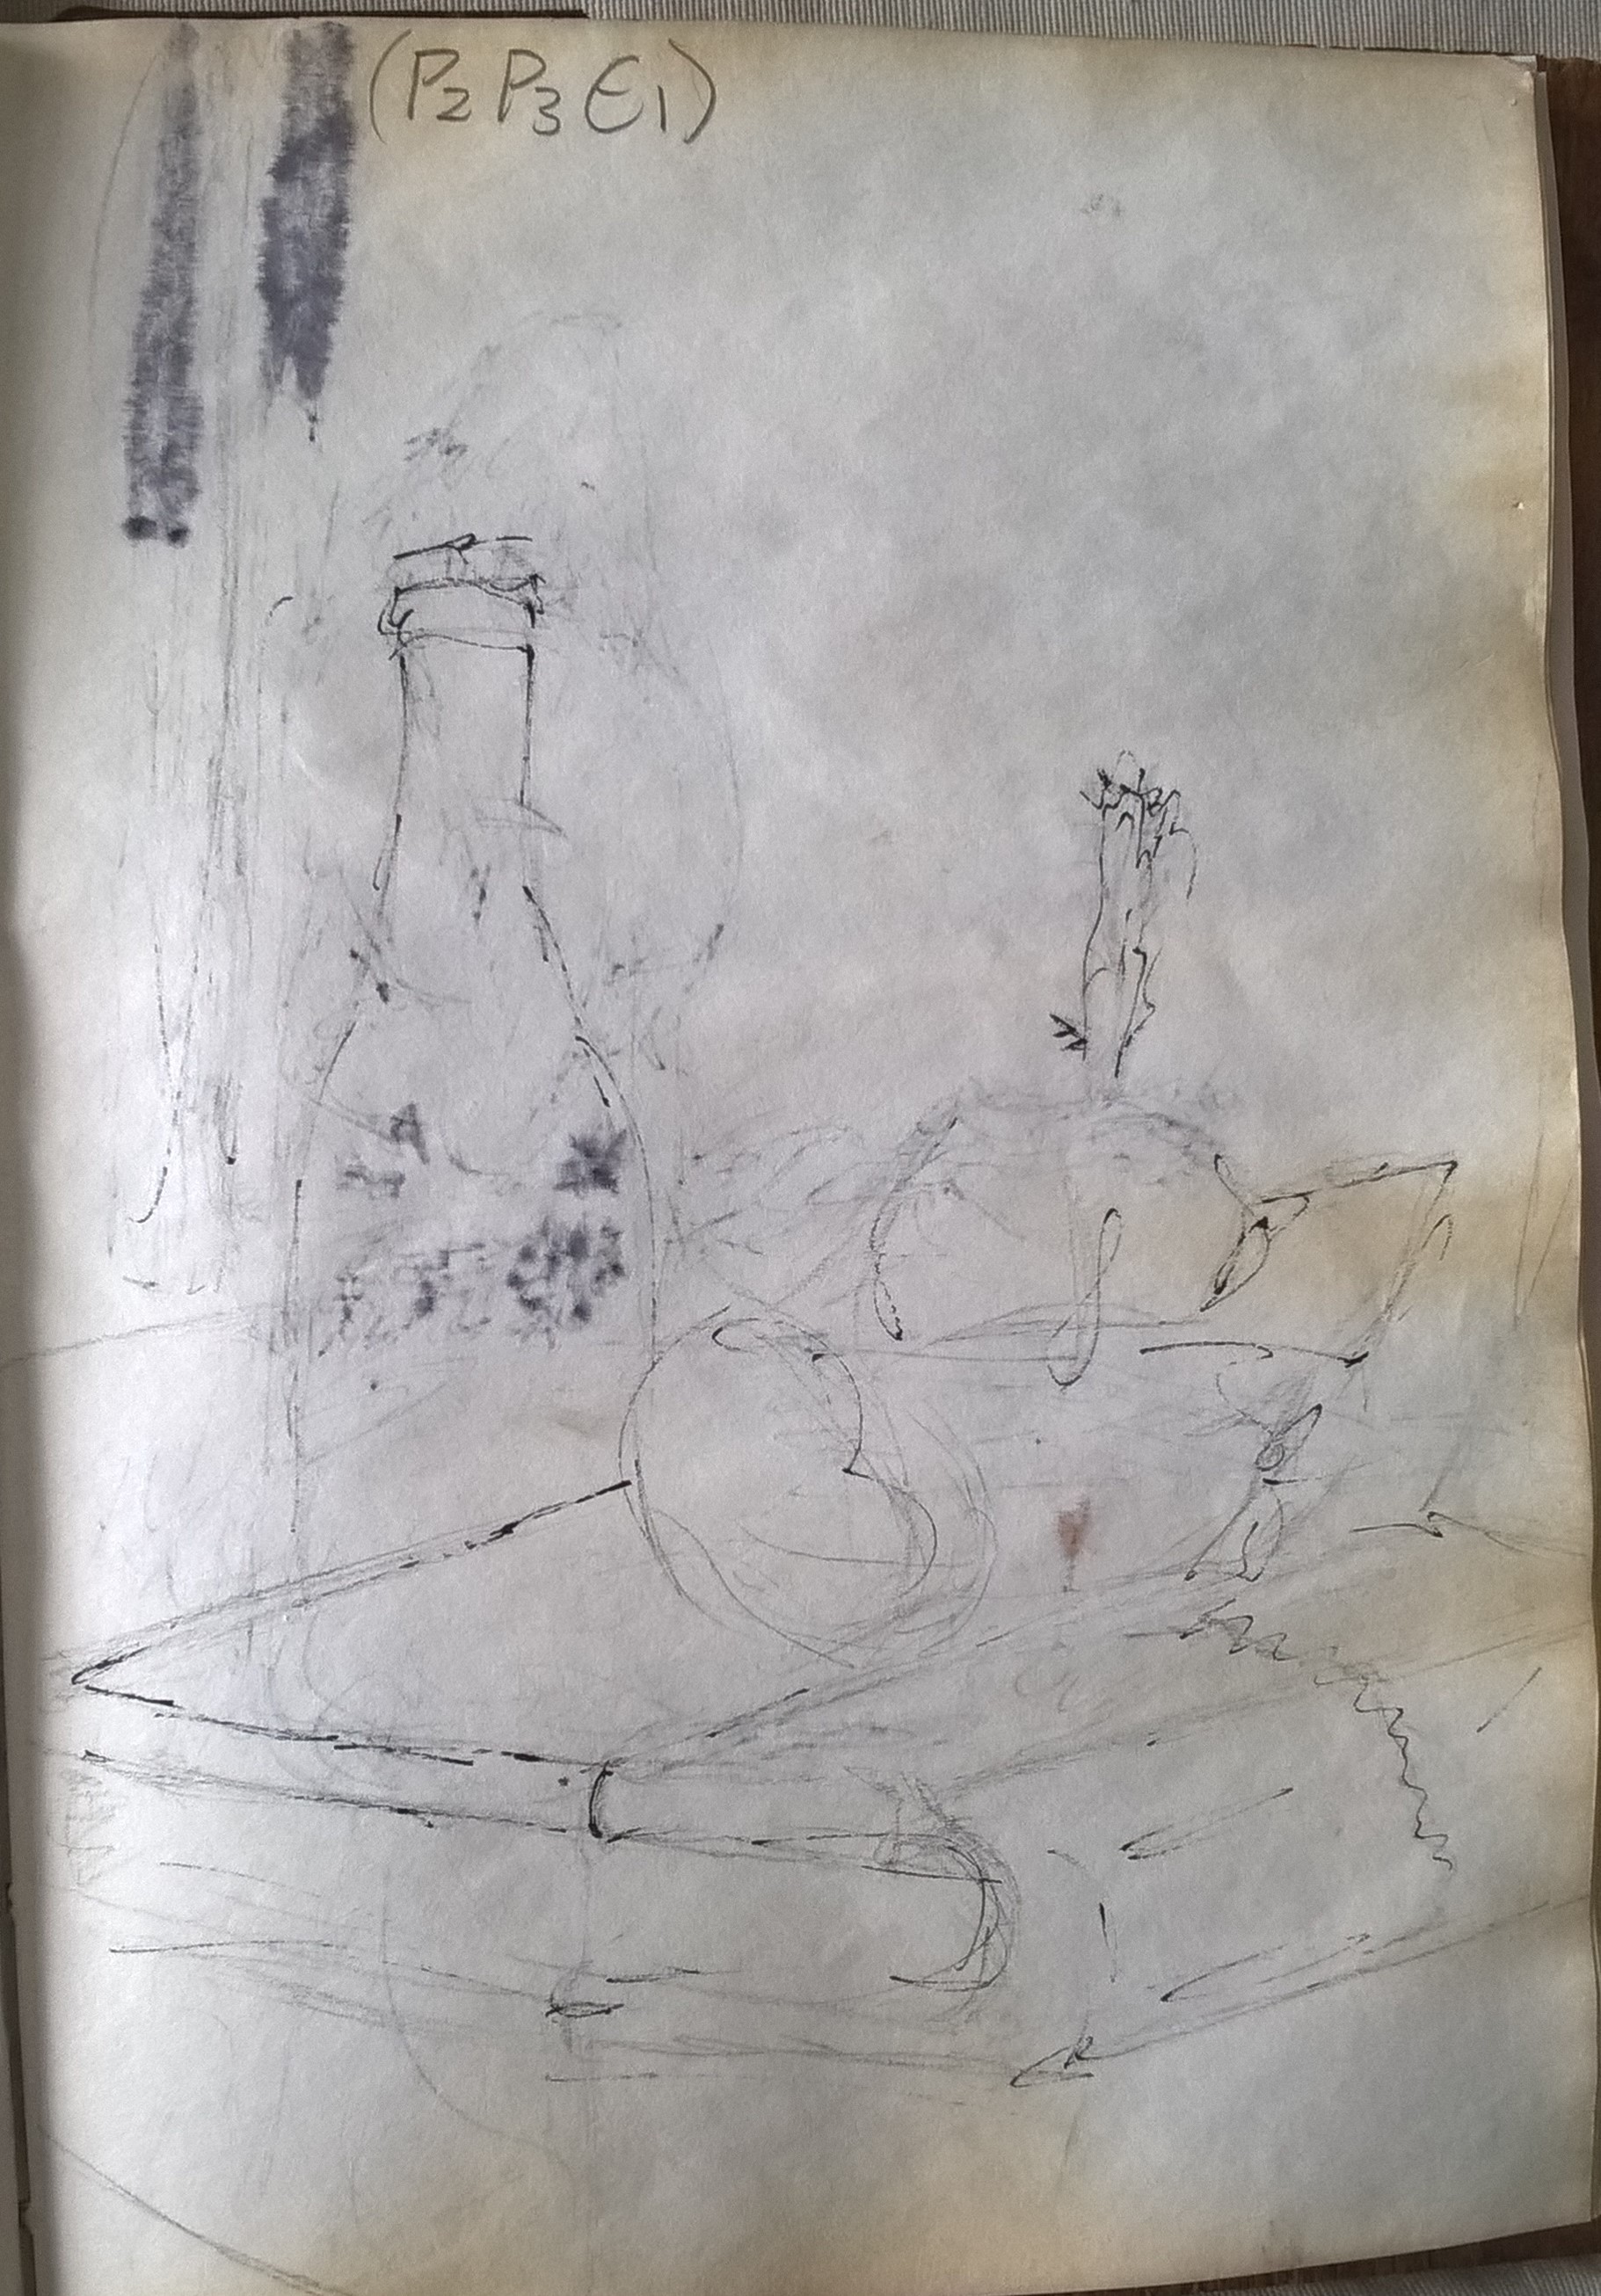
I chose an angle looking from the bottom of the still life because it shows more depth and perspective. Unfortunately I also chose an angle that has an empty white wall as a background aside from the back edge of the table. The smooth background however does contrast with messy lines of the object. I also used objects that contrast in surface texture although I may have not portrayed at as well as if I used a wet brush with the ink but I am still very happy with the result. MY smoother surfaces such as the glass and the wood have been done with straight lines and the rougher textures such as the rocks were done with more scribbled lines.
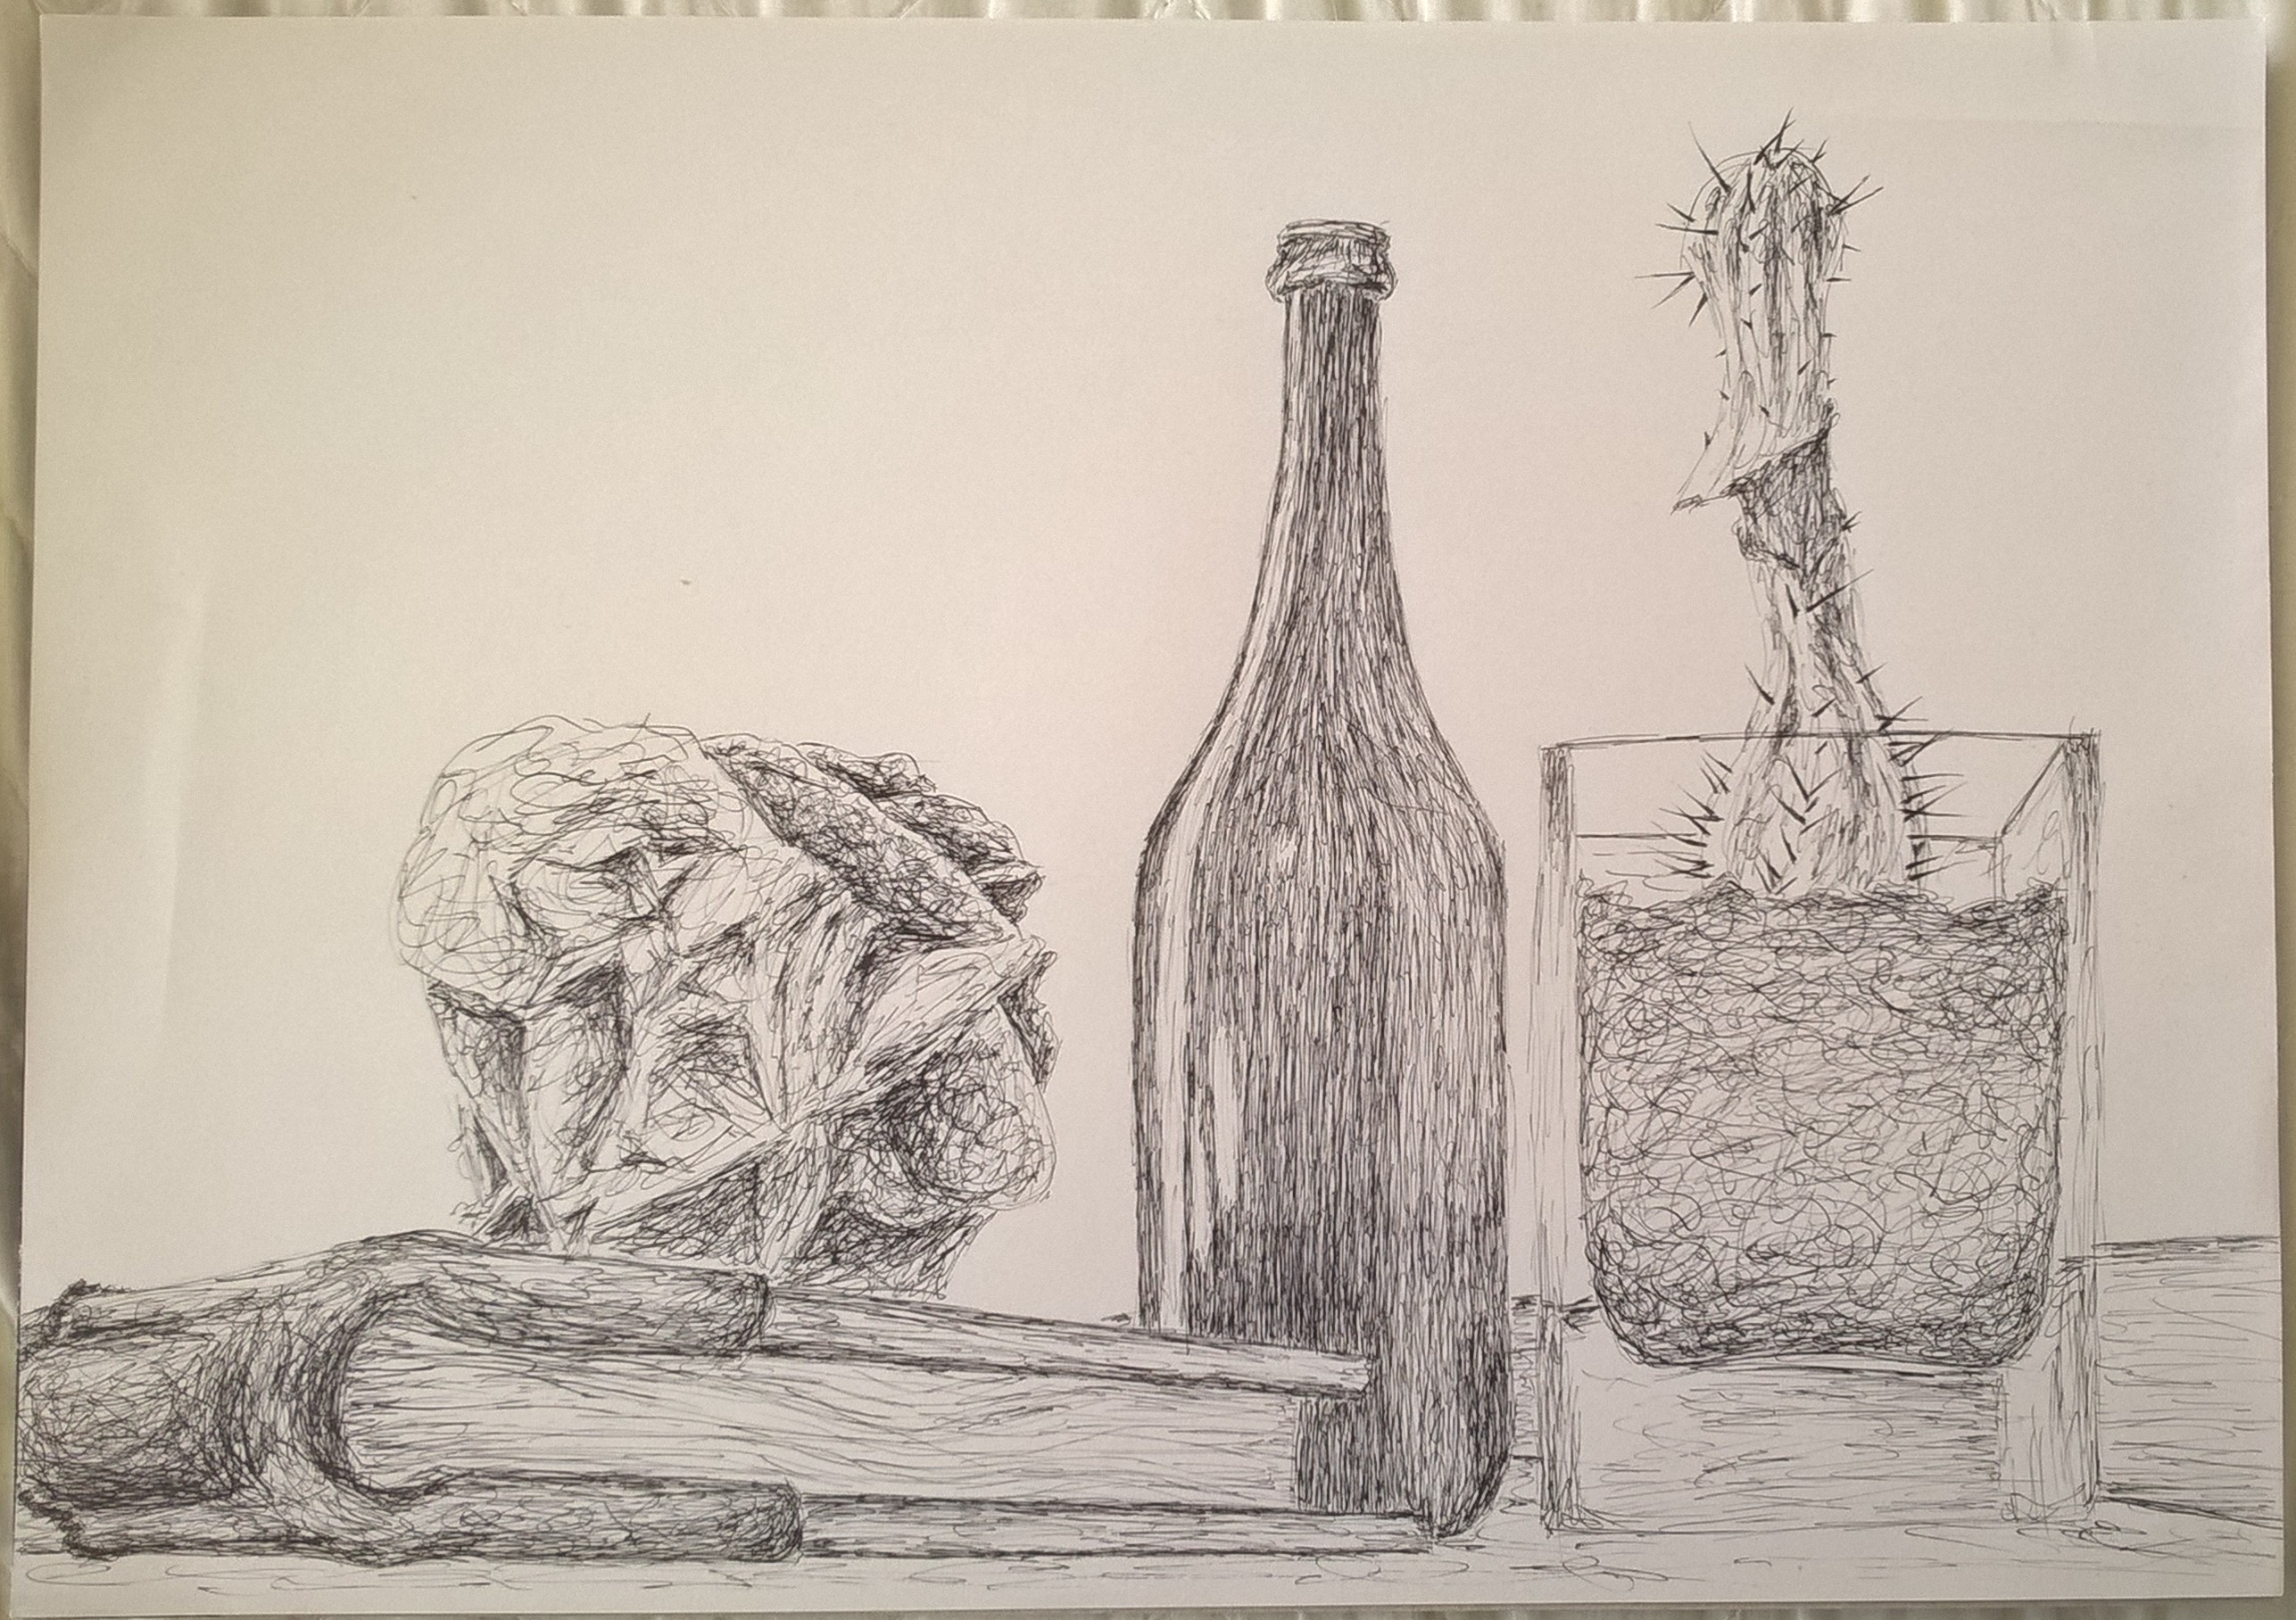
final piece
While doing this exercise I noticed that my style of drawing is developing. My drawing skills, control medium and mark making is also getting more confident. When sketching out these drawing I found I did not have rework the shapes I drew. My line work is certainly improving and I thoroughly enjoyed the exercise.
